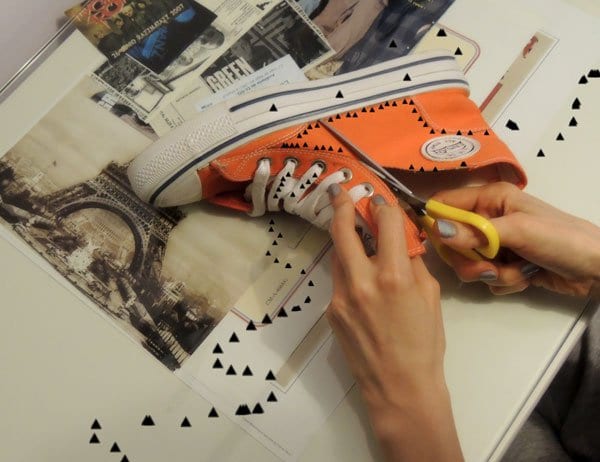
Hello DIY lovers! Have you already visited our DIY shoes makeover projects? If not, we invite you to do it immediately. And for today, we have prepared for you a selection of the easiest DIY converse makeover projects ever. Scroll down the page to see how to transform your old and boring converse trainers into some creative ones. Try any of the DIY converse makeover projects below. Enjoy and share some results with us!
1. DIY Galaxy Painted Converse Tutorial
2. John Varvatos Converse DIY
3. How to Make Swarovski Crystal Converse
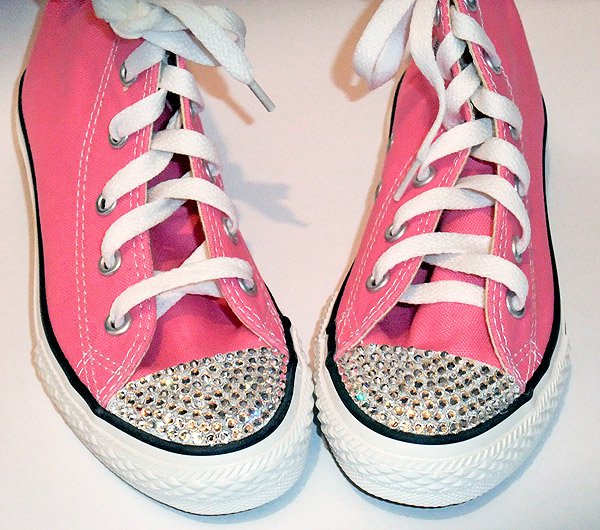
Are you ready for some shimmering DIY converse makeover project? These Swarovski crystal converse are going to become your favorite DIY project ever. Here is what you will need for your project:
- Swarovski flat back rhinestones
- Jewel setter
- Sandpaper
- Adhesive
- Piece of cotton cloth
- Orange stick
- Rubbing alcohol
- Converse trainers or boots
The steps:
- First, prepare your sneakers. Take the sandpaper and give the rubber toe surface a good rub. When the surface is prepared, it can provide a much better platform for the adhesive to bond with.
Wipe the rubbery powder from the toe surface. - Using dust-free cotton cloth and rubbing alcohol, clean the surface of the toe. This way you will remove any grease, oil, or dust that could remain on the surface.
- When the alcohol dries, you can start adding the Swarovski crystals.
- Using the opposite end of the jewel setter apply enough adhesive to the toe surface of your sneakers.
- Start with a small surface so the adhesive doesn’t dry before the crystals are added.
- Take the wax bud of the jewel setter and pick up a crystal. Place the crystal on the converse toe surface.
- Press the crystal using the orange stick to firm it to the surface.
- Continue adding crystal the same way as you did with the first one.
- Repeat the procedure until you have no more uncovered surfaces.
- Once the crystals cover all the surface of the converse toe, your new shining DIY converse makeover is finished! Shine!
4. DIY studded converse
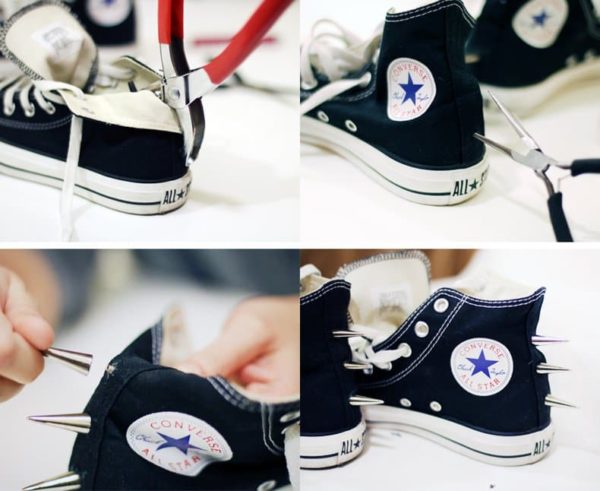
This DIY converse makeover project is a must-try if you adore decorating clothes and shoes with studs.
For it you will need the following supplies:
- A pair of converse sneakers
- Studs and spikes
- Glue
- Screwdriver
- Awl or sharp scissors
The steps:
- First, plan where you want the studs and spikes to be. Using a pencil mark the points where you want them to be.
- Use the awl or sharp scissors to poke a hole through your shoes on the marked points. Do it carefully so you don’t harm yourself.
- Once you have decided, you can start the project. As you pole your hole through the converse trainers put the screw through the hole.
- You can start adding the spikes when you have all your screws through the converse.
- Use a toothpick to apply little drops of glue on the screw part and then screw the spike into the screw. Repeat the same procedure with all the spikes you planned to decorate with.
- It is time to add the studs. Mark the place where you want them to be.
- Apply glue on each stud and put it on your converse at the places you marked. Continue adding all the studs.
- Once you have finished with all the studs, your DIY converse makeover project is finally finished. Enjoy wearing your new converse.
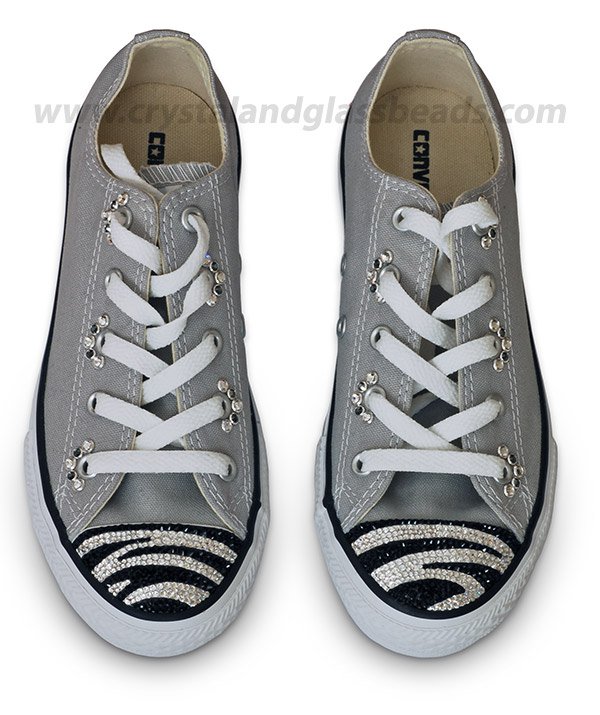
5. Swarovski Crystal Zebra Converse Tutorial
6. DIY: Studded Converse
7. DIY – Converse
8. DIY American Flag Converse
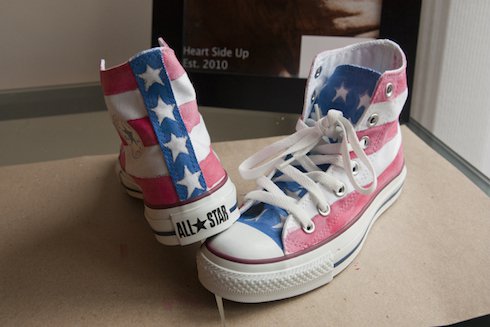
Looking for some inspiring DIY Independence Day projects to enrich your festive spirit? This DIY converse makeover project will help you keep the festive spirit on a high level. These American flag decorated converse could perfectly fit in your festive outfit, so don’t miss them at all.
For this project you will need the following supplies:
- White converse
- Fabric paint
- Paintbrush
- Masking tape
- Star stickers
The steps:
- First, use the masking tape to mark out the stripes. Your masking tape will also protect any parts that you want to stay white.
- Take the red paint and begin painting the stripes.
- Wait until they are completely dry.
- Remove the tape to reveal the white stripes of the flag.
- It is time for the stars! The best is to use star stickers. You can also paint them using a paintbrush and white paint.
- If you decide to use stickers, then place the star stickers down the length of the tongue in the order you want.
- Then take some blue paint and paint the area of the tongue even over the stickers. Once the paint is dry, remove the stickers and reveal the white start.
- If you decide to paint the stars, then paint all the area of the tongue blue and when dry enough, take the paintbrush and draw the stars.
- Voila, your festive sneakers are done!


