Hello DIY lovers! Again, we are here to share with you some adorable DIY projects that you will certainly fall in love with. We already presented you with some creative DIY sneakers makeover projects. Today, we are sharing with you some DIY shoe makeover ideas that will help you transform some old shoes into new and eye-catching ones. For today, we have decided to play with colors, a lot of colors, so most of the projects include colorful DIY shoe makeover ideas. We invite you to scroll down the page and get inspired by the gallery of step-by-step DIY tutorials. Enjoy!
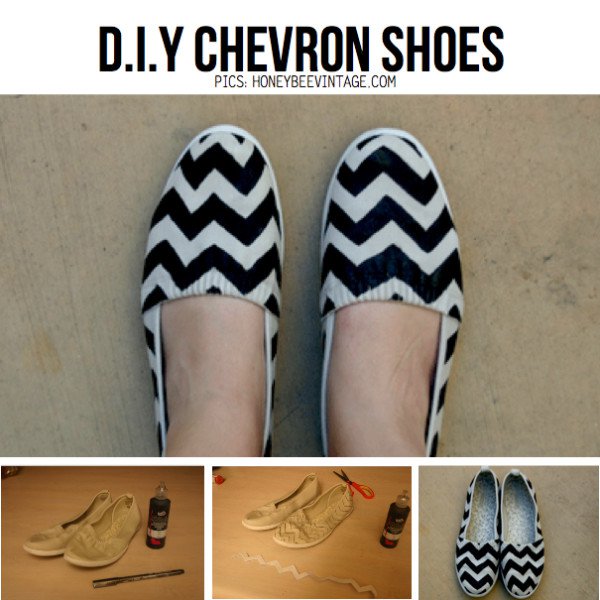
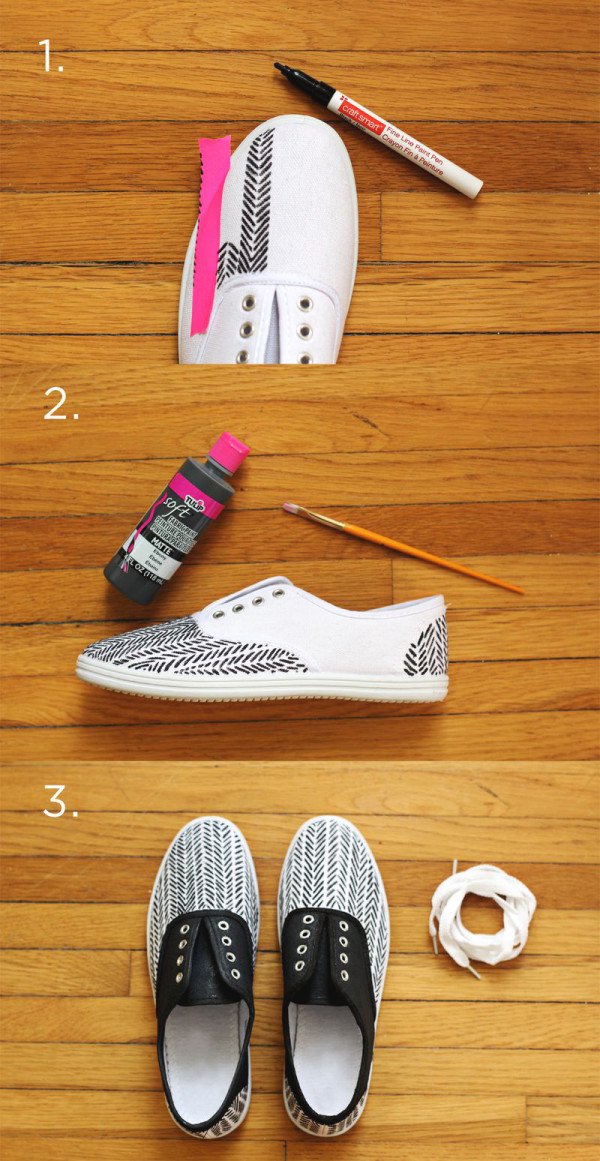
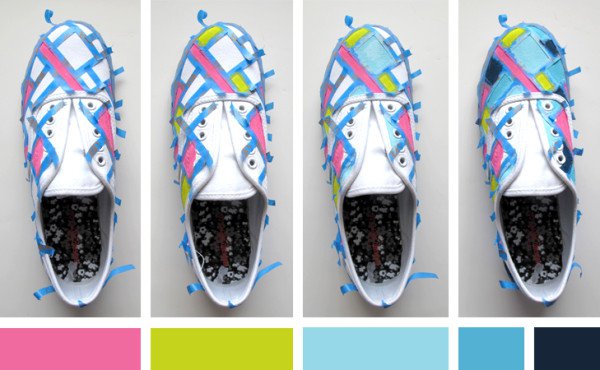
1. DIY Chevron Shoe
2. DIY ombre sneakers
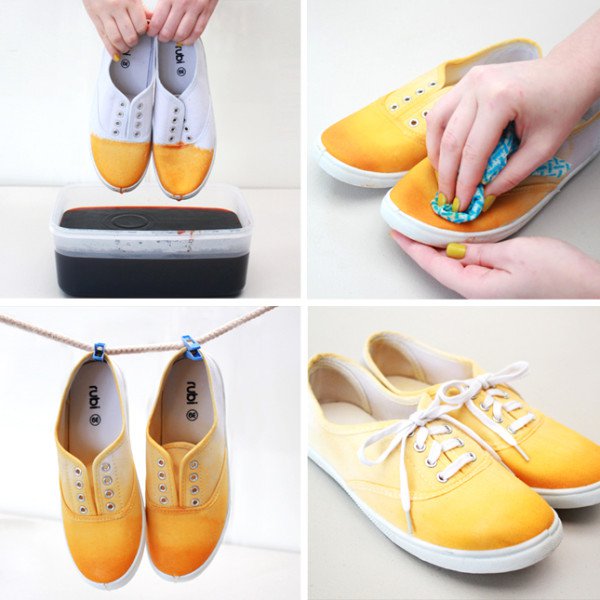
Why don’t you dip your toes into some playful colors and keep a little bit of the summer spirit in your step with a pair of dip-dyed shoes? Here is the funniest DIY shoes makeover project ever. These adorable DIY ombre shoes will make you fall in love, immediately. All you will need for the project is a pair of white sneakers, fabric dye in the color you want, Vaseline, baking powder, and an old toothbrush.
The instructions:
- First, prepare your sneaker for the project. Remove any laces and removable inserts. Coat a thin layer of Vaseline to protect the rubber sole from discoloring.
- Mix the dye as per the package instructions. Then wet your sneakers before you start dyeing them. That will help the dye to take evenly.
- Start the process: take the sneakers and quickly dip the toes in and out of the dye bath about 1/3 of the way. If you feel like the result is not enough dark for your taste, repeat the same once again.
- Repeat the previous step staggering the level of your dip along with the shoes. The lightest shade should start at the tongue and the darkest to end at the tip of the toes.
- Once you are done with dyeing, take a damp cloth and gently rub the color. This way you will blur any harsh lines, creating a smooth transition from dark to light (the ombre effect).
- When you finish, allow the sneakers to seat for about 5 minutes. Then, rinse them under running water until the water runs is clear.
- Hang them to dry overnight.
- Once they are dry, remove the Vaseline from the soles using the baking bode and an old toothbrush.
- Return any laces to the shoes and voila, you are ready to step out with your new DIY ombre sneakers.
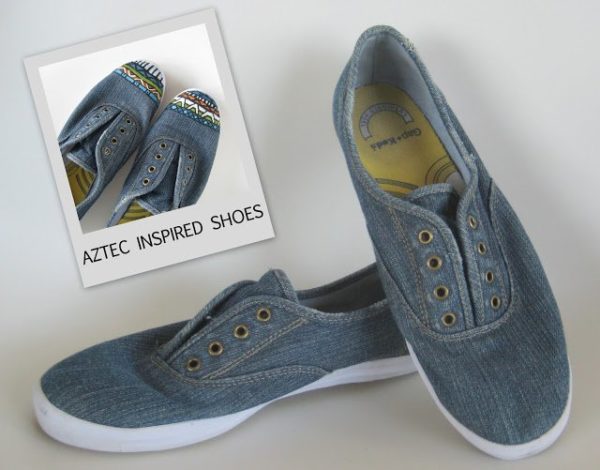
3. DIY aztec inspired shoes
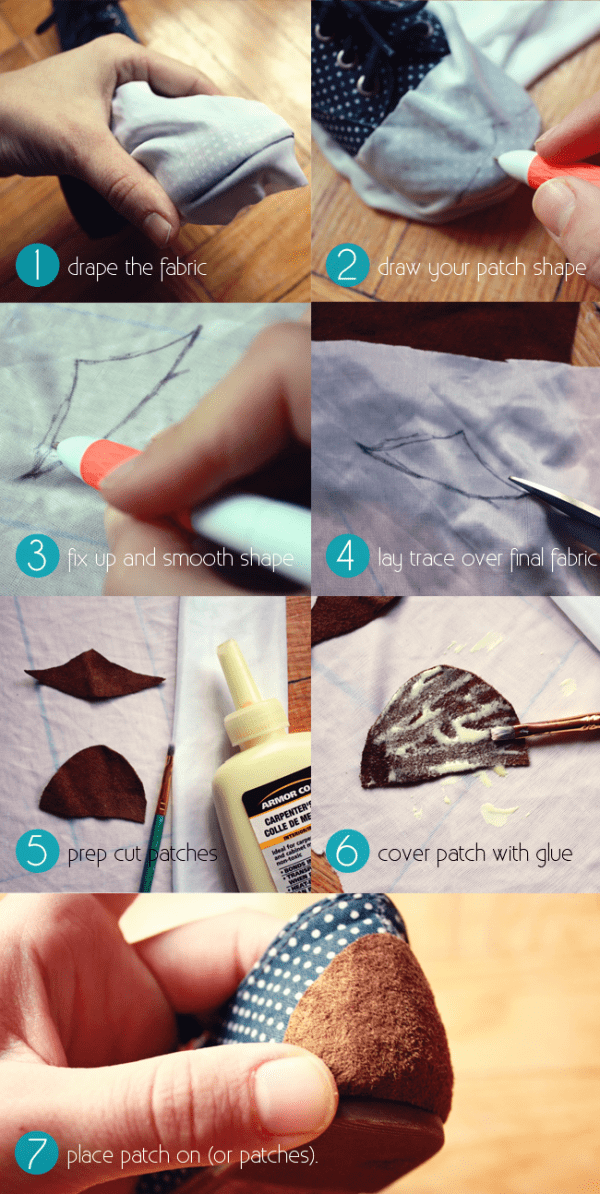
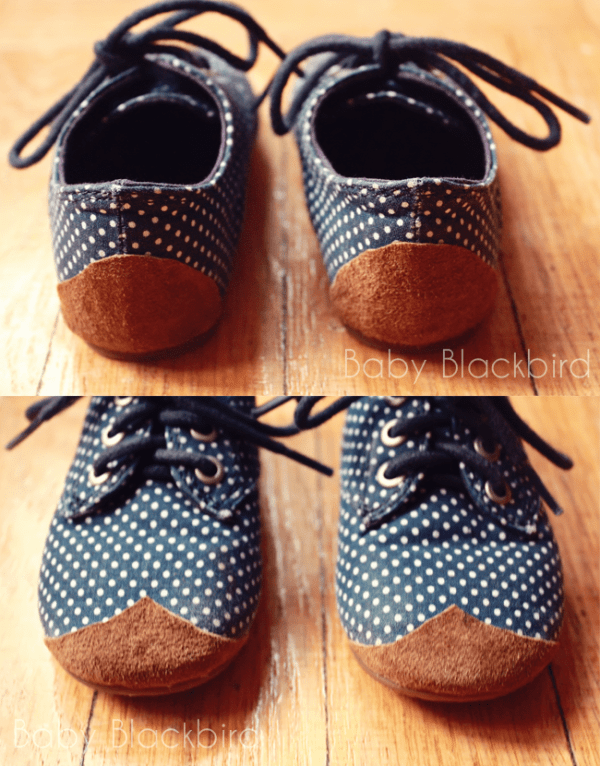
4. DIY patches for well-loved shoes
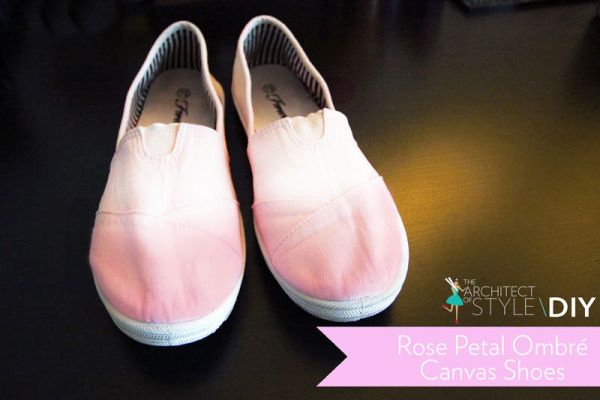
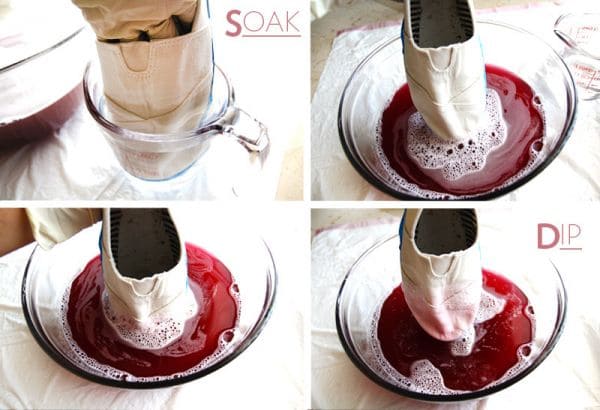
5. Rose Petal Ombré Canvas Shoes DIY
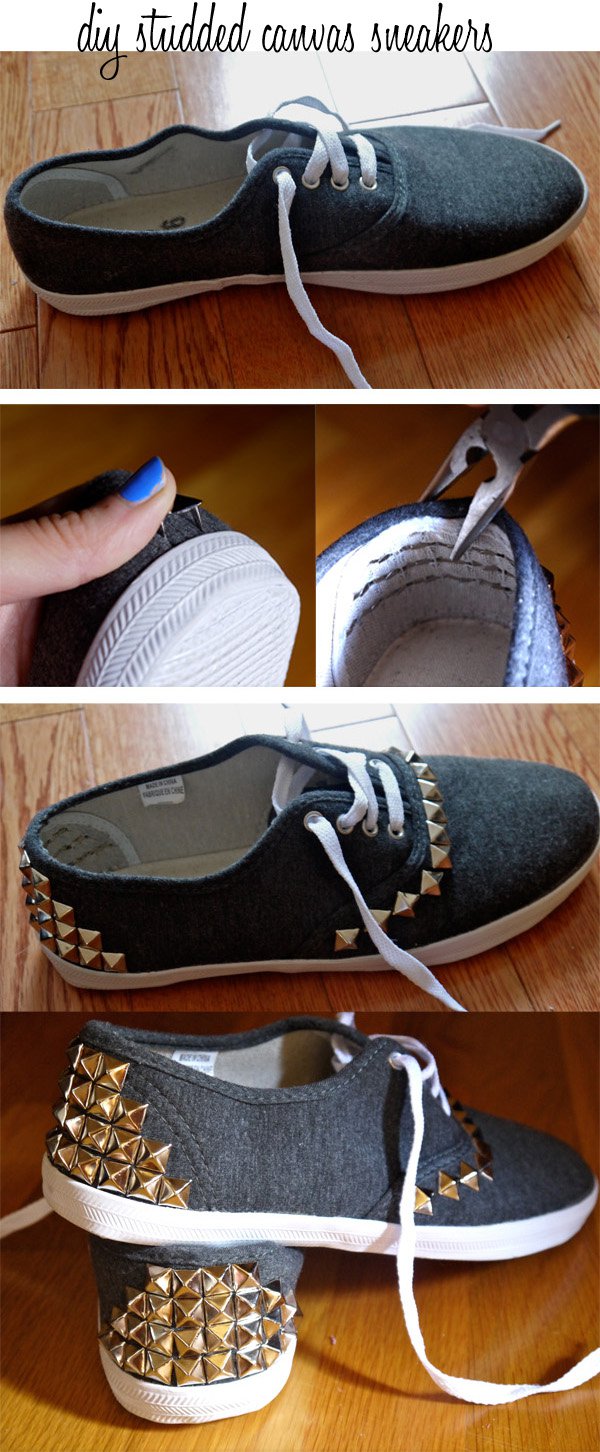
6. DIY Studded Canvas Sneakers
7. DIY sneakers for spring
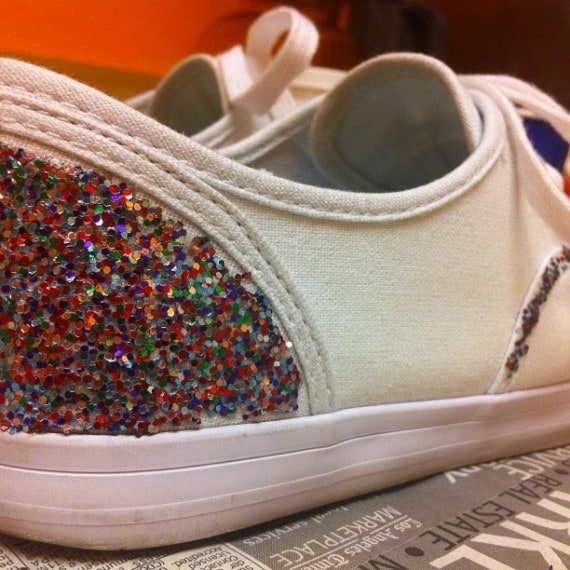
8. DIY glitter shoes
Another colorful DIY shoe makeover project! You will surely enjoy all these glittering effects on your footwear. All you will need for the project is a pair of white shoes, glue, glitter in any color you want (or in several colors), painter’s tape, and a paintbrush.
The instructions:
- First, take off the rubber soles of the shoes to protect them from the glitters.
- Mix the glitter and add the glue to the mixture to create a thick but still spreadable paste. Use more glue than glitter.
- Take the paintbrush and brush it over the area that you want to glitter. First, apply the first coat that will be pretty light, but still is a perfect base for the next layer. Let that dry for around 20 minutes.
- Then apply layer number 2 and thick. Once it is dry, there are only a few touch-ups to do until you get the final result.
- You can for example add glitter to the front part of the shoes too, so that you get more glittering footwear.
- Finally, take off the tape, and enjoy your new glittering shoes, because they are already DONE!
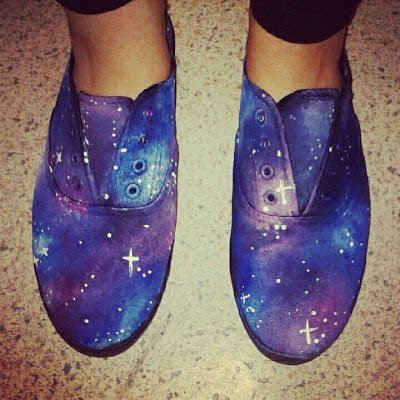
9. DIY Galaxy Print shoe
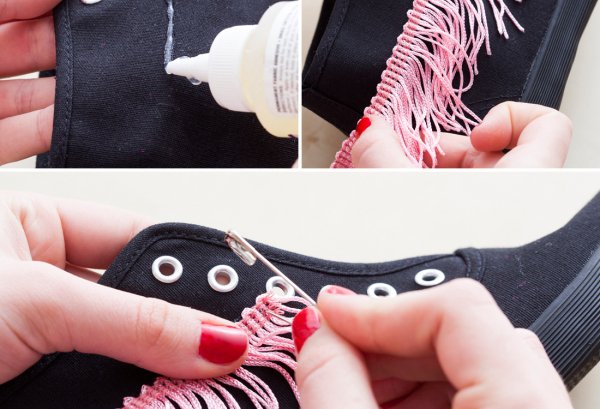
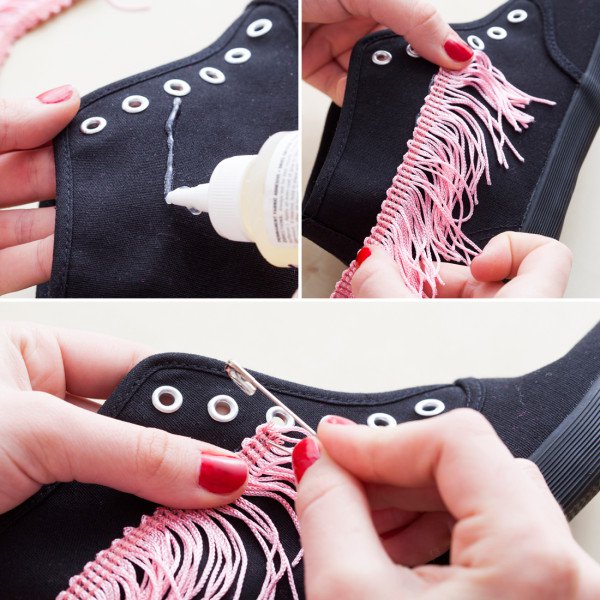
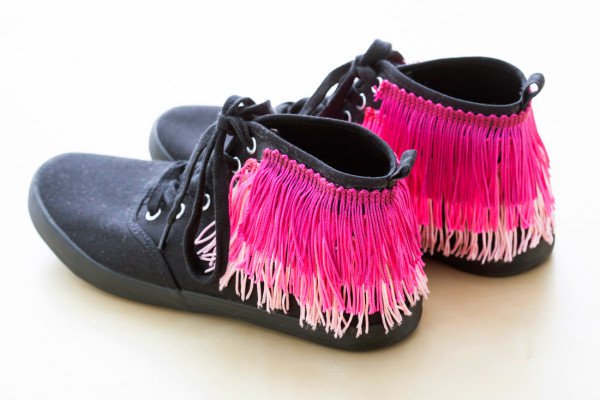
10. How to Fringe Up Your Sneaks in Under 5 Minutes
11. Christmas Lights Inspired Sneakers
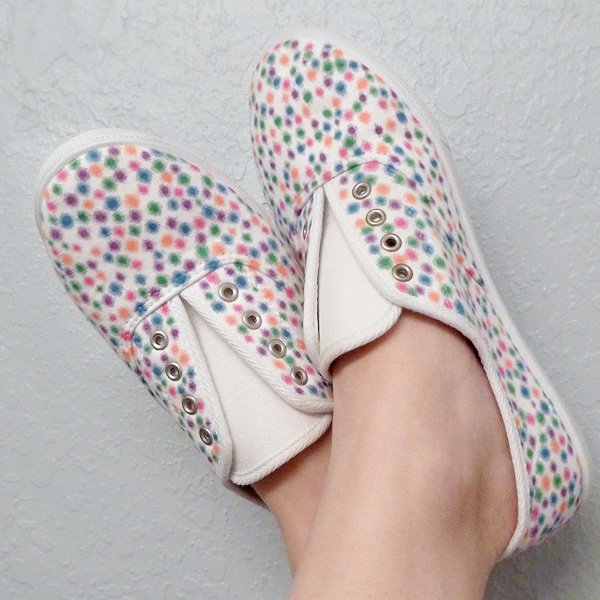
If you are searching for some colorful DIY shoe makeovers you are in the right place. These Christmas lights-inspired DIY shoes will perfectly pair your spring/summer outfits. For the following DIY project you will only need a pair of white canvas sneakers and permanent markers in assorted, but complementing colors. You can use five to six different colors for a more colorful effect.
The instructions:
- First, pick out the colors you want to use. Draw a little line on a piece of white paper to make sure they complement each other.
- Once you have chosen the colors is time to start. Take the first color you have chosen and draw and fill in circles all around.
- Let the ink bleed on its own. Or, if it fails to, you can hold the tip down on the canvas in the center for a moment until it starts bleeding.
- Continue the same procedure with the second color, and then with the rest of them until you run out of space.
- Once you have covered the entire area of each sneaker, your new colorful sneakers are finally done!

