Hello DIY lovers! Are you ready for a new DIY adventure? Now when winter is almost here, it is time to find your winter accessories if you want to stay warm. Do you want to stay warm and stylish at the same time? We are sharing with you some adorable DIY beanie projects. Hats are among those essential winter accessories that will keep your head warm when the temperatures drop below zero. If you already have some old beanies in your wardrobe, but you feel a little bored of wearing the same beanie all the time, don’t miss our DIY beanie embellishment projects presented below. Scroll down the page to see how to instantly transform a boring beanie into a new and stylish one. These DIY beanie projects won’t cost you anything because they are all made of materials and supplies that you already have at home. Enjoy!
1. DIY veiled beanie
Tools and materials:
- Knot hat (beanie)
- Large veiling
- Feather trim or yarn
- Needle and thread
- Hot glue
The steps:
Step 1:
First, measure the veiling around the beanie you want to include in your DIY beanie project. The bet would be if you put your hat on the head and then take the measures and the place where you want to sew the veiling. No one would like a veil that is too tight across the face.
Step 2:
Lay your hat on a table and then place the veil on top of it.
Step 3:
Gather the ends of the veiling sign needle and thread. Tack it to the hat using small stitches. Repeat the same for both sides of the veiling and the hat. Then, flip up the bottom of your DIY hat.
Step 4:
Heat up the hot glue. Then, using the feather trim make small pleats. Add glue to the places where you want them to stay. The hot glue will hold them in place.
Step 5:
Glue a pouf on the top of the beanie. You can even DIY pom-poms instead of a pouf.
Vila, you are finished. Stay warm and stylish.
2. DIY lace front beanie
3. DIY: veiled beanie
4. ‘Beaded’ Heart Beanie DIY
Here is another creative DIY beanie embellishment project for you.
Tools and materials:
- Tulip Beads in a bottle
- Tulip glam-it up
- Hot-fix glass crystals
- Knit hat or a beanie
- Heart stencil or a chalk
The steps:
Step 1:
Layout the beanie and fold it flat s that one of the sides is facing up. In order to get a perfect heart shape of the pearls embellishment, you can use a stencil and trace the heart onto the beanie. Or, if it works for you, you can use the chalk and freehand the hearth.
Step 2:
Use the beads in a bottle to fill the hearth. Use different-sized dots for a more eye-catching effect. We recommend you to first outline the heart using bigger pearls, and then use smaller ones to fill it inside.
Step 3:
Add hot glue to them and then press them onto the beanie so they stay in place better. Then add some crystals inside the heart to add more sparkle to the DIY beanie. Let everything dry for a while.
Voila, your DIY beanie embellished with pearls and sparkle is finished.
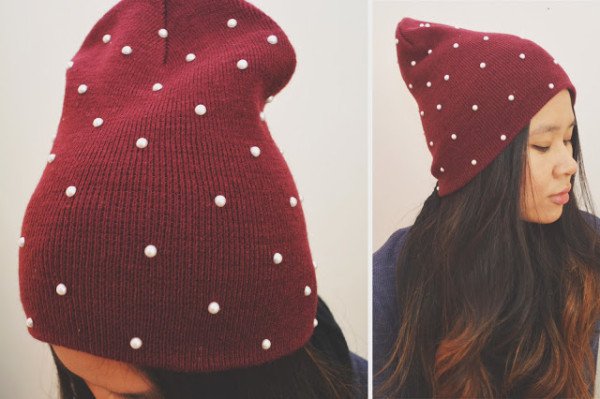
5. DIY: Pearl Beanie
6. DIY beanie project
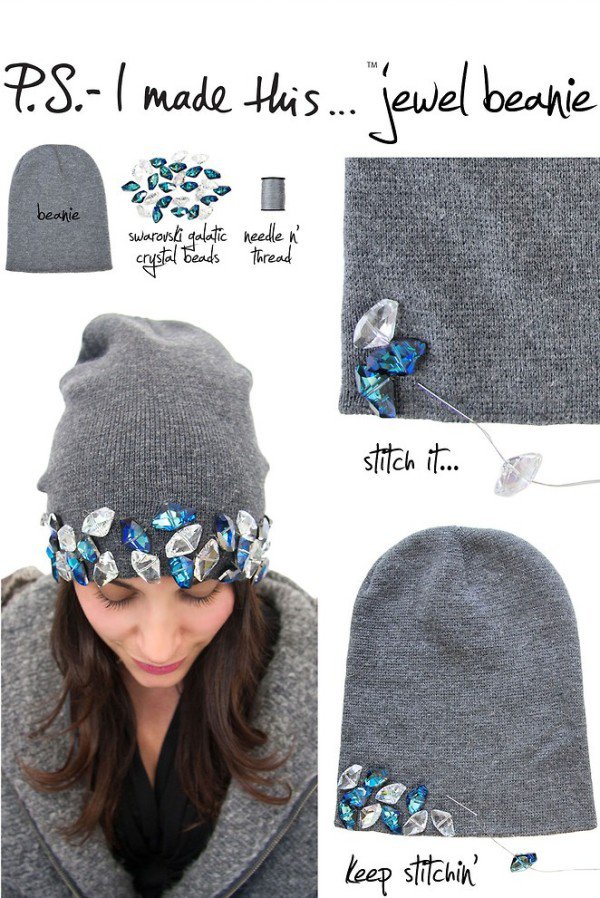
7. DIY Jeweled Knit Hat
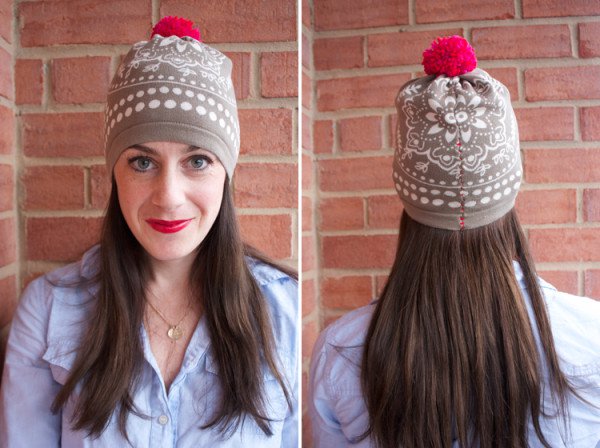
8. DIY Beanie With Colorful Pom-Pom Trim
A black beanie looks too boring to you? Here is an easy DIY beanie project to embellish and add a little pop of color to the simple black beanie. For this DIY project you will need the following supplies:
- A black beanie
- Colorful pom-poms
- Hot glue
There is only one step you need to do in order to embellish your beanie. Take the pom-poms and place them on the bottom part of the beanie. Plan how you want them so that you create a more eye-catching colorful effect. Then, using the hot glue, glue the pom-poms onto the beanie. Press them so that they stay in place. Voila, your project is done!
9. Sequined Faux Cuff
10. DIY Beanie With Gold Studs And Scalloped Chain
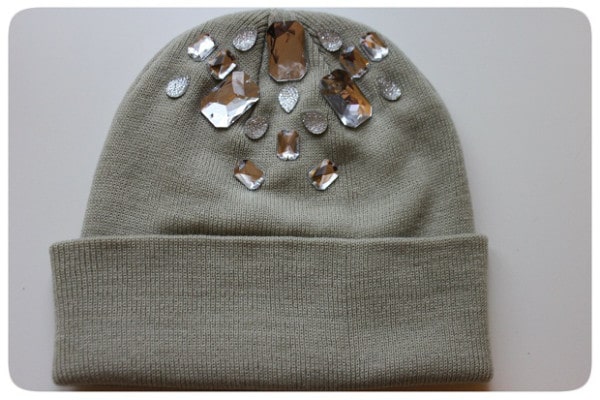
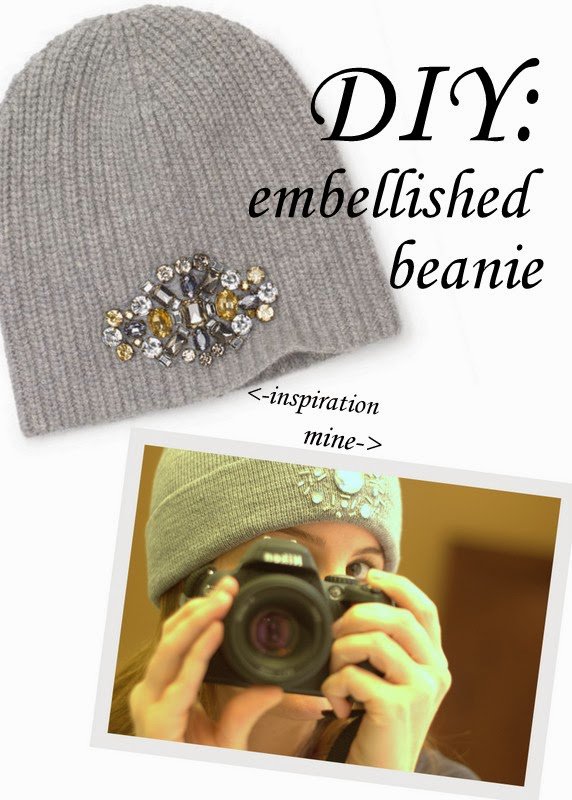
11. DIY rhinestone and jewels beanie
Are you ready for some stylish DIY beanie ideas? Here we go with the needed materials:
Supplies:
- Beanie
- Cardstock
- Assortment of rhinestones and jewels
- Gem glue
The steps:
- First, fold the cardstock. Place it inside the beanie and underneath where you want to flue the rhinestones.
- Then plan where you want to place the rhinestones. You can plan the scheme you want or you can change it if you get a new idea.
- Once you have a plan, start adding glue to each rhinestone and jewel and press them onto the beanie.
- Let the beanie dry for around an hour. When it is finally dry, reinforce the rhinestones using the needle and the thread.
You are done! You can now enjoy a stylish winter with this adorable DIY beanie.

