Are you already bored of wearing the same old sneakers every season? If yes, it is time to make something to change that. For example, you can makeover your old boring sneaker and get some new and cut ones. In this article, we are going to share with you some easy-to-do DIY sneaker makeover projects. Any of them can instantly transform your old sneakers into some new ones.
If you are a DIY clothing projects lover, then you will certainly enjoy the following DIY sneakers makeover projects. They are all a perfect way to get some new sneakers without having to spend money on buying a new pair. The best about these DIY sneakers makeover projects is that they won’t cost you anything. Most of them can be done with supplies that we all already have at home. The designs presented below are so adorable that we are sure you will find one you love among them.
Spring is the best season for wearing your sneakers on long walks with friends. Surprise your friends with a new pair of colorful sneakers that you will be proud of. Share these DIY sneakers makeover projects with them and ask them to try any of them together. Wake up your creativity, follow the step-by-step tutorials below, and you will get a new pair of sneakers that will grab all the attention of your ensemble. Enjoy and don’t miss trying them.
1. DIY POLKA DOT SNEAKERS
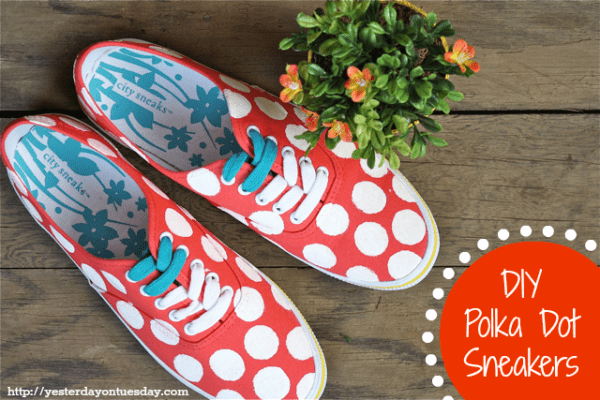
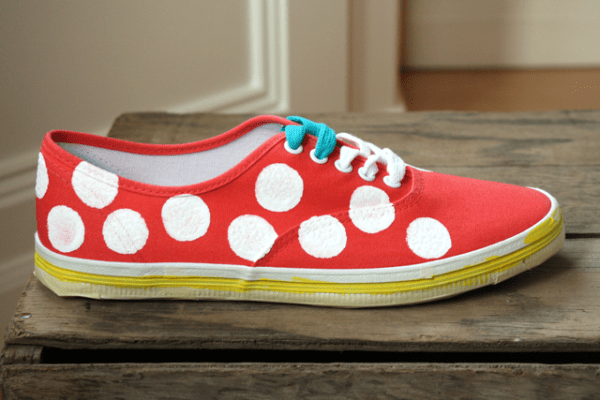
Are you ready for some inspiring DIY sneakers makeover project? Here is the easiest way to renew your old sneaker into some eye-catching polka dot ones. Be sure that they will certainly draw attention to your feet.
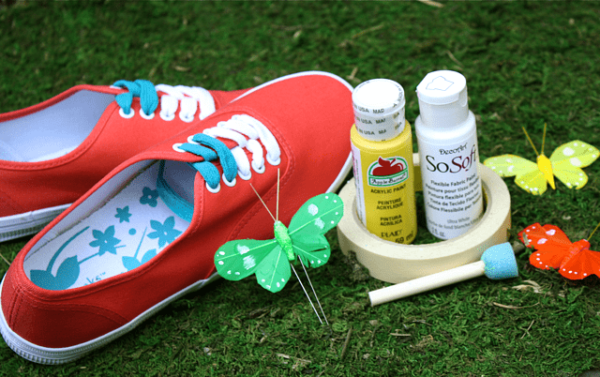
Here are the materials:
- Canvas sneakers
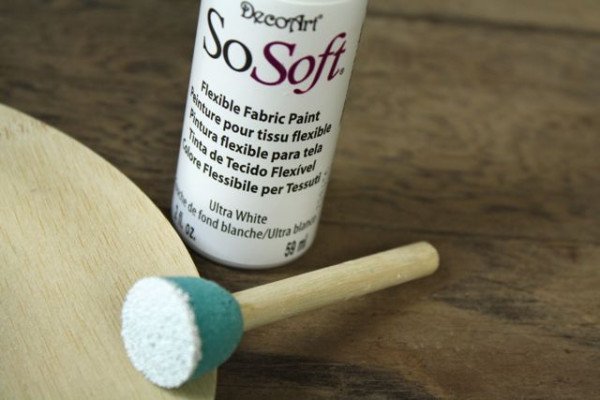
- Soft fabric paint
- Masking tape
- Spencer
The steps:
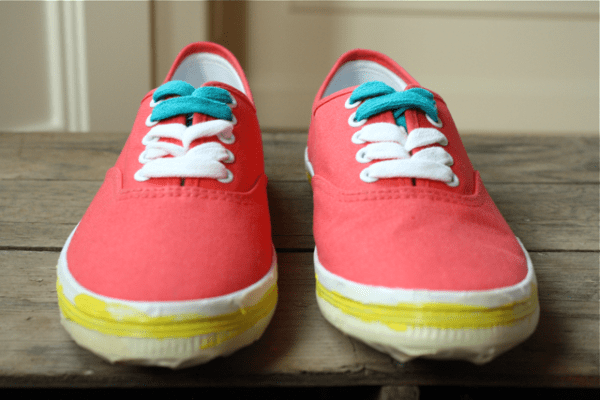
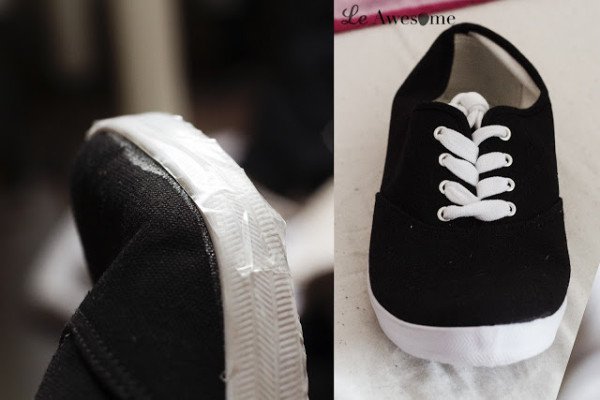
- First, take the masking tape and tape off the bottom and top sections of your sneakers.
- Paint a stripe a contrasting color. Let it dry. Repeat the same painting one more coat for a better effect.
- Use the spencer to create the polka dot design. Dip it into white paint and then create the polka dot over the sneakers area.
- Continue stamping dots until you get the desired amount of them for the design.
- Remove the masking tape around the bottom of the sneakers carefully.
Voila, your polka dot sneakers are ready to be worn!
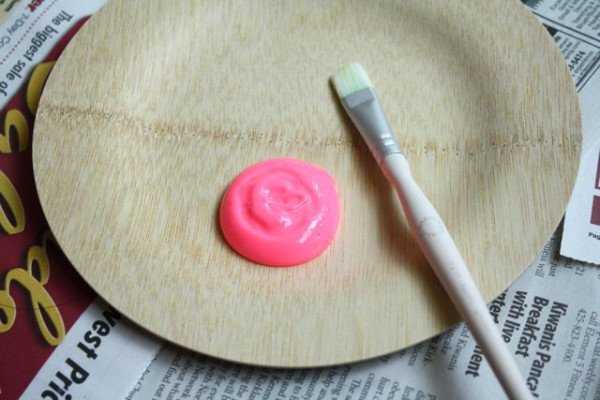
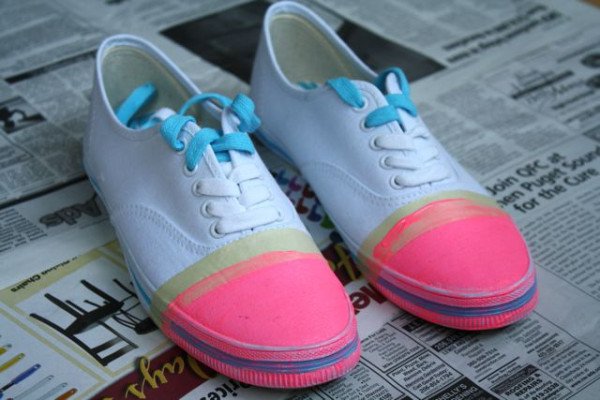
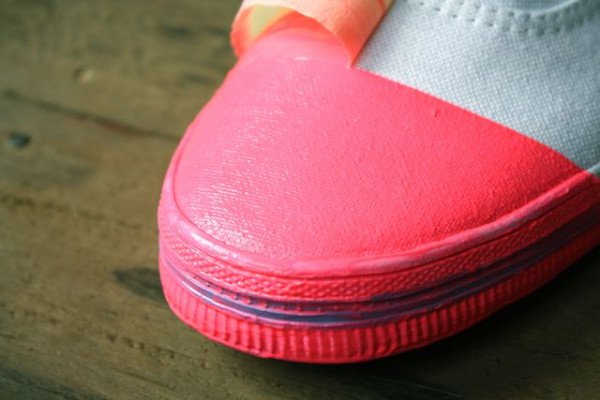
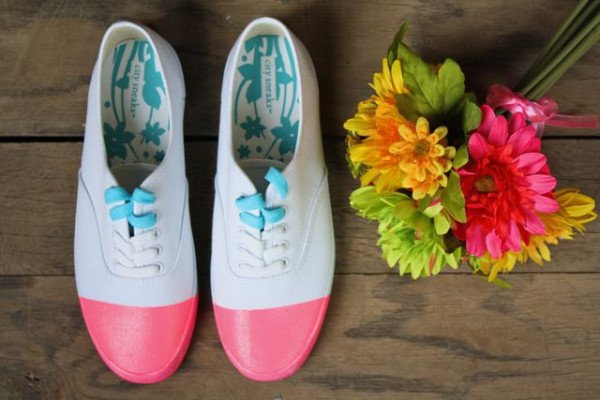
2. DIY PINK CAP TOE SNEAKERS STEPS
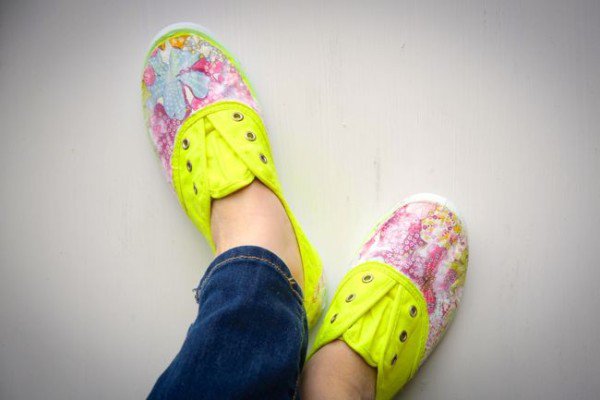
3. DIY FLORAL CANVAS SHOES
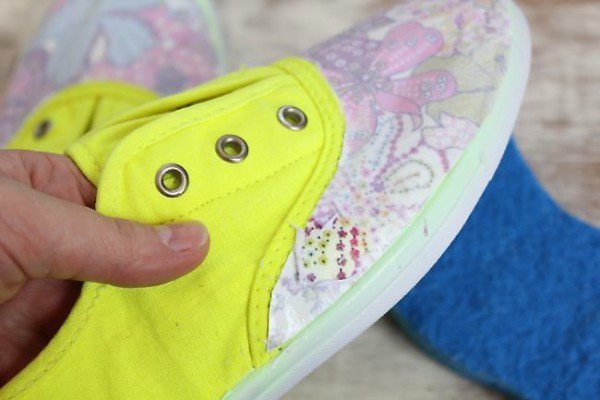
Floral prints are always trendy. If you want some feminine DIY sneaker makeover project then you will adore these floral canvas sneakers.
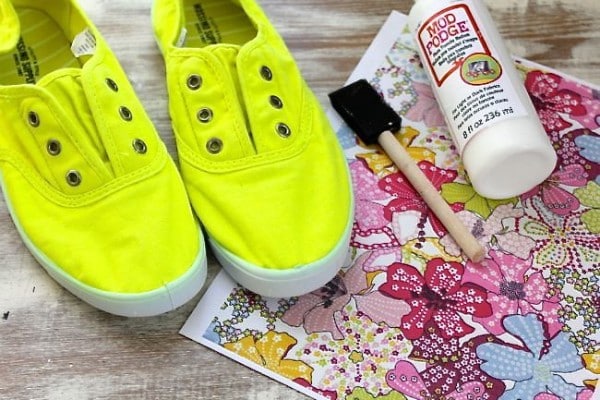
The materials:
For this DIY project you will need the following materials:
- Plain pair of canvas sneakers
- Mod Podge photo transfer
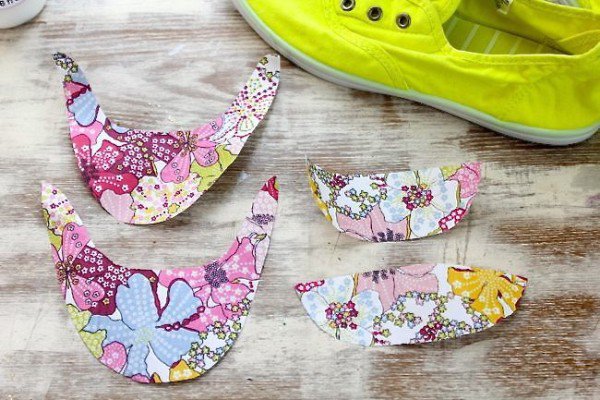
- Photo printed on an inkjet printer
- Foam brush
- Masking tape
The instructions:
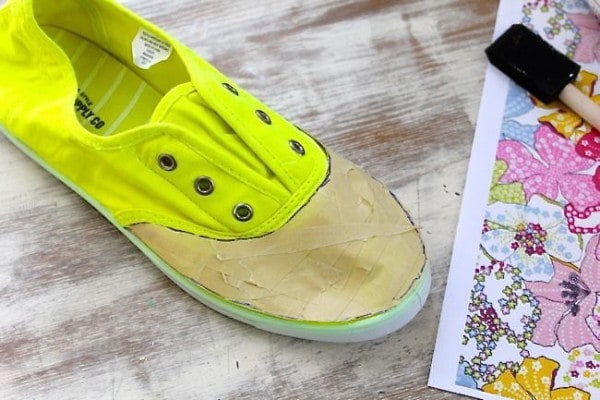
- Using the masking tape, create a tape stencil for the parts of the sneakers where you want the pattern to be added.
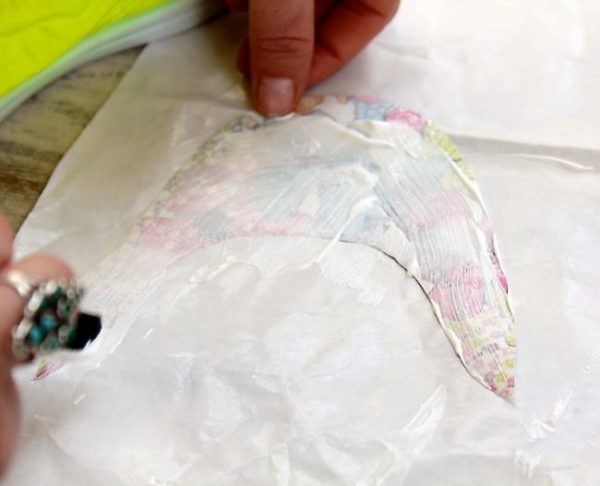
- Apply a heavy coat of Mod Podge photo transfer on the top of the paper and then apply it to the sneakers area.
- Use your fingers to flatten the paper and get out any air bubbles that can appear. Leave dry for around 24 hours.
- Once it dries, take a wet sponge and apply it to the paper. Let it stay for 2 minutes.
- Finally, peel off the outside paper. Do it gently to void pulling off the color and the floral print.
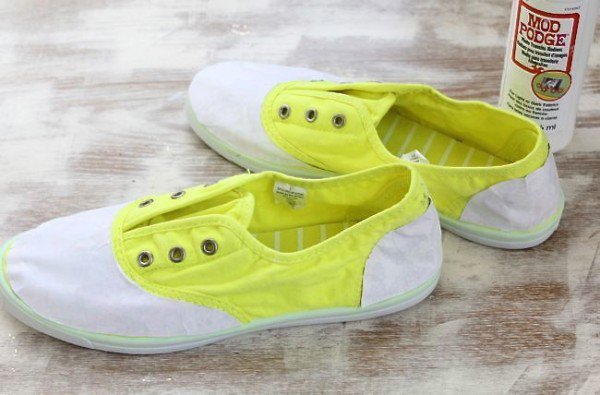
- Let the sneakers dry. When dry enough seal a coat of glossy Mod Podge.
Your floral sneakers are done!
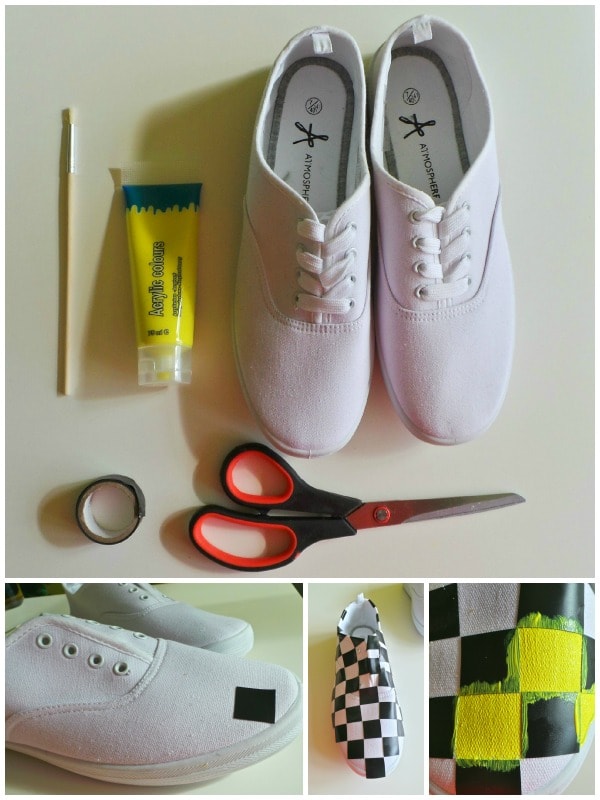
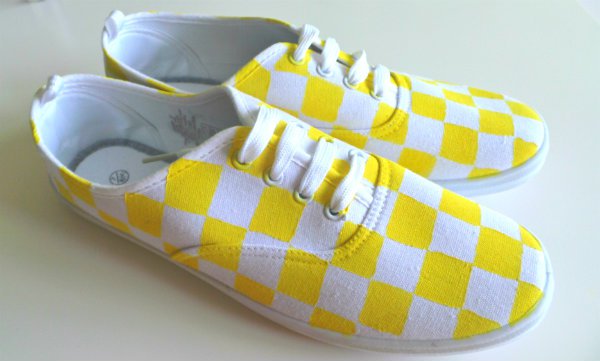
4. DIY SHOE TUTORIAL: LOUIS VUITTON YELLOW CHECKERED PRINT
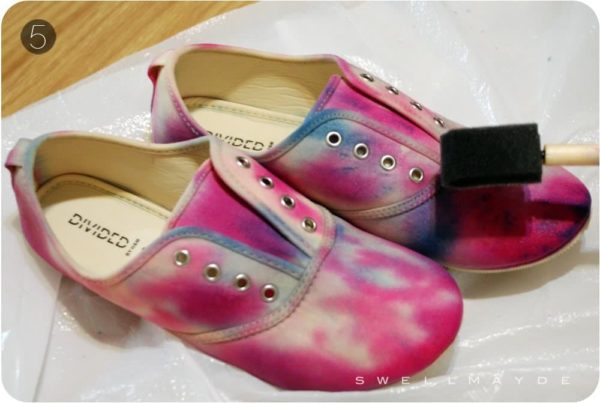
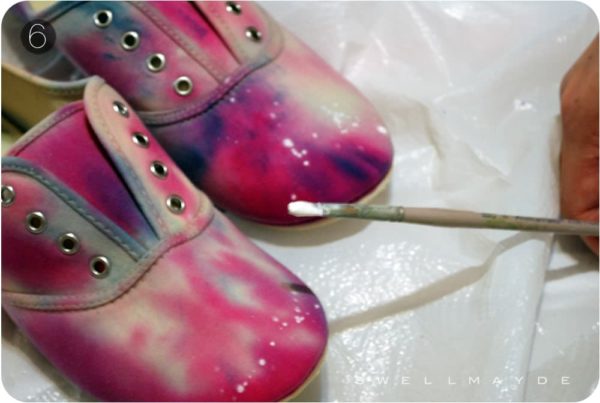
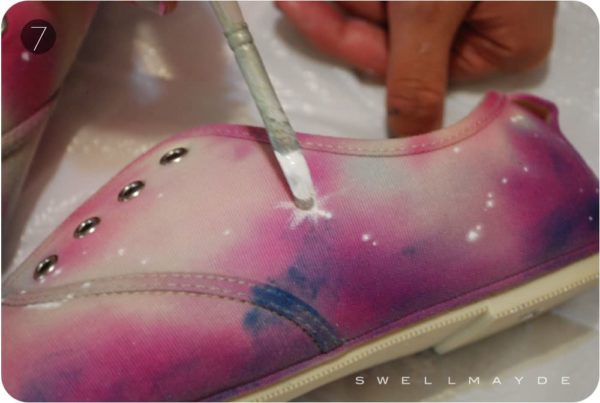
5. DIY – TIE DYE GALAXY SHOE
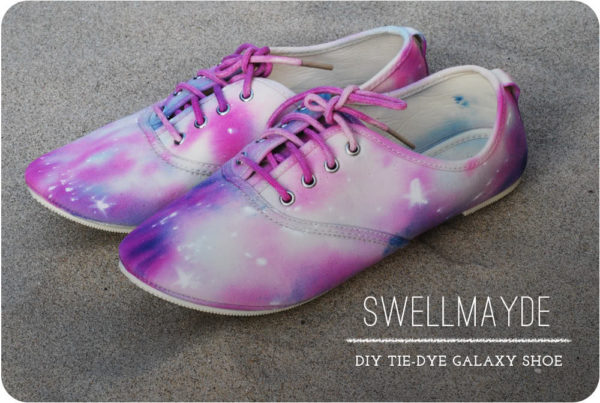
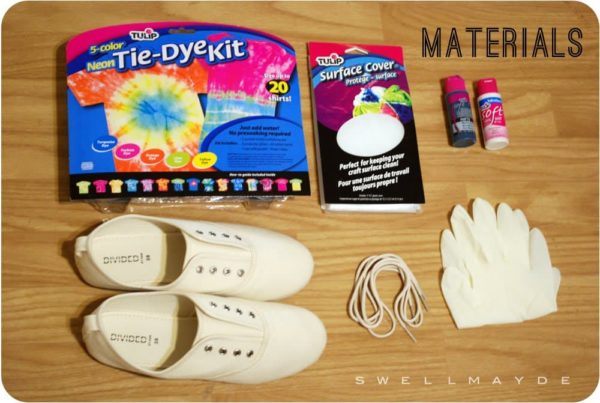
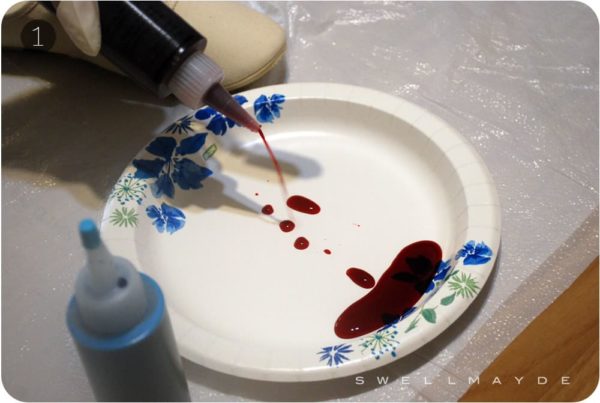
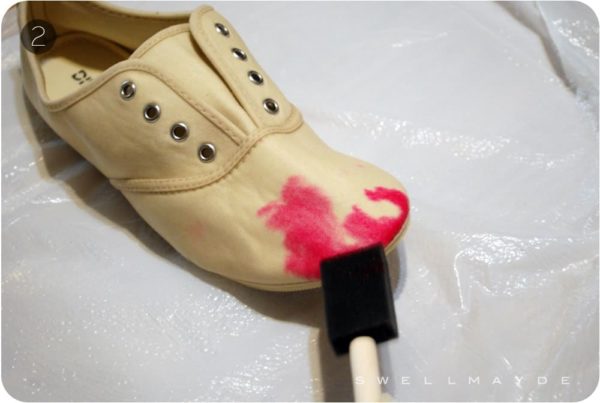
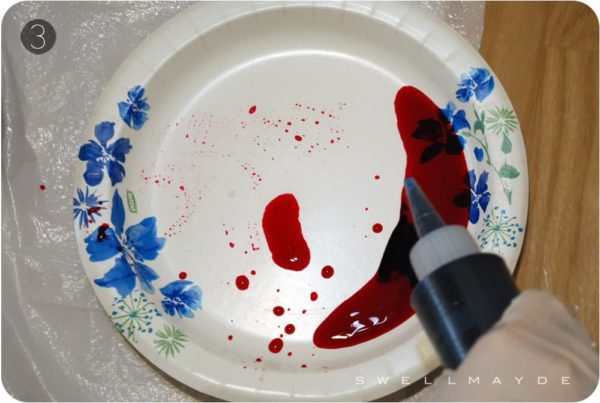
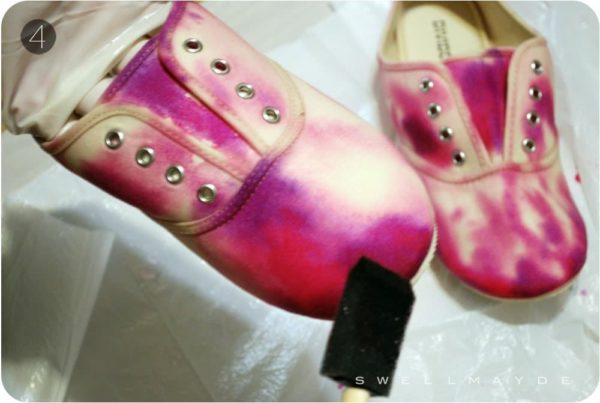
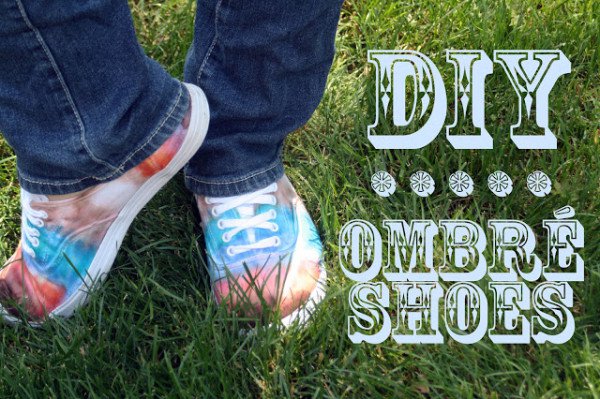
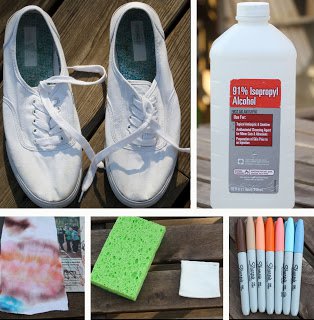
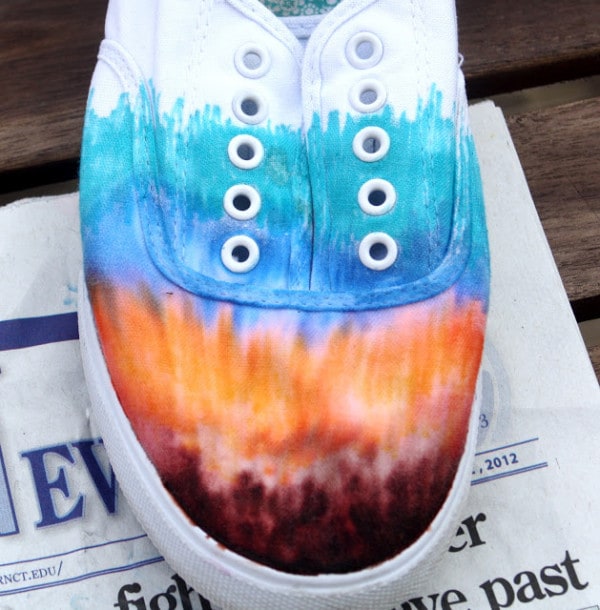
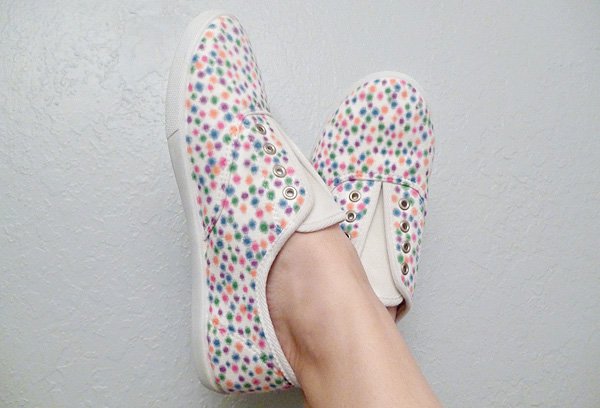
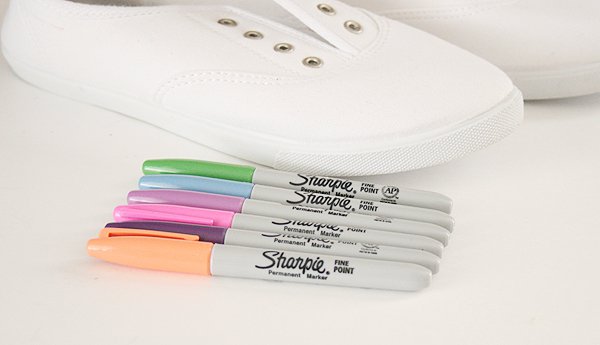
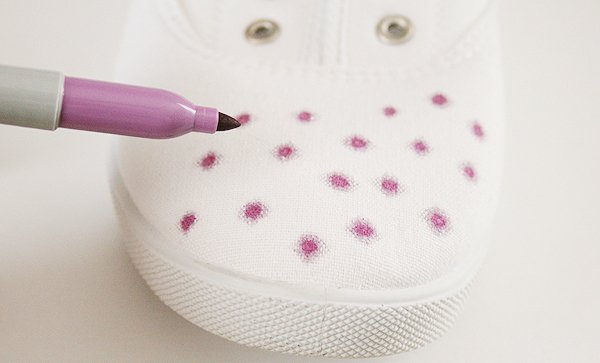
6. DIY: OMBRE CANVAS SHIES WITH SHARPIES
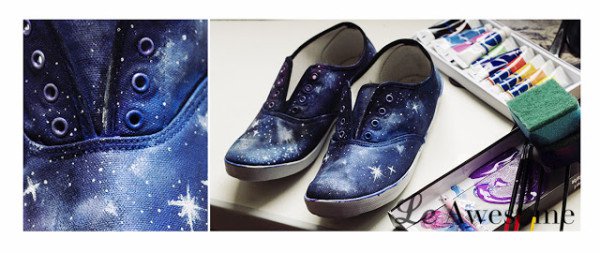
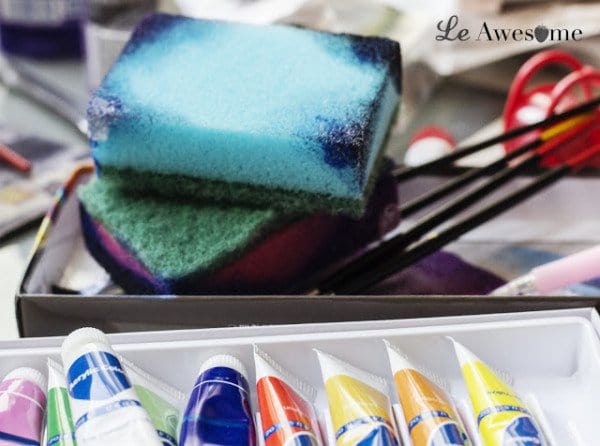
7. DIY GALAXY SHOE PROJECT
8. DIY SHOE
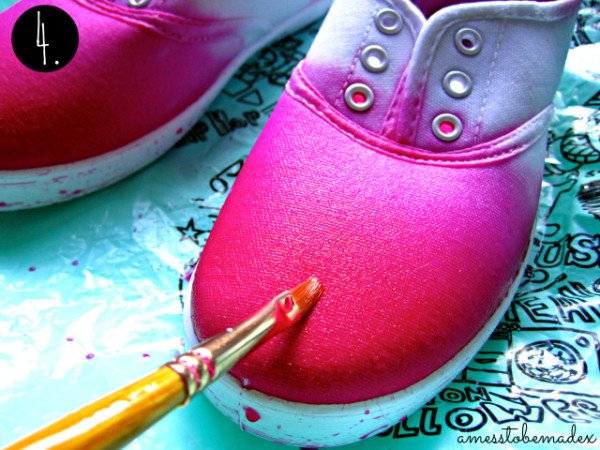
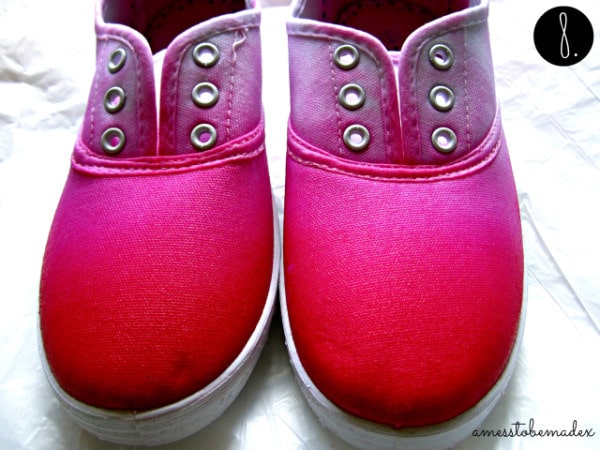
9. DIY DIP DYE SHOE PROJECT
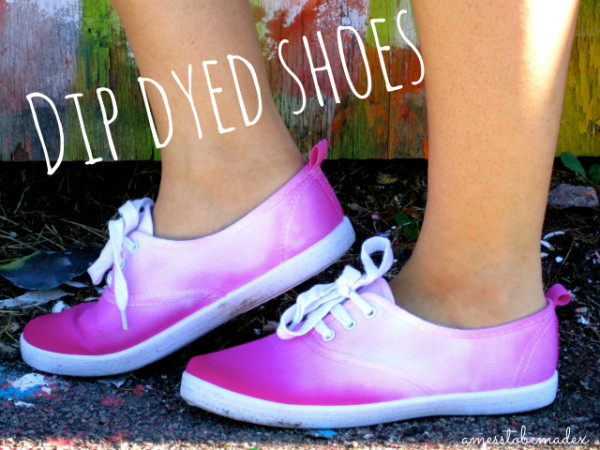
Colorful sneakers are always a perfect way to add a pop of color to your attire. If you don’t have any of them in your wardrobe, don’t worry at all. These DIY sneakers makeover projects will help you get your ones.
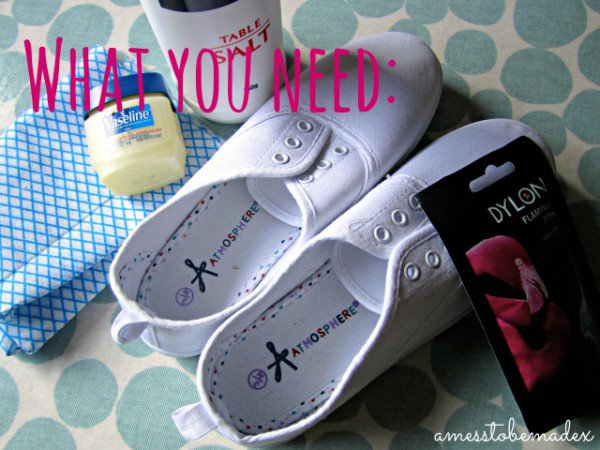
The supplies
Here are what materials you will need for the project
- Canvas shoes
- Rubbing alcohol
- A sponge or cotton pad
- Paints
- Newspaper
- Bowl
The steps
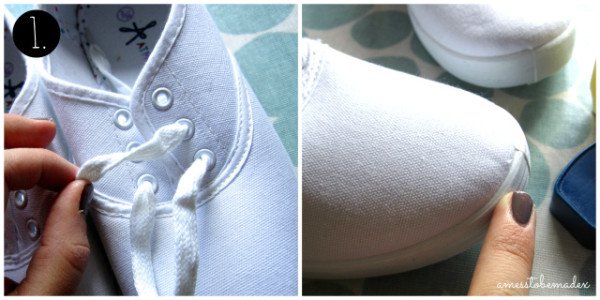
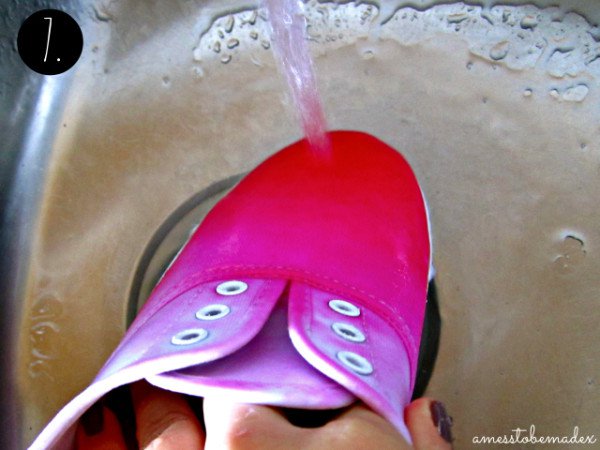
- Make sure the sneakers that you want to makeover are clean enough. If needed first wash them.
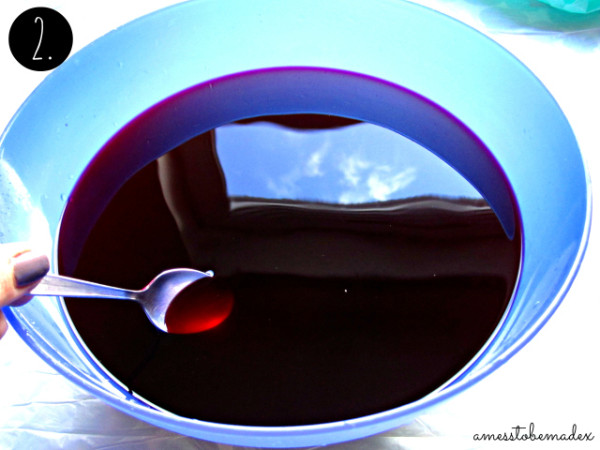
- All you need to do is to take any of the paints and start painting stripes. We recommend you first try the paints on a tester fabric so you can see their real shade. Some colors don’t spread at all and others spread into unexpected colors.
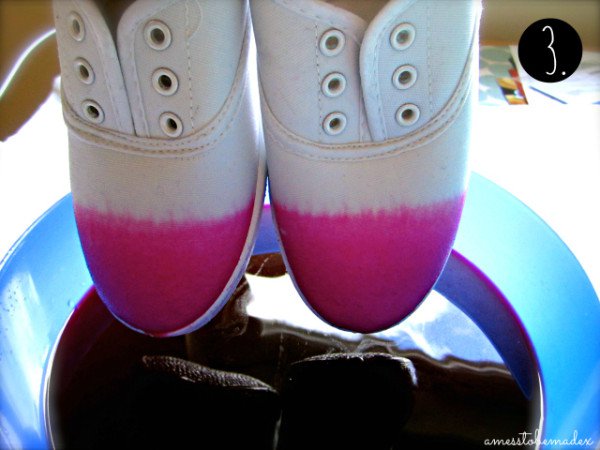
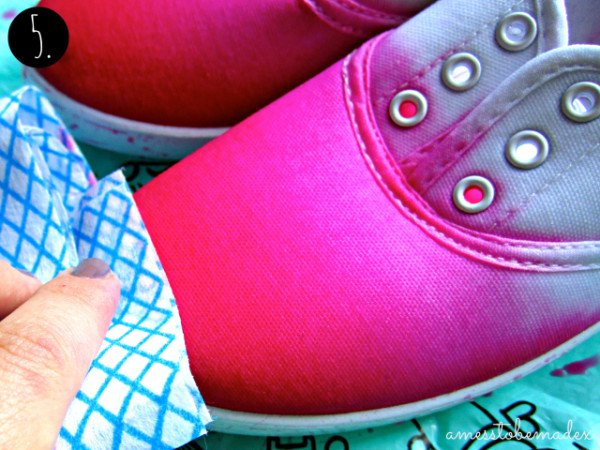
- Continue adding nest colors until you create an ombre effect. Try to wait till the previously applied color dries so you don’t get the colors mixed.
- Once you have finished applying all the colors and have the entire area of the sneakers covered well, let them dry.
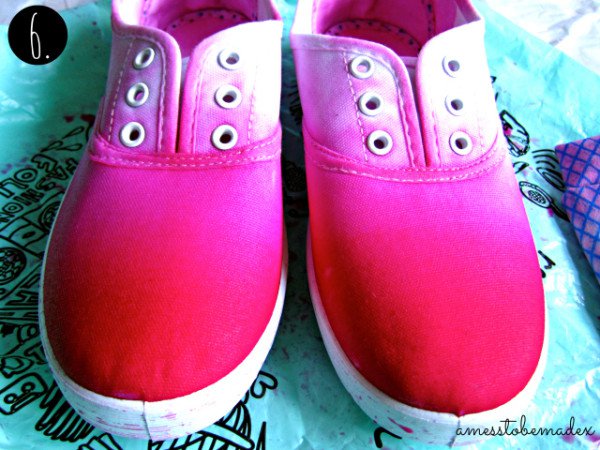
- After drying, you can finally wear your ombre sneakers.

