Hello ladies! Are you ready for some new and super creative DIY adventure? For today’s article, we have selected for you some super adorable DIY glitter projects. Do you enjoy the sinning and shimmering glittering effect? Well, scroll down the page to get inspired on how to create magic with glitter. Below, we have selected some super easy-to-do DIY glitter projects that no DIY projects lover can resist. The best side of these DIY glitter projects is that they are all inexpensive and can be done with supplies that most of us already have at home. Add some glittering magic to your simple and boring home decor, or learn how to decorate your keys, belts, or wardrobe hangers so that they never seem boring to you again. We are sure you will enjoy any and each of these projects. Share your favorite one with us. Enjoy!
2. DIY glitter heart pillows
Looking for some adorable Valentine’s Day home décor ideas? Then, you will definitely like these lovely DIY glitter projects we have prepared for you. Why don’t you try to DIY these amazing glitter heart pillows? Here is what you will need for the project:
- Throw pillows with removable cover
- Superfine metallic glitter
- Mod Podge in gloss
- A pencil and 2 medium-sized brushes
- A container to mix glitter and Mod Podge
The steps:
- First, remove the cover from the pillow. Lay it flat with the front of the pillow facing up.
- Take the pencil and using it draw a heart in one of the corners of the pillow cover. You can make the size you want, but however, take care to make it big enough so that the heart glitter effect is more visible.
- Make the glitter and Mod Podge mixture by mixing one part glitter with two parts Mod Podge in a container. Mix well using the brush.
- Now, using the same brush paint the heart with the first coat of mixture. Let dry for around 10 to 15 minutes.
- Continue applying the second and third coats of the mixture. You may need to add a fourth layer of the glitter and Mod Podge mixture until you get the glittering effect.
- Leave the pillow dry overnight. The next morning, you will already be ready to decorate your Valentine’s Day-inspired home.
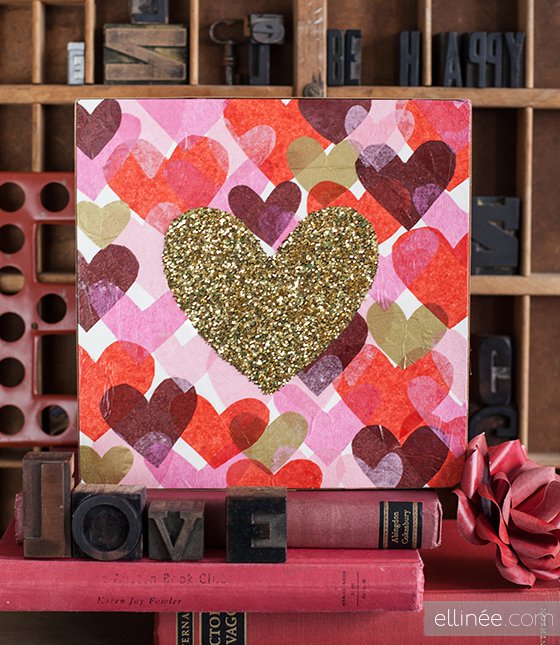
3. DIY glitter heart art
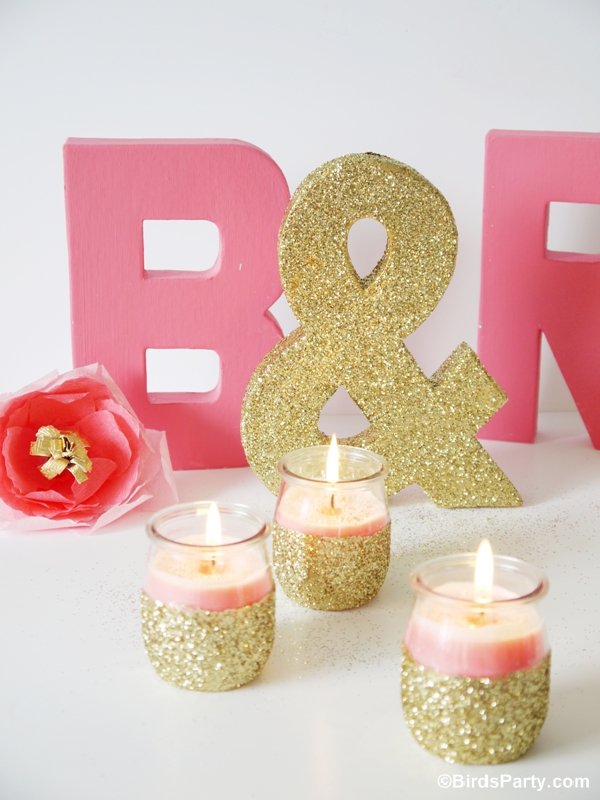
4. DIY Pink Candles and Glitter Candle Holders
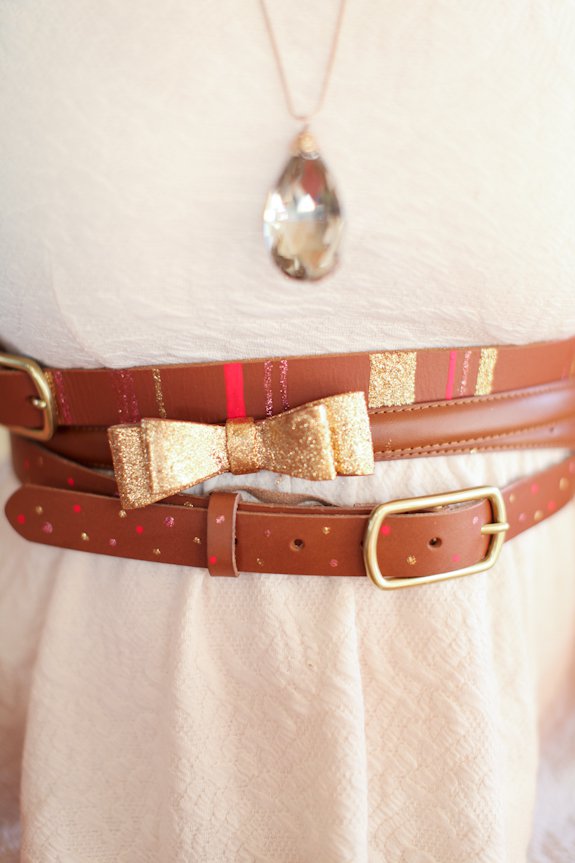
5. Glitter belts
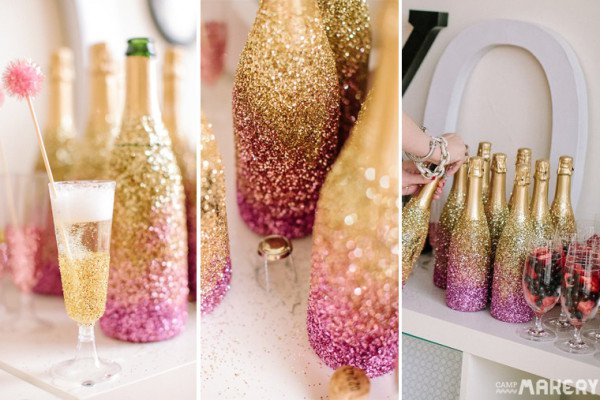
6. Ultimate Girls’ Valentine’s Party: Glitter Champagne DIY!
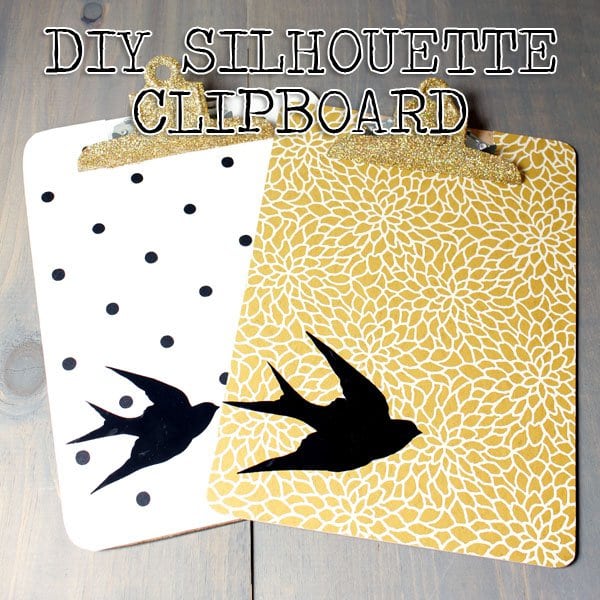
7. DIY Silhouette Clipboard
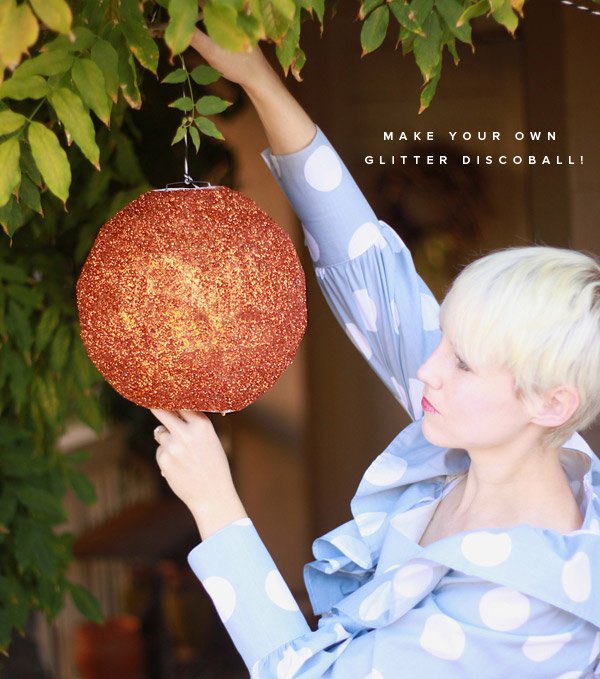
8. DIY glitter disco ball
9. DIY: Glitter key w-nail polish
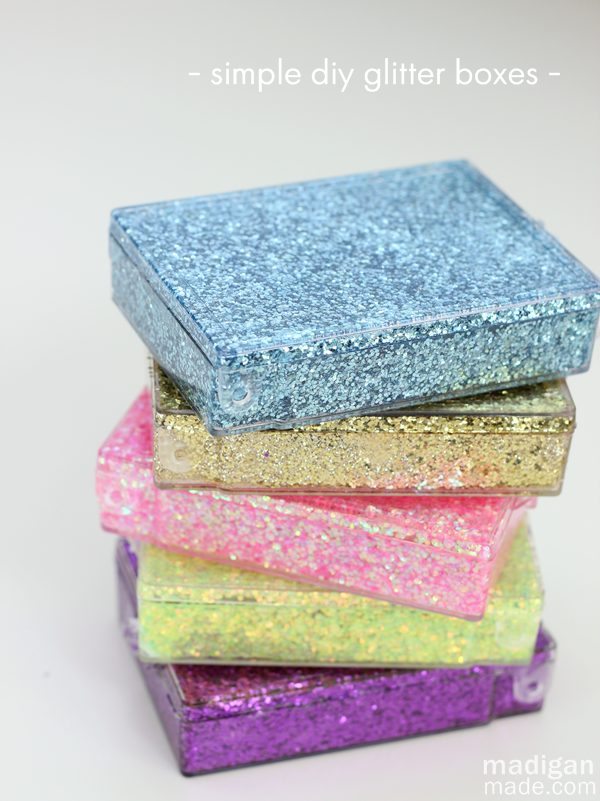
10. Madigan made… plastic containers into sparkly storage or gifts
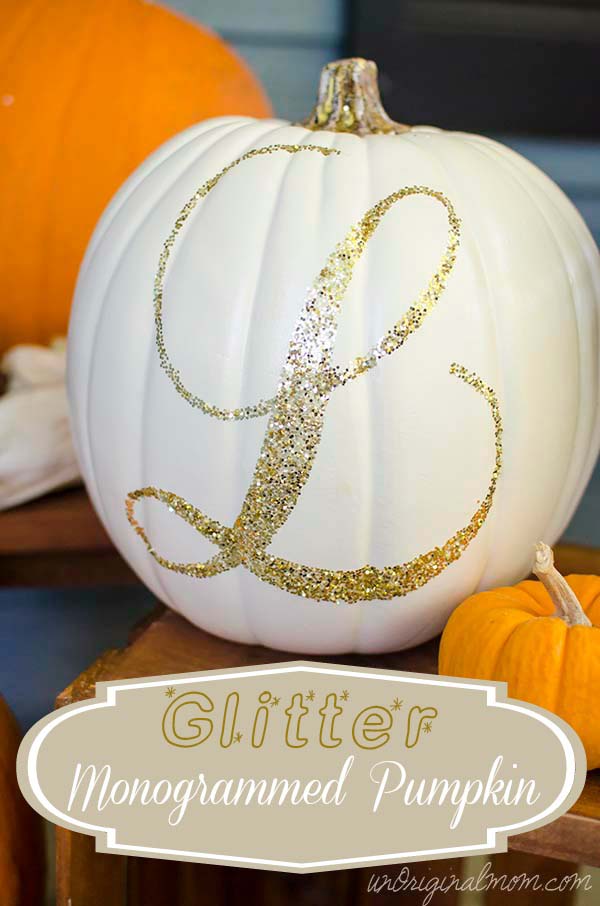
11. Glitter Monogrammed Pumpkin
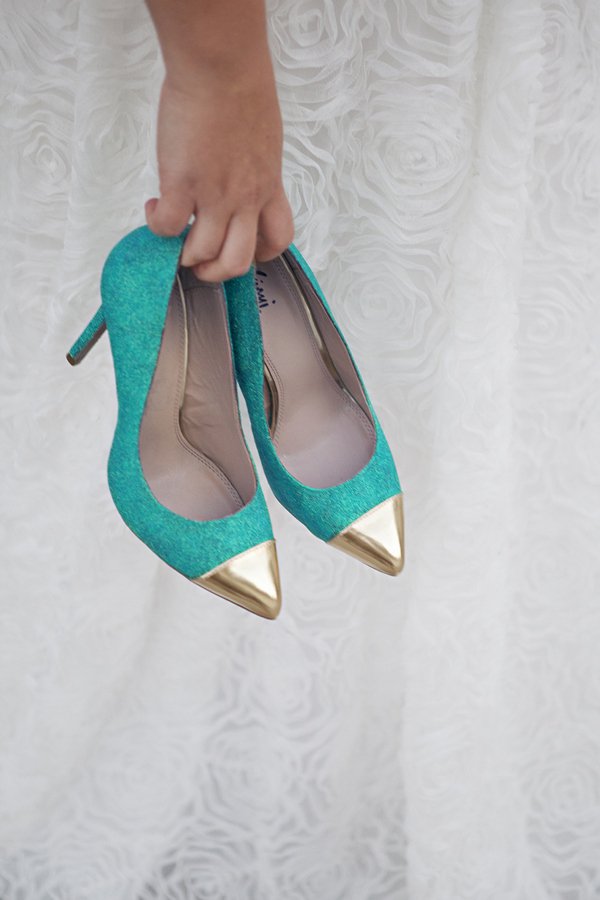
12. DIY glitter high heels
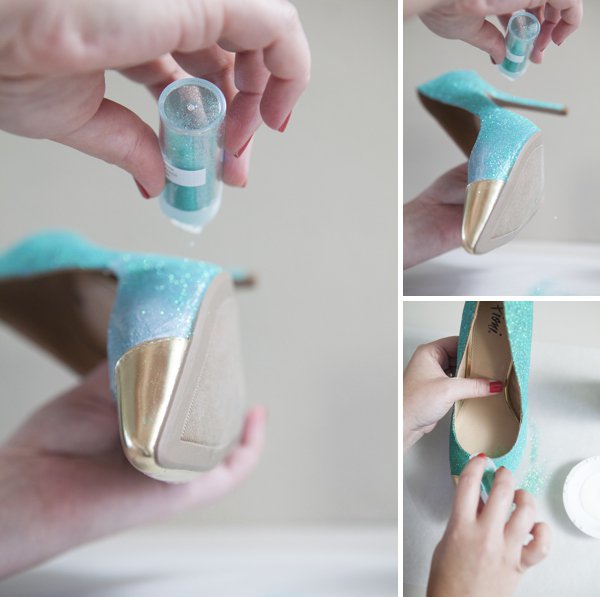
Are you searching for some DIY glitter project that every woman will simply enjoy? We have found it for you. This DIY glitter high heels project is what you were looking for. Here are the supplies you will need for it:
- A pair of heels
- Glue in gloss finish
- Painting brush
- A small container and wax paper
The steps:
- This is one of those DIY glitter projects that will take you time (maybe even three days), but that is absolutely worth it!
- You can divide the entire heel area into a few sections and then work each section one by one.
- Glue onto a small section of the heel. Then shake on the glitter and apply it liberally to the glued heels section. Tap the shoe on the desk to remove excess glitter. Do it over a piece of wax paper so you avoid extra cleaning work for yourself.
- Complete the same procedure with each of the sections of the heels.
- When the entire area of each heel is covered, repeat the same procedure to apply the second layer.
- Leave dry. When dry enough, you can finally walk in your magical glittering heels.
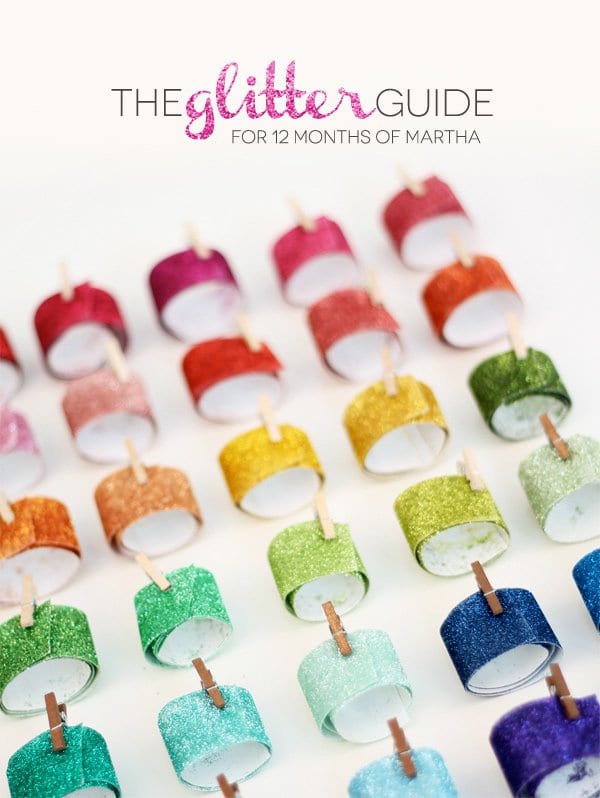
13. The Ultimate Glitter Guide
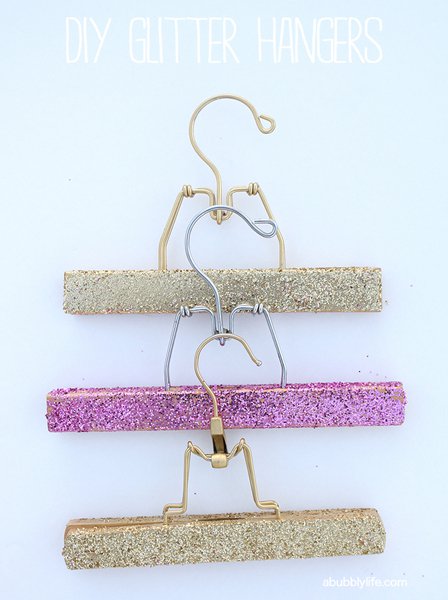
14. Easy Mod Podge glitter hangers
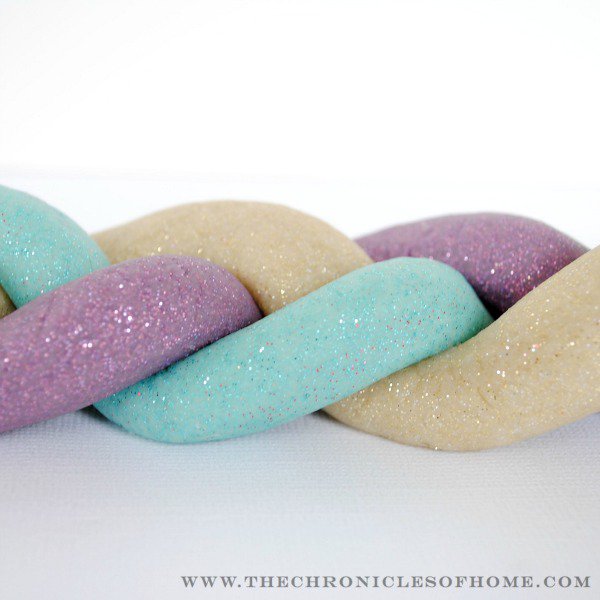
15. DIY Glitter Playdough
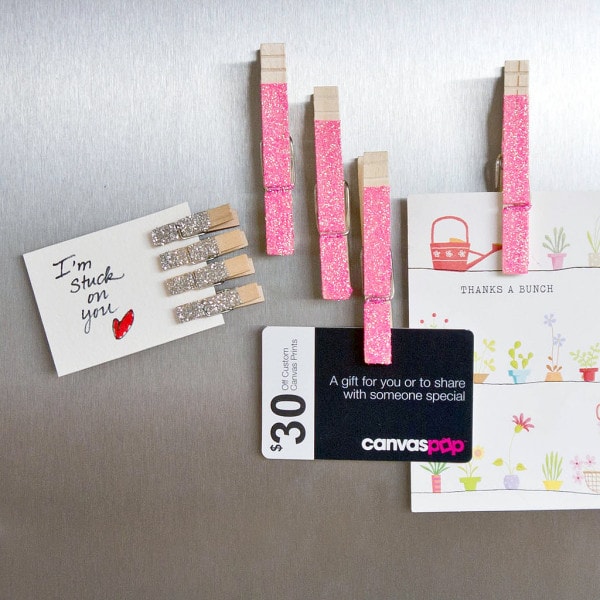
16. Glam Up Memos With Glittered Clothespin Magnets
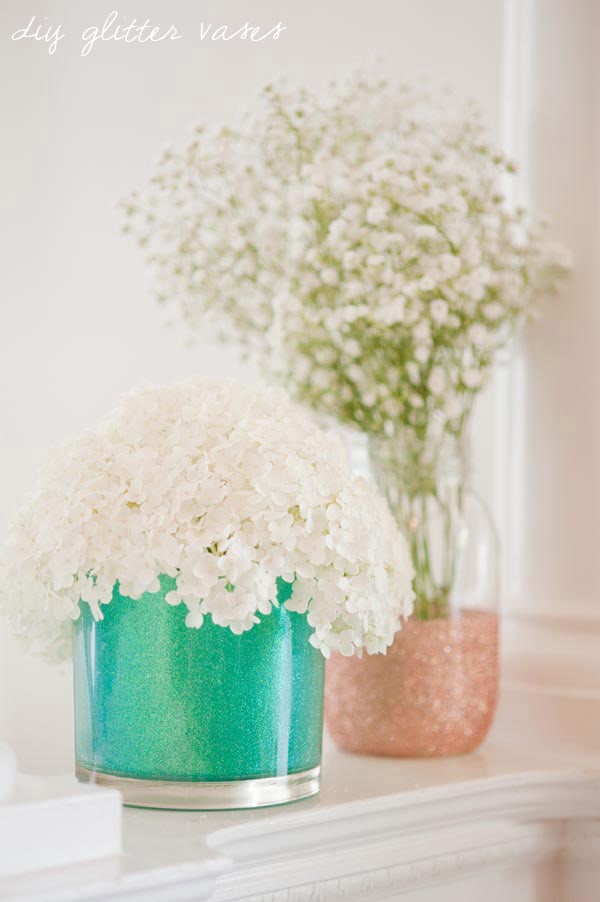
17. DIY glitter vases
Here is another from the list of the best DIY glitter projects to use for decorating your home. These adorable glass glittering vases are so easy to be done. For this project you will need the following supplies:
- Glass containers (preferably with smooth and straight sides)
- Glitter
- Foam brush
- Painter’s tape
- Mod Podge
The steps:
- Take the foam brush and using it apply a thin coat of Mod Podge on the interior walls of the vase.
- Then dump in a generous amount of glitter, and rolling the vase in your hands, tape the sides to get the glitter to evenly coat the Mod Podge.
- Let the vase dry for a few hours.
- Voila, your new and decorative glitter vases are done to fulfill your home décor.

