Hello DIY lovers! Are you ready for some new and fresh DIY clothing ideas to try? In this article, we are sharing with you some of the best DIY clothing ideas that you can copy and re-purpose some old clothes that you don’t wear anymore. These up-cycling projects will teach you how to transform old clothes into new and fresh ones. If you have some old clothing that you do not wear anymore, then these projects are for you. You will adore these easy-to-do DIY clothing ideas. There are only a few steps and some materials that you already have at home that are parting you from your new and refreshed wardrobe.
Scroll down the page to explore some of the most inspiring DIY clothing ideas. We leave you to enjoy! And, we invite you to try most of them and then share your results with us. You can use the clothes made out of these DIY clothing projects for your next night out, or for whatever occasion you want.
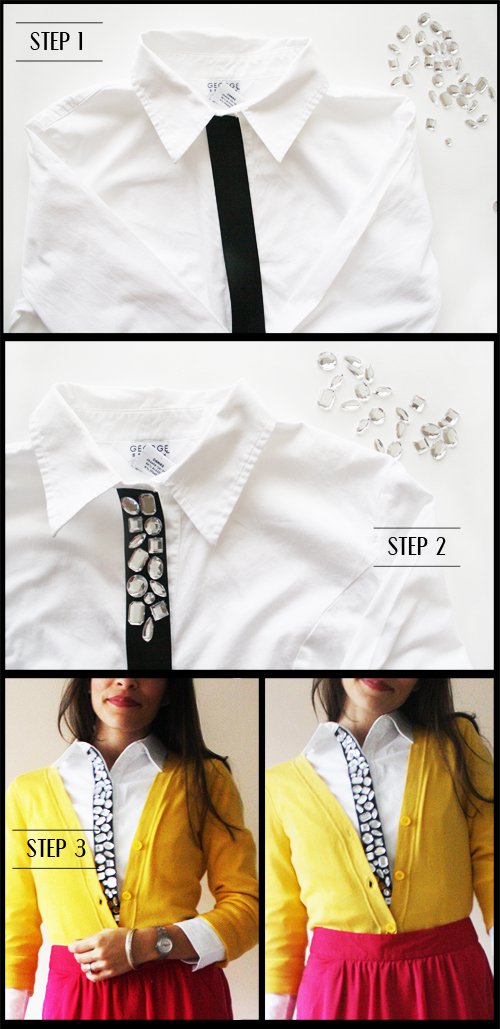
1. INSPIRED: RHINESTONE TRIM SHIRT
2. DIY: NO-SEW SCALLOP EDGE LACE SKIRT
3. DIY PEARL COLLAR
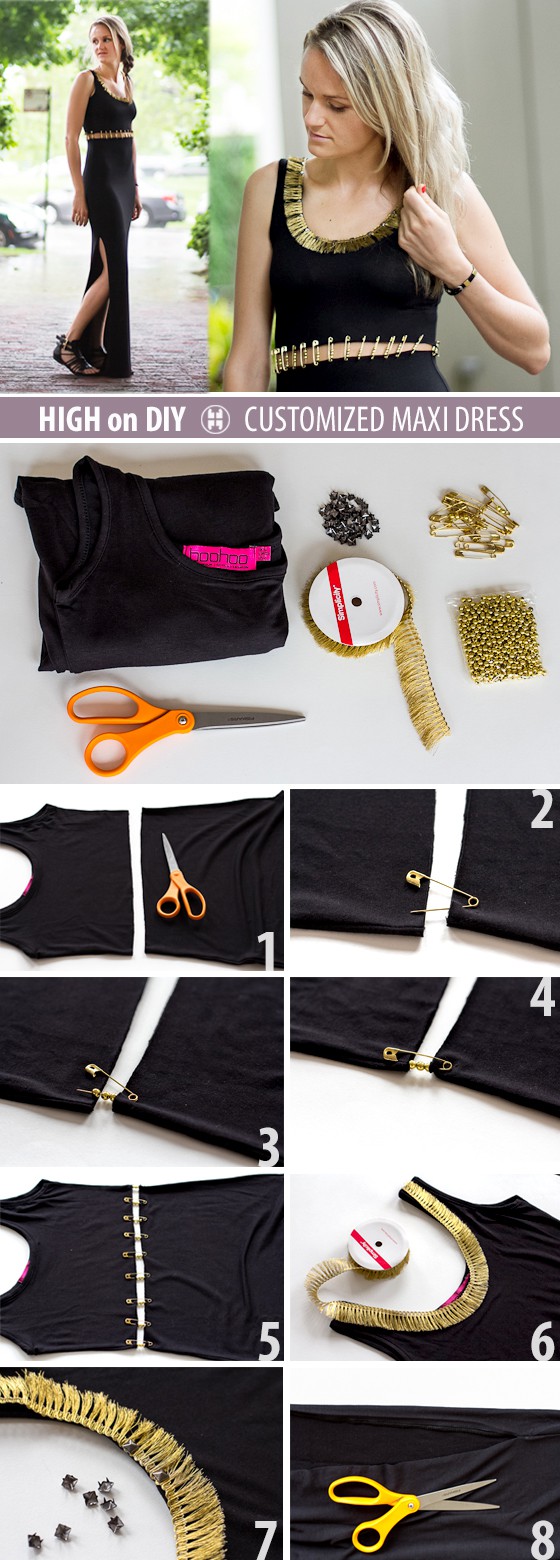
4. DIY CUSTOMIZED MAXI DRESS
Are you ready for some cute DIY clothing ideas? This DIY dress is not only cute but is also so comfortable and will perfectly fit your summer look. There is no sewing involved so you don’t need to worry if you have no sewing skills. Here are the needed materials:
- A maxi dress
- Gold metallic fringe trim
- Studs with 4-fold-over prongs
- Gold safety pins
- Gold pear beads
- Scissors
The steps:
- First, try on the dress to mark where you want the top to be cropped. Lay the dress on a flat surface and cut the dress on the marked points. Make the cut in a straight line. You will this way get two pieces of the dress, one for the skirt part and another for the top part.
- Leave the dress laying on the surface and take a safety pin. Put it through the front edge of the skirt piece of the dress. Start from one side and make sure that the safety pin is not too close to the edge.
- Then add three of the gold beads to the safety pins for decoration.
- Again, put the safety pin through the front edge of the top piece of the dress. Secure it.
- Repeat the previous steps till you complete joining the top and the skirt pieces on both the front and the back side of the dress.
- Now, measure and cut the metallic fringe trim so that it can fit the front neckline of the dress.
- Using the pronged studs secure the trim toon the dress neckline.
- Finally, try the dress on and mark where you want the side splits to begin. Cut on the sides using scissors. Voila, you are done!
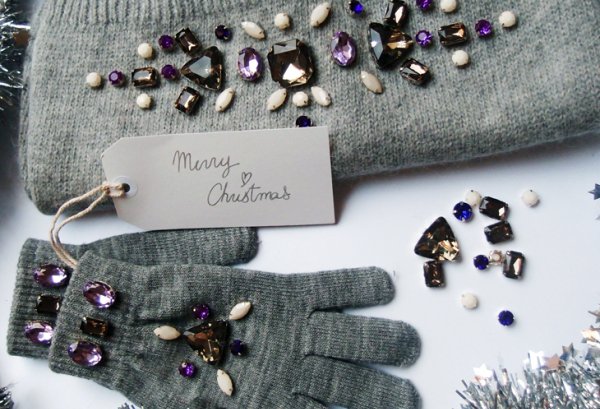
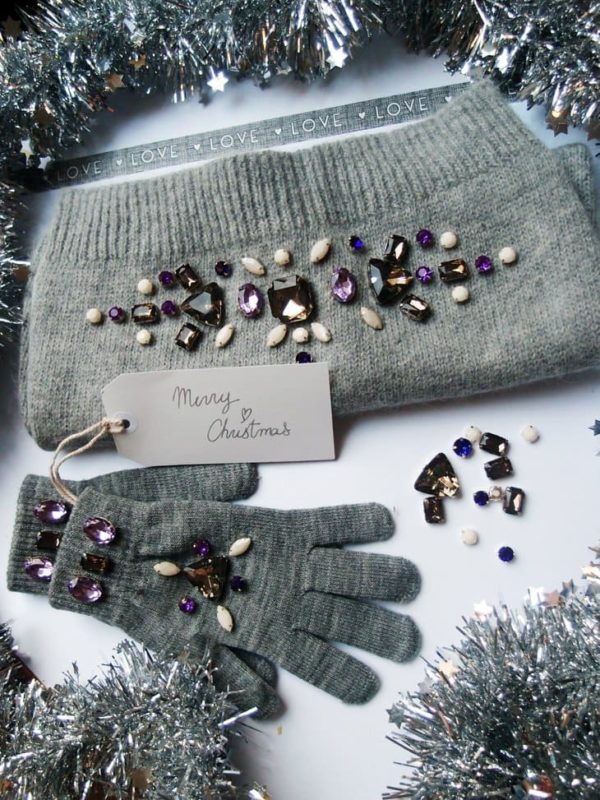
5. DIY CHRISTMAS PRESENT IDEA: RHINESTONE EMBELLISHED SCARF AND GLOVES
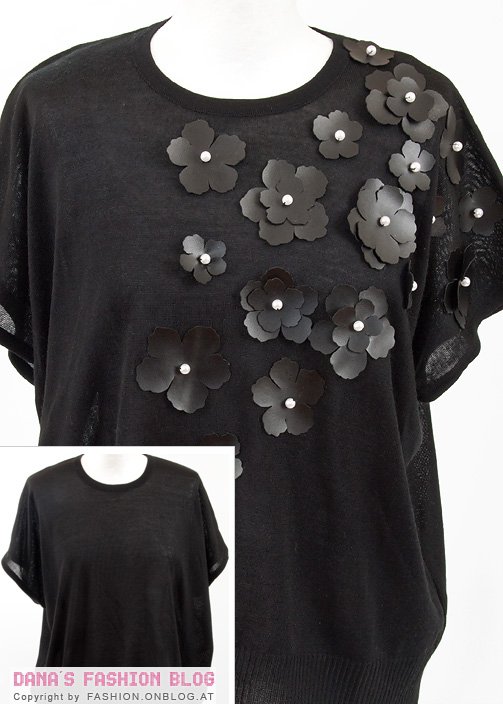
6. FASHION ACCESSORY: DIY LEATHER FLOWER TOP
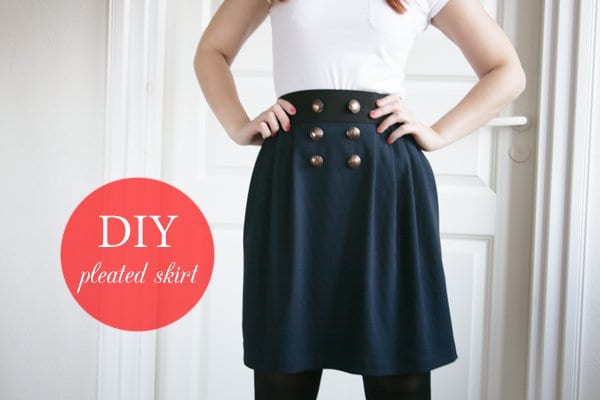
7. DIY SIMPLE PLEATED SKIRT
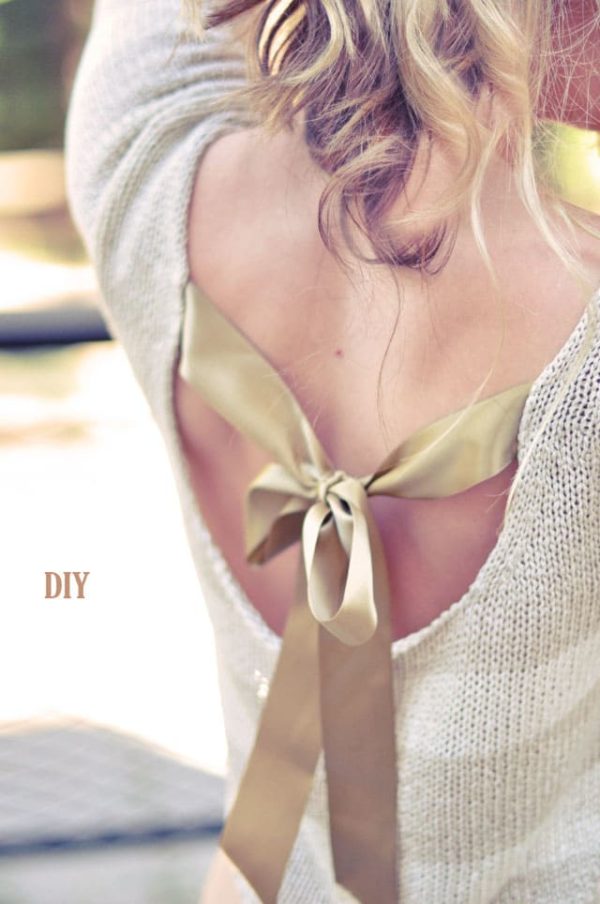
8. PRETTY DIY BOW SWEATER
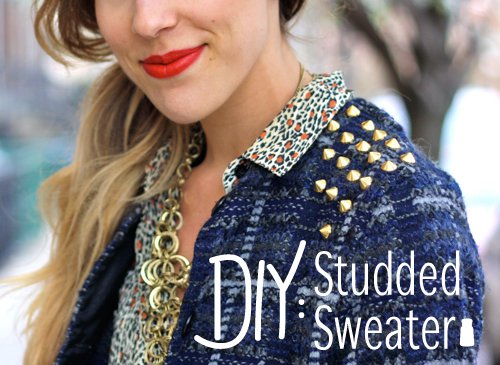
9. DIY – STUDDED SWEATER
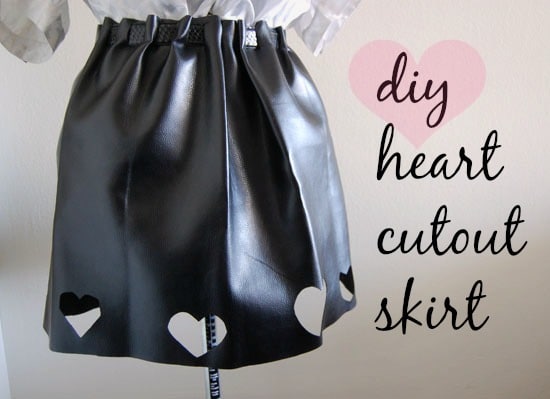
10. DIY Tutorial: Valentine’s Day Heart Cutout Skirt
11. DIY FRINGE SKIRT
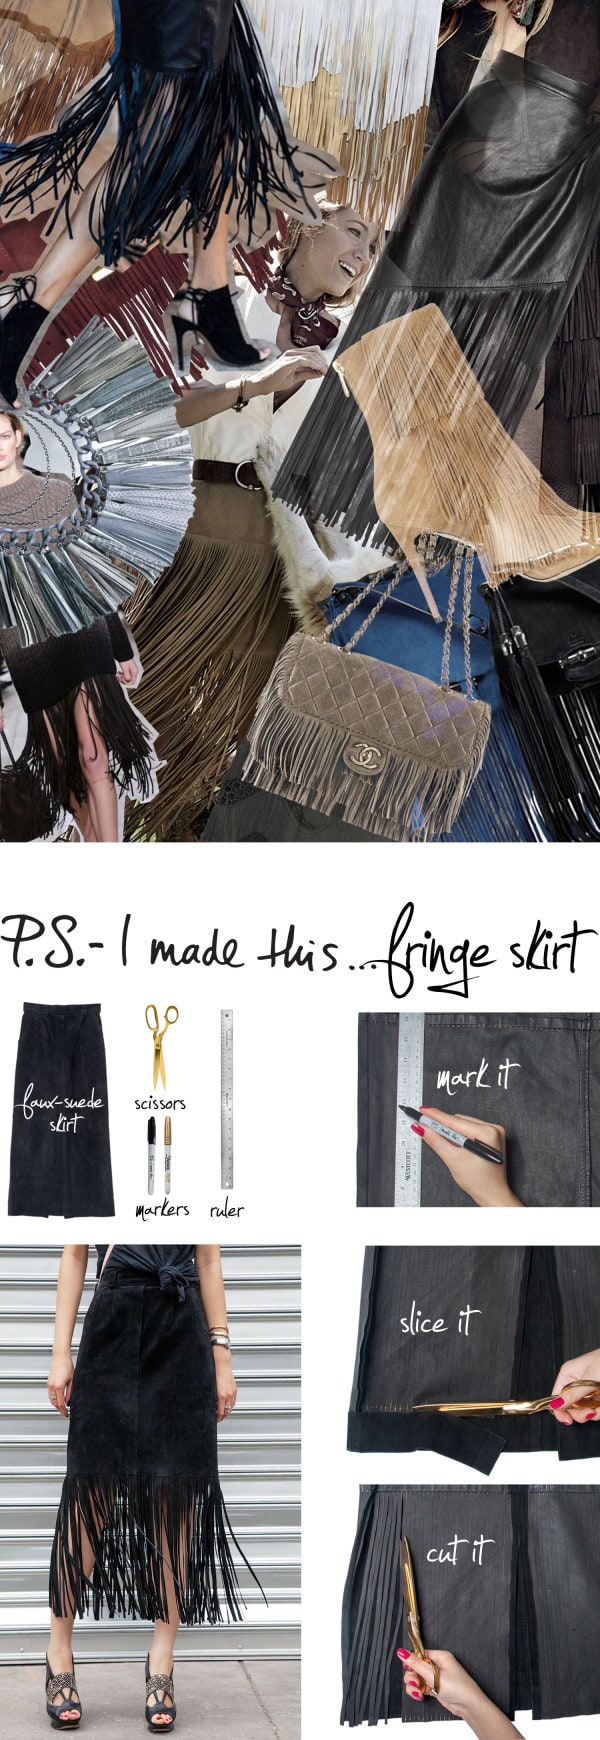
Looking for some inspiring and fashionable DIY clothing ideas? You have already found it. We are sure you will simply adore these cut DIY fringe skirts. If you adore the boho style then this skirt will soon become one of your favorite wardrobe staples. All you need for this project is an old skirt and scissors. To create the skirt, follow the next steps:
- Turn the skirt inside out.
- Measure and mark ¼-inch strips. The best is to start working from the center of the skirt and then move to the sides.
- You can use some stripes to mark the points on the seams and then a ruler and sharpie to connect the lines.
- Take the scissors and cut the entire bottom hem off. This way you will create fringes. Voila, your fringe skirt is done!
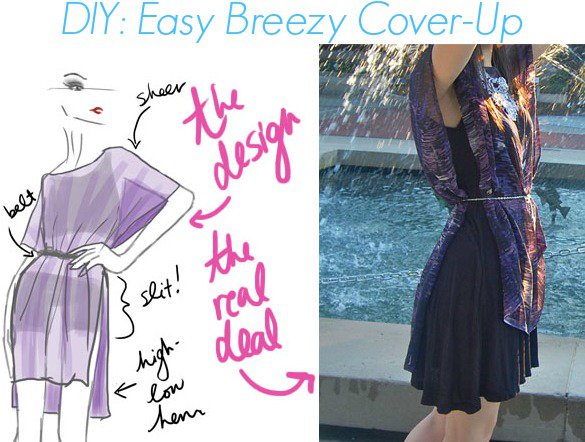
12. DIY TUTORIAL: EASY BREEZY COVER-UP
13. NO-SEW OPEN BACK SWEATER DIY
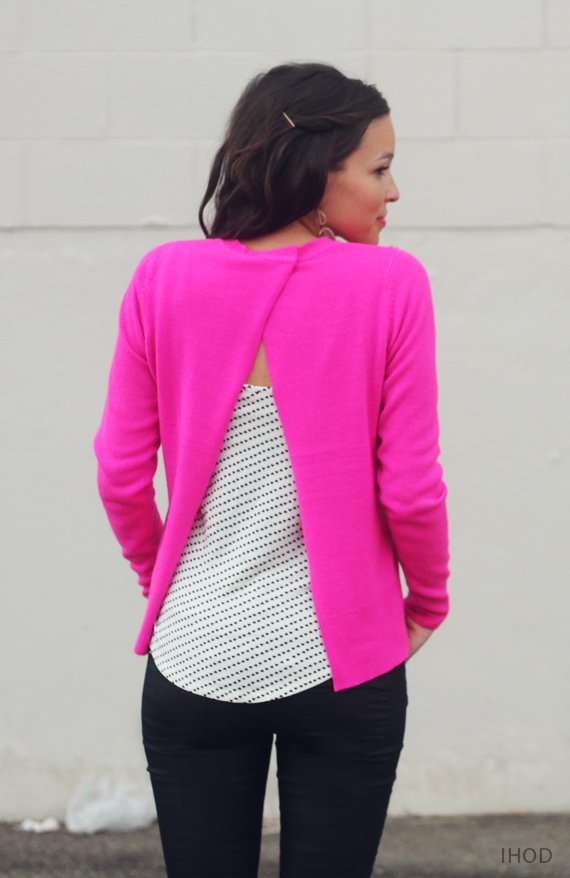
Here is another interesting DIY clothing idea that you must try for the fall season. This no-sew open-back sweater is a perfect way to style fashionable fall outfits. it is an easy way to up-cycle an old sweater that you don’t wear anymore. For the project, you will only need an old sweater and scissors. Here are the steps:
- Cut a straight line down the back middle of an old sweater that you want to up-cycle.
- Then, cut 3 strips of sticky back velcro to the top ends of the collar of each half. it will stick well to the sweater and will keep the sweater open and closed with no budge. also, you can sew on buttons or sew the velcro if you want to secure it longer.
- Finally, line the edges of the sweater in order to prevent fraying.

