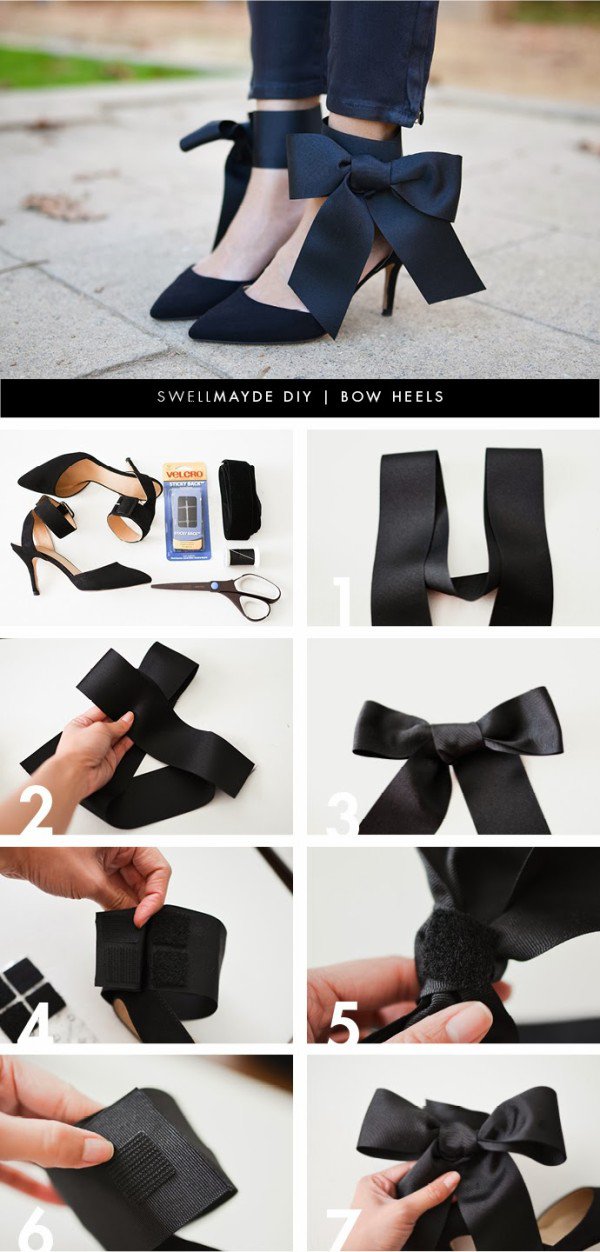
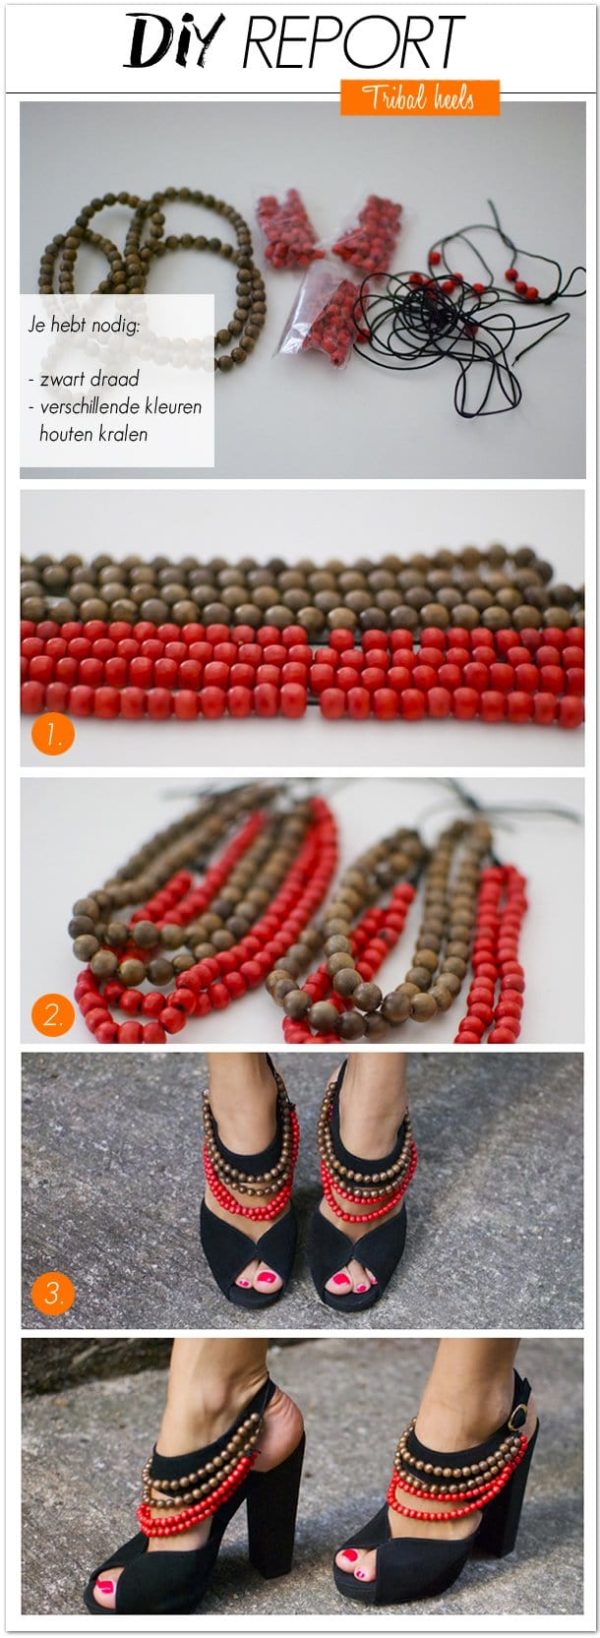
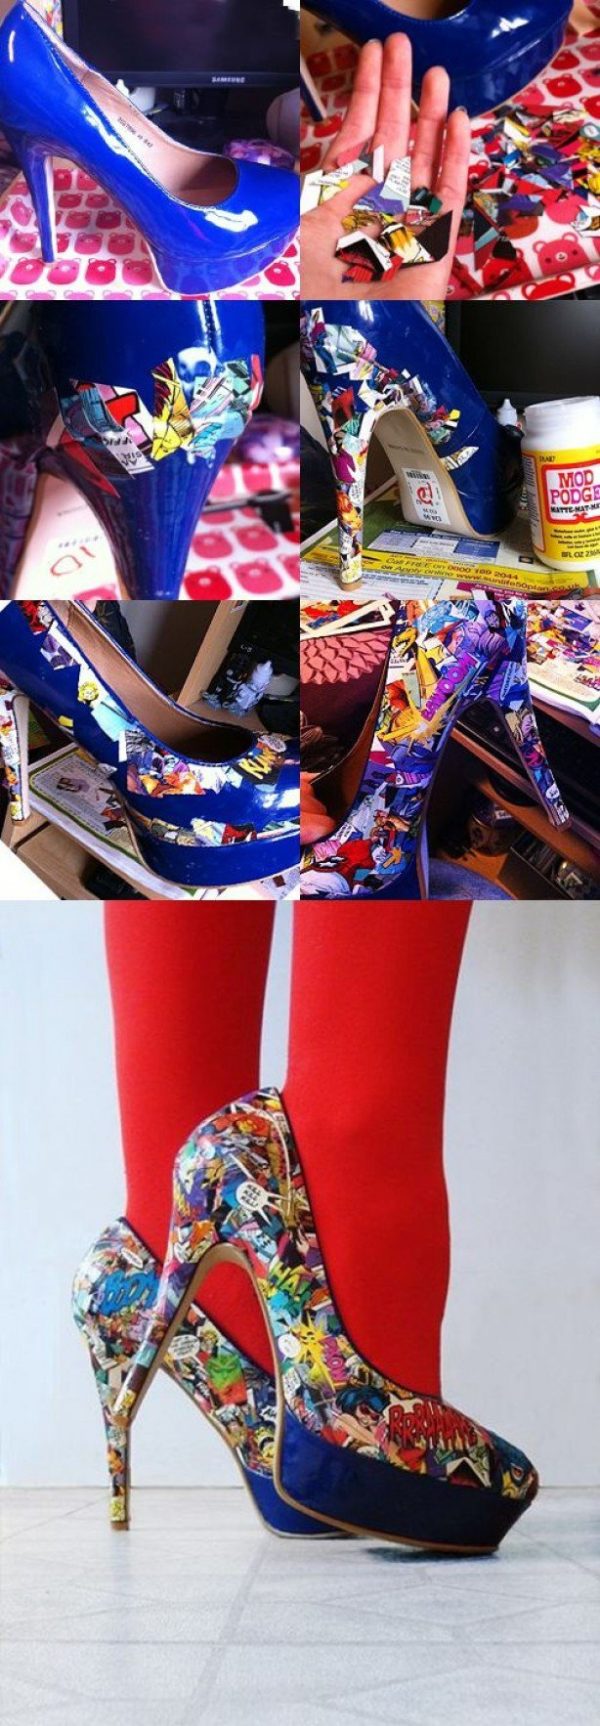
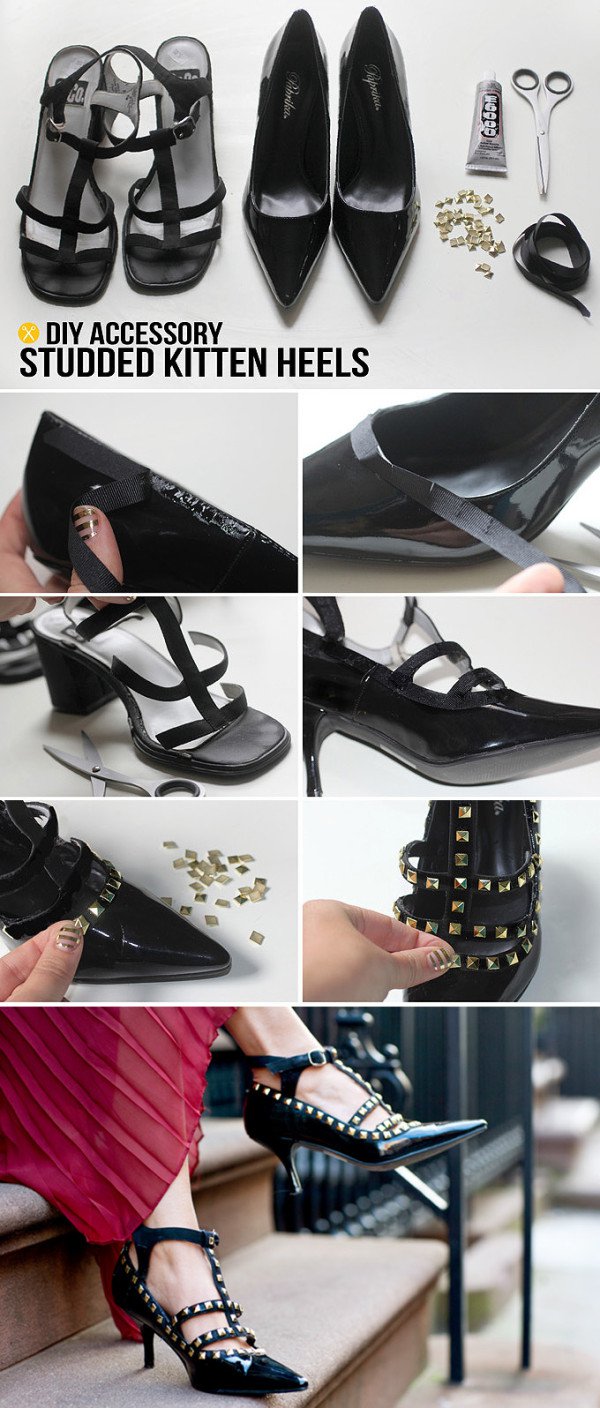
Hello DIY lovers! Are you ready for some inspiring DIY heels projects today? In the gallery below we will try to present you some creative ways to DIY heel and repurpose your old heels into some new and eye-catching ones. Get ready for the easiest heels makeovers ever. Scroll down the page to see how to transform old boring heels into new and modern footwear in less than an hour. Enjoy!
DIY glitter heels
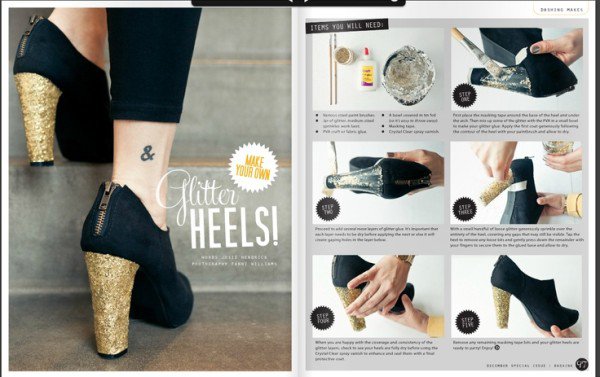
Are you a fan of things that sparkle? Then, you will definitely adore this DIY heels project. If you don’t have some glitter shoes at home, don’t worry at all, you can make them on your own. All you will need is a pair of heels that you want to glitter, fabric or tacky glue, glitter, a small paintbrush, painters or masking tape, and a sealer. In order to get a more eye-catching look of your heels, try adding glitter to just one part of the shoe, for example, the heel.
- First, tape off the section you want to add glitter to with the masking tape.
- Cover the rest of the shoe in a plastic bag to keep it away from the glitter.
- Take the paintbrush and using it apply a heavy layer of glue to the section of your shoe that you want to cover with glitter. In our case, it is the heel of the shoe.
- Allow the glue to dry a little.
- Using your paintbrush take from the glitter and apply over the glued section. Repeat until the section is completely covered in glitter.
- Your glitter heels are done! Just be careful since the glitter over them can be a little messy.
DIY the ultimate styles-up party season heels
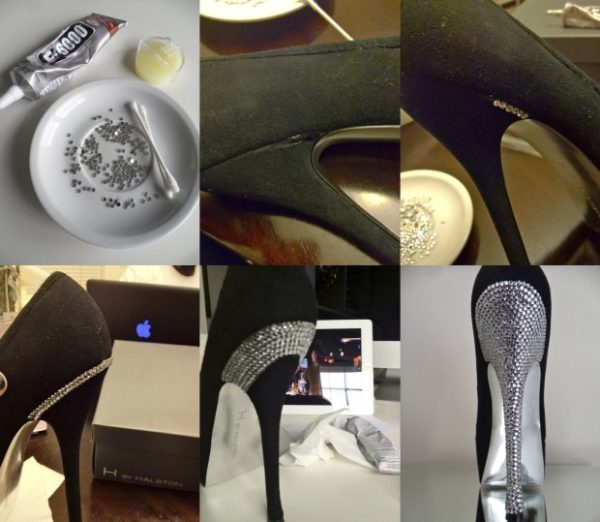
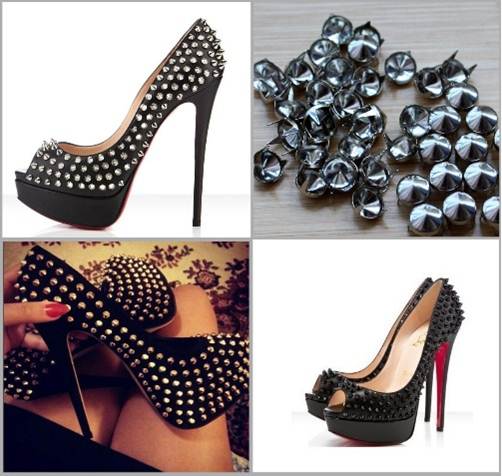
For this DIY heels project, you will need the following materials: a pair of high-heels, glue, flat-backed gemstones, and a skewer. The project is so easy to do. All you need is to follow the step-by-step tutorial below and put your creativity on max (since you will need it for the gemstones design). Start from the center of the back part of the heel and work your way out to the sides and down the heel. Put a little glue to the flat-back of the gemstone and stick it to the shoe.
Extra tip: if you are unhappy with the placement of the gemstone over the shoe, don’t worry at all. The glue will need around 10 minutes to completely dry, so you can change your mind in these 10 minutes and replace the gemstone.
Another extra tip: don’t worry if you have placed too much of the glue and it spreads away from the gemstone to the heel. It will dry clear and then you can remove it easily with the point of the skewer.
Extra tip number 3: Leave to fully dry before wearing your newest DIY heels so you don’t risk any of the gemstones falling off the shoe.
High heels she makeover: DIY cap toe heels
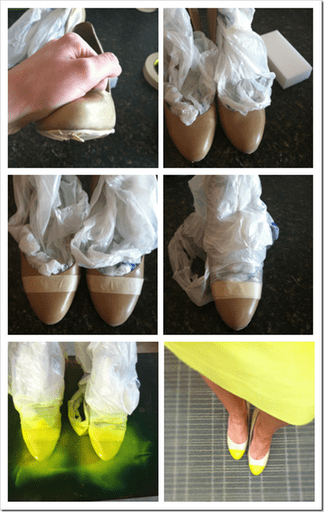
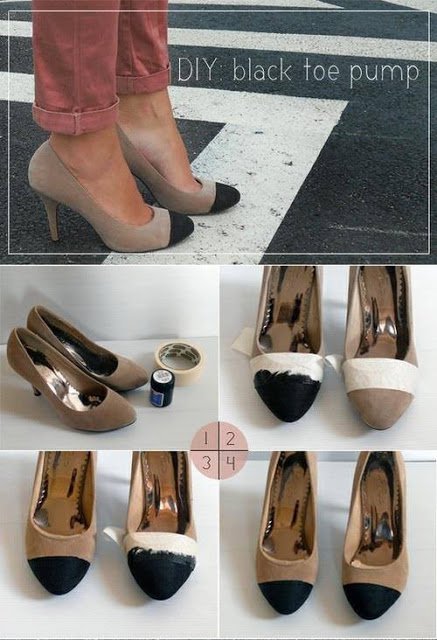
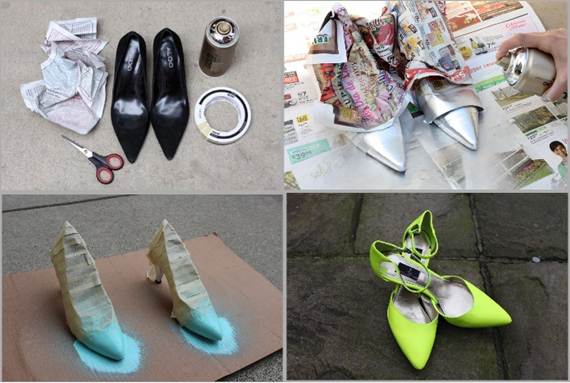
Are you in for the easiest DIY heels transformation project ever? All you will need for this project is masking tape, spray paint, and your patent heels. One extra tip for the project: do it outside or in an open space!
- With the masking tape, tape the parts of the shoes that you don’t want to color. You can also put a stand of the tape where you want toe painted, and cover the rest of the shoe with a plastic bag.
- Take the spray paint and spray from it over the surface you want to be colored. Use 4 to 4 coats of spray paint for a complete finish. Another extra tip: keep in mind the directions of the spray can!
- Leave the shoes in an airy space to dry the color.
- You officially have a new pair of cap-toed heels.
DIY lace-up heels
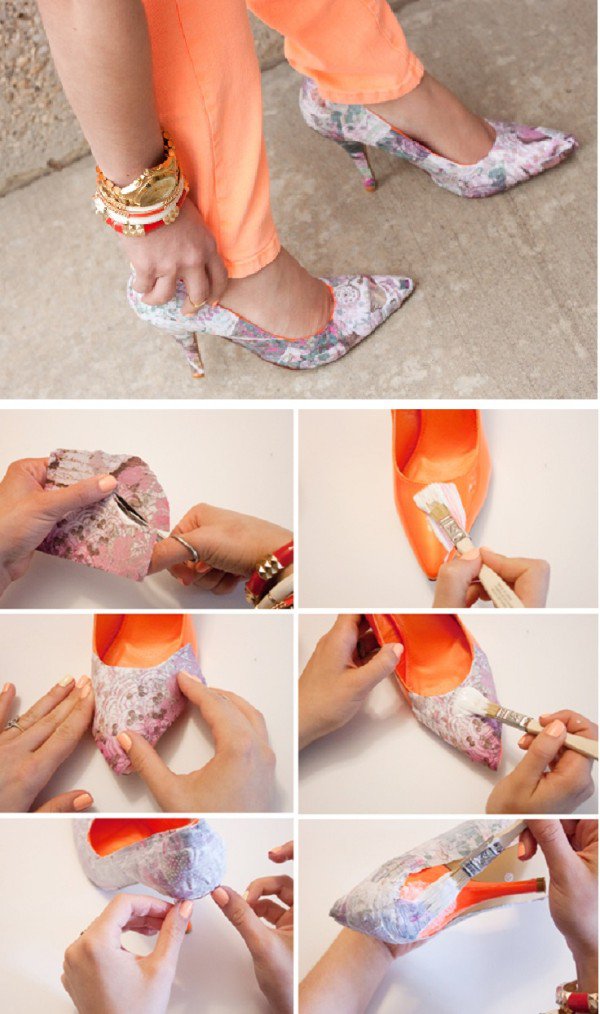
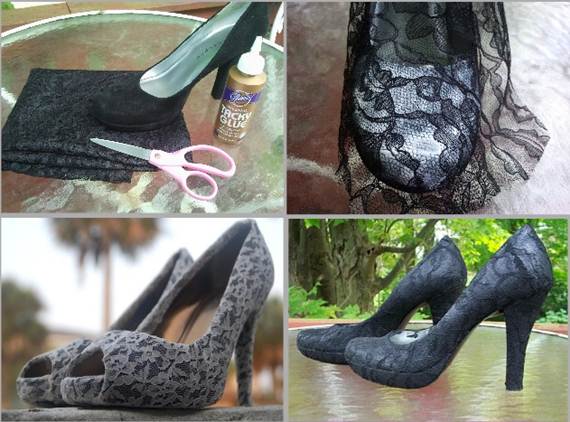
Lace heels are always trendy. If you are not willing to spend an enormous amount of money on getting your new lace heels, don’t worry at all. For all creative DIY project lovers, we have an inspiring idea on how to transform some old heels into new lace ones. For this DIY lace-up heels project, you will need a pair of heels, two pieces of lace, and some glue. This is definitely the easiest DIY heels project ever since there are only four steps you need to go through to get you perfect heels. Here we go:
- First, prepare your heels for the project. Brush them or clean them of any dirt.
- Apply the glue to the lace. Try to put just enough to the edges so it doesn’t leak when you stick it on.
- Stick the lace over the shoes in the direction you want.
- Let the glue dry well. Your new lace heels are ready for the dance floor!
