With winter already here and the weather colder and colder, we are all spending more and more time inside the home. And, what better thing to do than to use your free time on some creative and useful DIY projects? Since the temperatures began to fall, you need to defeat the cold weather with some winter accessories. If you are a fan of DIY projects, then here are some DIY winter accessories projects for you. These DIY winter accessories projects will keep you both warm and creative.
Scroll down the page to find some of the easiest DIY winter accessories projects that will help you make your own gloves, hat, winter scarf and so much more. Get inspired from our gallery below. Put your creativeness on high! With the help of only a few items and some basic sewing skills, you will have a wardrobe full of DIY winter accessories that will warm your body ad your heart. All for fashion design has always brought you the best DIY ideas ever. This time is no exception either. We leave you to enjoy the gallery. Choose which DIY winter accessories project is your favorite one to try and don’t miss sharing your result with us. Enjoy!
1. DIY pearl gloves
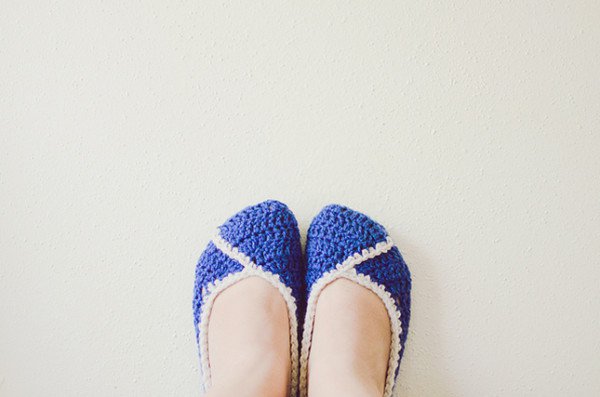
2. Knit Slippers
3. Faux Fur Winter Hat
Supplies:
- IKEA faux sheepskin
- Sewing machine
- Ruler
- Compass
- Sewing measuring tape
- Sewing pins
How to do it
First, using the sewing measuring tape measure the circumference of your head, and add one inch. Next, decide how tall you want your hat to be, and add 1/2 inch. Then cut a strip of faux fur following the measurements. Shape it into a circle. Using a ruler measure the diameter of the circle. With the help of the compass trace a circle onto the backside of the faux fur with the same diameter as the measured one. Cut the circle. Once you are done, using sewing pins, pin the edges of the second circle to your sewn circle of fabric. Make sure that the fabric is inside out. Sew both circles and turn right side out. Your faux fur hat is done!
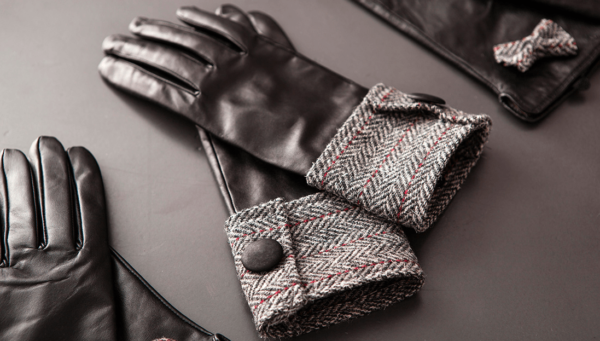
4. Upgraded Leather Gloves
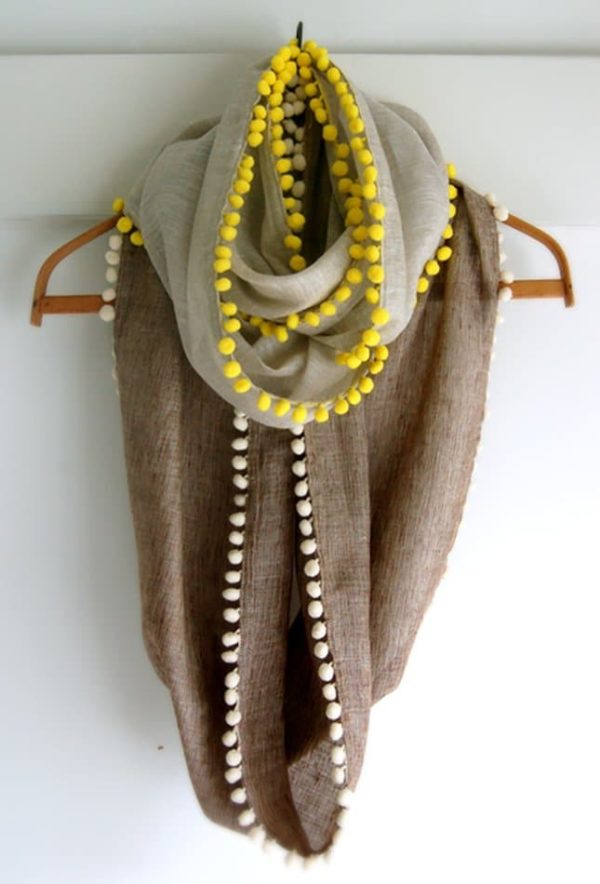
5. Pom Pom Cowl
6. DIY – long gloves
7. No-Sew Circle Scarf
8. Pretty Bow Ear Warmers
Needed materials:
- An old sweater
- Buttons
- Sewing needle
- Sewing thread
How to do it
When it comes to super easy DIY winter accessories projects this one will instantly become your most favorite one. To make some adorable ears warmers use an old wool sweater. First, cut an ears warmer paper pattern. You can choose the shape you desire. Using the template cut the sweater so you get the ears warmer body. Fold the long sides under about ¼ inch as sew. Wrap it around your head and adjust the length if needed. Then hem the ends under. Add a button and a buttonhole. With the rest of the fabric make the ribbon. Sew it to the base of the ears warmer. Voila, you are done!
9. Winter Skirt
10. Vintage Faux Fur Collar
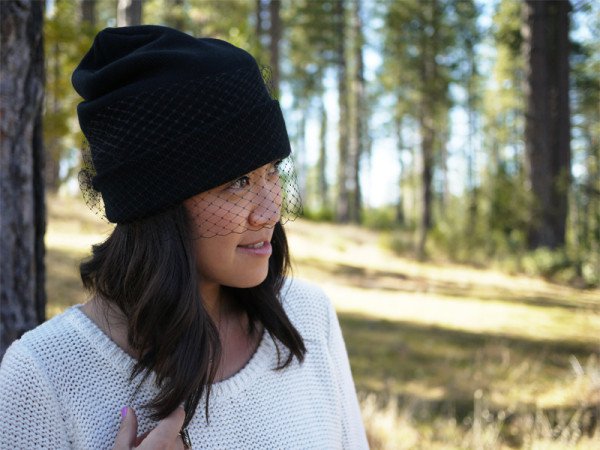
11. Snowy Day Hat
12. Glamour Gloves
Needed supplies:
- Plain gloves
- Glue gun
- Scissors
- Trimmings, lace, buttons of your choice
How to do it
If you want some super easy DIY winter accessories project, then these DIY glamour gloves are the right choice for you. All you need to do is to take some boring plain gloves and a few buttons, trimmings, or lace. Place the buttons or the décor items of your choice on the top of the gloves. Take the hot glue gun and apply it to the places where you want the décors to be placed. Cover up the glue with the buttons or trims. You can also use lace. Place the lace over the hot glue. If you have sewing skills you can sew the buttons too. That is all. Your old and boring gloves will instantly transform into glamorous ones.
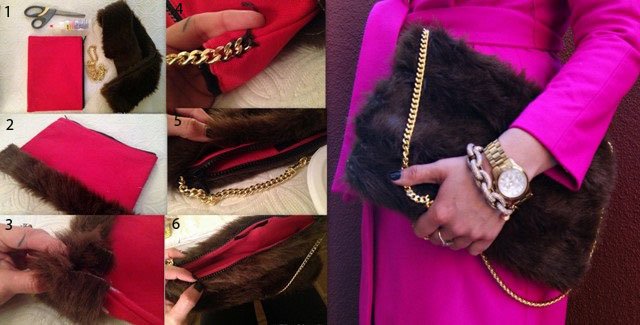
13. Faux Fur Clutch
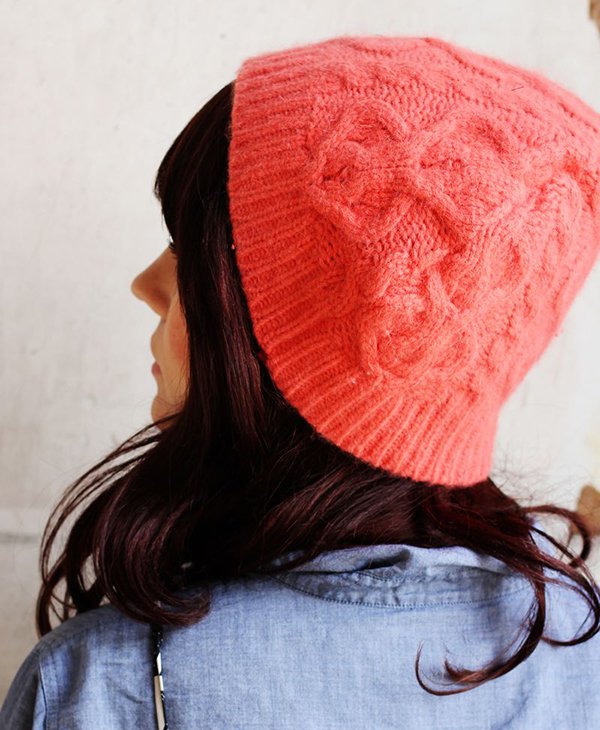
14. Knit Hat
15. Felt Slippers
Needed materials:
- Slipper template
- Wool felt
- Chalk pen or pencil
- Thread, such as silk or heavy-duty polyester
- Sewing kit
How to do it
First, print some slipper templates. Find some on the Internet and enlarge or reduce it according to the length of the sole of a flat shoe you wear. Cut the template and using a chalk pen trace the template outline onto the felt. Using scissors cut out slipper and T-shaped slit. Fold felt in half lengthwise, and stitch around the toe and open side, leaving the shorter heel edge open.
Using a sewing needle sew from the top of the heel down. Leave ½ inch open and cut into the felt to create a flap at the heel. A small flap of fabric should be left sticking out. Tuck tag in and then sew shut. Once you are done, turn the slipper inside out. Round off the tag with scissors, fold up, and then sew to the outside of the slipper. Fold the cup at the ankle and sew cuff edge to slipper. Your slippers are done and ready to warm your feet.
16. Crochet Beanie


