Hello ladies! Are you interested in some inspiring DIY shoe decorating ideas? In the article below, we have selected some of the best shoe-decorating ideas ever. Learn how to makeover your old shoes and make them look and feel new and eye-catching. We are sure you will enjoy the making process as well as the shoe decorating ideas.
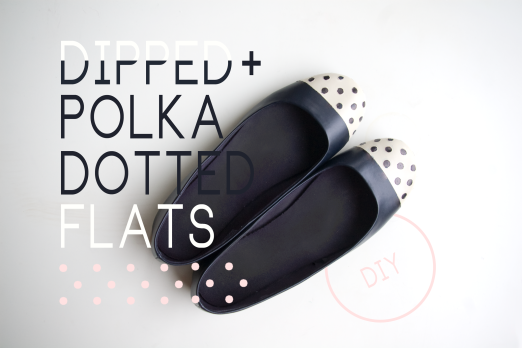
1. DIY dipped and polka dot flats
2. DIY – Saint Laurent Inspired Ballet Flats
3. DIY Anthropologie Scarf Flats
4. DIY: Heart Shoe
If you are looking for some DIY shoe decorating ideas for Valentine’s Day, then here we have found a super easy idea for you.
For this project you will only need the following materials:
- Old black and white flats
- A piece of pink material
- Fabric glue
The steps:
- First, find a little heart template and cut it out of a piece of paper.
- Then, use the same template to cut off a heart shape from the pink fabric. Cut two equal pieces for each of the flats.
- Apply a bit of the fabric glue over the flats on the area where you want the hearts to be placed.
- Place the heart fabric shapes over the glued area and press well.
- Voila, your new Valentine’s day flats are done!
5. DIY: nutcracker-inspired ballet slipper
6. Jimmy Choo Copy Cat Sneaker Tutorial
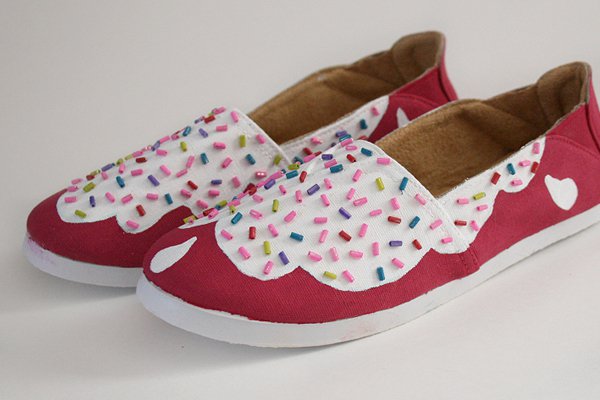
7. Shoe Makeover: Sweet Cupcake-Inspired Girls Shoes Tutorial
This is one of the sweetest shoe-decorating ideas that you will simply adore. Transform your old white Oxfords into delicious donut-inspired shies that will catch so many glances.
For the project you will need the following materials:
- White canvas shoes
- Hot pink or red paint
- Glass bugle beads
- Tweezers
- Strong adhesive
- Paintbrush
- Disappearing ink fabric pen
Instructions:
- First, try to paint a cloud-like shape over the toe portion of your white canvas shoes. If possible try to create a symmetrical shape. There won’t be any problem if symmetry is not possible. However, try to create similar shapes as much as possible.
- Now, take the shoes and paint the area toward the soles of the shoes as cleanly as possible.
- Take pink or red and paint the cloud area that you draw earlier. Leave dry.
- Once it is dry enough, take the glass bugle beads (colorful enough) and start placing them over the pink-colored area.
- Put a small amount of your strong glue on a piece of scrap paper. Then, take a bead and drop it into the pile of glue. Grab it with the tweezers and apply each bead over the pink area of the shoes.
- Continue the same until you get a donut look of your shoes.
- Voila, you are done! your super “sweet” shoes are done!
8. Sparkly Sequin Shoes DIY
9. Galaxy Shoes for Women Tutorial
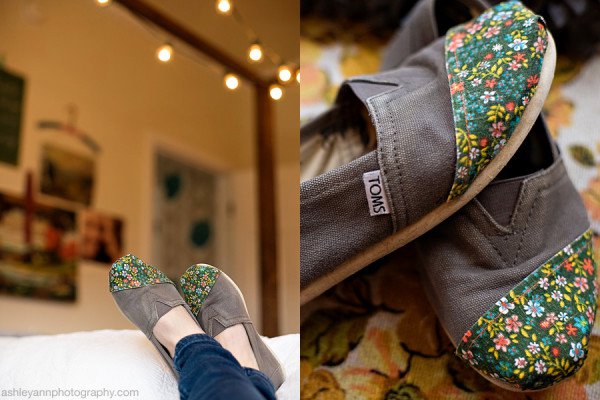
10. DIY custom-repaired toms
11. Floral Vans Restyle – DIY
We are offering you one of the most beautiful DIY shoe-decorating ideas for spring ever. From the tutorial below learn how to transform your old and boring white canvas sneakers into adorable floral sneakers ready-to-wear for the upcoming spring.
Here are the needed materials:
- White canvas shoes
- Iron-on printer paper
- Leather cord (optional)
The steps to follow:
- Choose a floral pattern of your own choice. Then, print it on iron-on paper. Remember to let the image cool down completely before you peel away the paper.
- Once the image cools well enough cut out the designs.
- Cut a piece of leather cord the length of your old shoe laces. Weave in.
- Iron on the designs. Voila, your new sneakers are done!
12. DIY Galaxy shoe
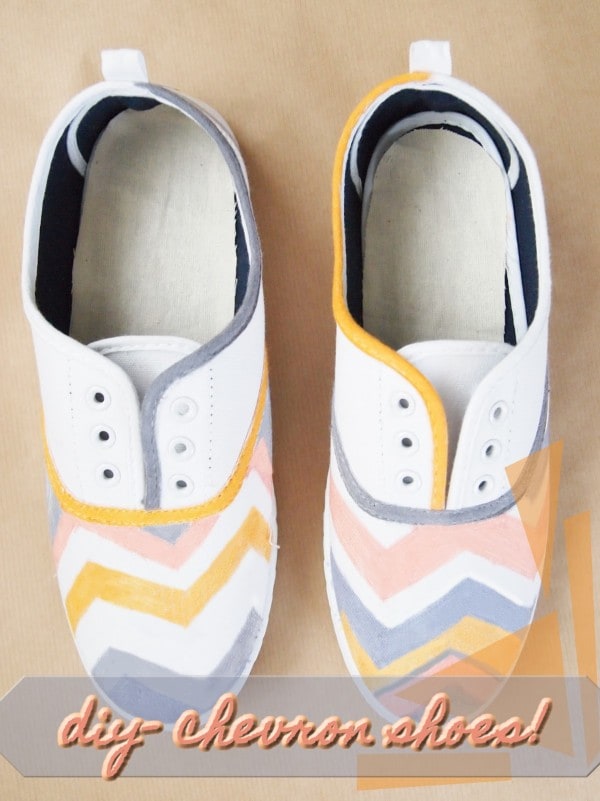
13. Dull feet- Chevron shoes!
14. DIY studded converse
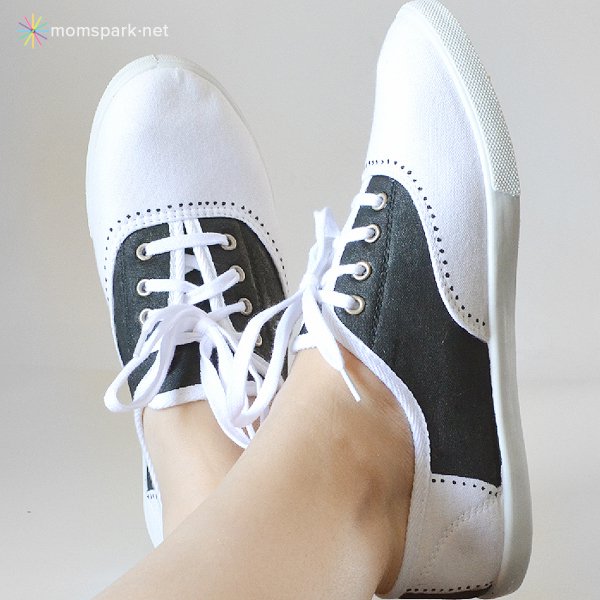
15. Painted Faux Saddle Shoes Tutorial
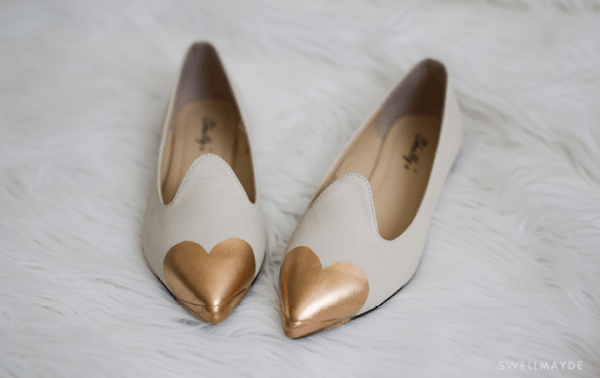
16. DIY heart flats
17. DIY studded flats tutorial
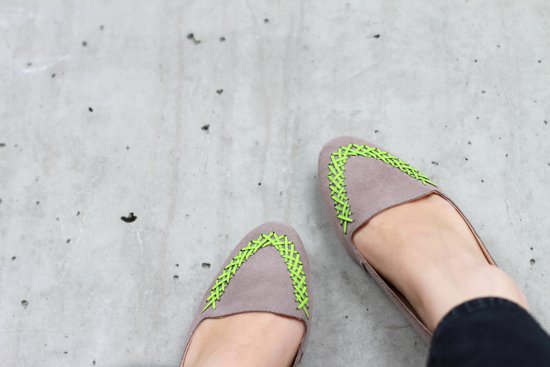
18. Neon Flats DIY
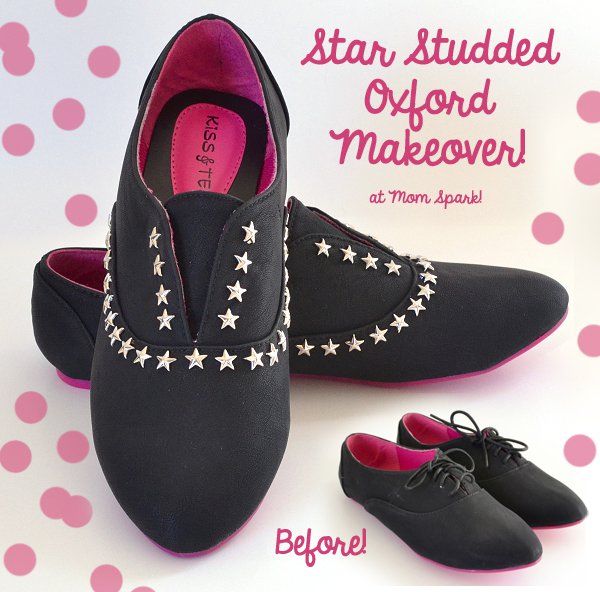
19. Star-Studded Oxfords (No Laces!)
Are you looking for creative DIY shoe decorating ideas that include a lot of star detailing? The following idea is a perfect way to transform some old black Oxfords into adorable and funny ones.
Here are listed the needed materials for the project:
- An old pair of Oxford shoes
- Studs (for this project we have used star-shaped studs)
- Butter knife to use as a tool to apply the studs
- Elastic
- Needle
- Thread
- Thimble
The steps:
- First, use the seam of the shoes as a guide to place the studs around the toe portion of the shoes.
- Now, take the butter knife and push the prongs down so they don’t poke you.
- Go around one side. Then, use this side placing as a guide to place the studs on the other side. Try to keep the spacing between each stud reasonably consistent.
- Remove the laces from the shoes. Now, apply studs over each of the holes.
- Cut a piece of elastic that will be about 3 inches wide.
- Tuck it down using the thread and needle.
- Finish everything by making a pass of stitching along the side just through the inner layer if such is available.
- Voila, you are done! Enjoy wearing your new Oxfords.

