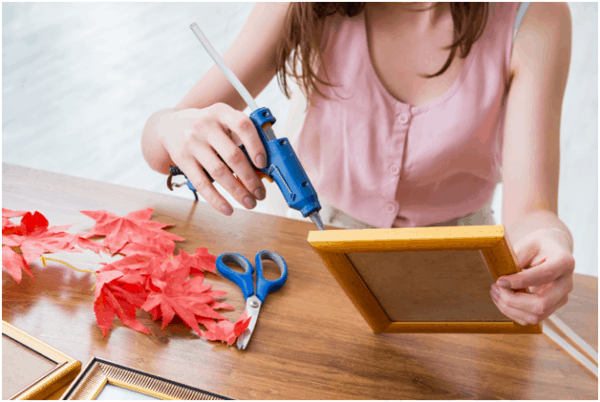
It’s no secret that a special photograph in a beautiful frame is an excellent gift for your loved ones. Whether it is destined for your family, friends, or significant other, a beautifully framed image that captures the feelings and emotions you nurture for them is always a thoughtful gesture. After all, a picture is worth a thousand words, as the saying goes.

What is more, a framed photograph is a wonderful decoration for your home as well. And the best part about it is that you can easily do it yourself. Creating picture frames as part of a DIY project can be a rewarding experience as experts at DIY Experience suggest. You can check their website for five step-by-step DIY picture frame tutorials if you need a place to start.
Easy Picture Frame Tutorial
Adding a few pieces of DIY home décor is always a fun way to brighten up your living space, and this following tutorial proves it. Although, making a picture frame from scratch at home may seem complicated, it actually requires minimal tools and materials.
What You Will Need
- miter saw
- drill
- four corner braces
- 23/32-inch x 1-1/2-inch x 8-foot primed MDF
- self-leveling hanger
Preparing the Materials
- Print the photo. After deciding on the photo that you want to frame, get a physical copy of it at a copy shop.
- Create the inside edge. Measure its width and length to determine the size of the frame. Using frame pieces cut from 1 ½-inch material, subtract one inch from the width and length of the picture to create a ½ inch overlap. This becomes the inside edge of the frame pieces you have mitered.
- Then create the outside edge. To calculate the outside edge, double the 1 ½ inches and add them to the measurements of the picture. Then, cut four oversized pieces for the frame. They should be one inch longer than the outside edge.
- Cut the larger pieces. Next, it’s time to place the frame parts on a stop block. This is achieved by cutting one end off of a 6-inch piece of frame material. To create the connection, you will need to rotate the miter saw table 45 degrees counterclockwise to cut one end of each oversized component.
- Tailor to length. Adjust the stop block to cut the larger frame side to fit by rotating the saw table 45 degrees clockwise this time to reach the opposite setting. Subsequently, you will need to cut both pieces until they are the same length, then readjust the stop block once more to saw the smaller parts to length as well.
Assembling the Frame
- Hold the pieces together with tape. After everything has been cut and shaped into the correct size, lay the resulting pieces on a flat surface. Apply tape where the miter tips touch on the outside of the frame, and make sure that there isn’t any space left between the frame parts.
- Glue everything into place. Glue each pair of miters together and wait until they are dry, then remove the tape.
- Attach the corner braces. To stabilize the structure of the frame, drill in a corner brace at each angle, and position it about 1/8 of an inch from the outside edges. Make sure you don’t ruin the frame while doing so, as MDF is a relatively fragile material.
- Add the hanger, and you’re done. Nail the hanger into place, and your picture frame is ready to decorate.
How to Decorate
If you enjoy the raw and rugged look of medium-density fiberboard, you can leave the picture frame as it is. However, you will most likely want to decorate it so that it brightens up the place it will call home. The easiest way to do this is with spray paint. Simply choose a color of your liking, and then add a sealant to the top.
If you are a creative person with a knack for artistry, then you can hand paint the frame. Nevertheless, if you want your creation to stand the test of time, you will need to prime the MDF so that its porous edges don’t absorb the color. Anything that is solvent-based will do the trick, so look for woodworking chemicals containing alcohol, lacquer, or oil.
To take things one step further, try adding decorations such as polymer clay flowers, leaves, or any other shape to the frame. Glue them into place and be careful not to chip the paint. This will make the frame even more unique and add a touch of imagination to your living space.
Final Thoughts
Building a custom picture frame from scratch is simple enough with the right tools. With just a few items, you can create a unique item that someone you love will appreciate and cherish forever. And the best thing about the DIY process is that it is affordable, which makes it an excellent choice for anyone on a budget.


