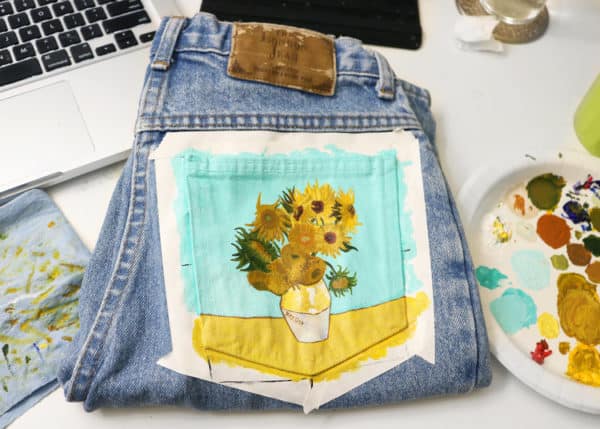
Are you bored of the same clothes every season? Do you have some old shorts that you adore so much, but are so monotonic and simple? If yes, let us give you an idea how to upgrade them and from boring shorts make them interesting and chic new shorts. The best about this DIY project we are talking you about is that you will need only few simple materials and so little effort. All you need is tape, paint colors and brush, and your will and creativity. In the following step by step tutorial we have shown you how to upgrade your shorts by painting a design on one of the pockets. Follow the tutorial and try on your own.
STEP 1: TAPING
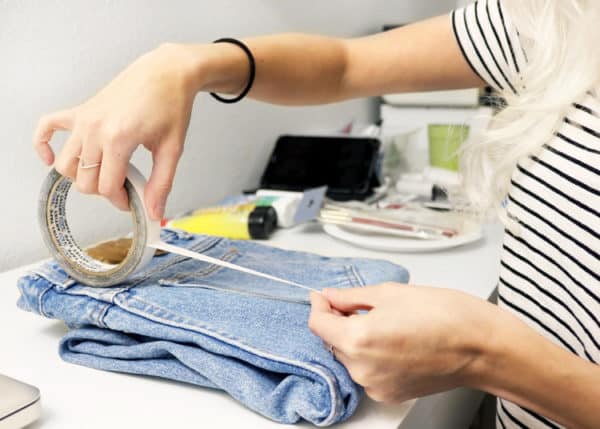
First, choose which pocket you are going to paint. Tape around it, and take care to tape well so that the paint doesn’t get onto the part that you are not going to paint. You can use wider tape so that the painting is easier and the paint doesn’t go out of the pocket part you are painting.
STEP 2: BASE PAINT
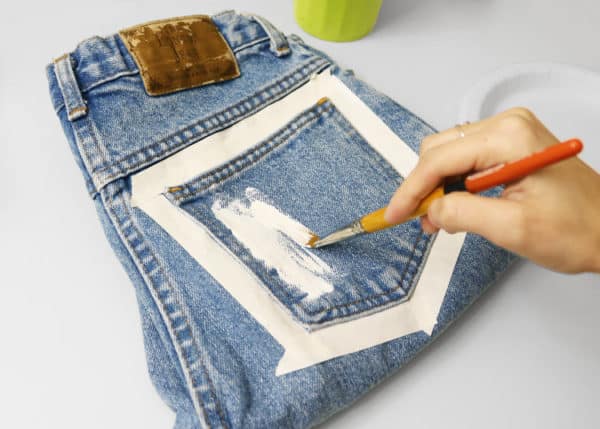
After you taped well, start the painting. Take the brush and start painting the whole pocket with 1-2 thick layers of white acrylic paint. This is the essential phase because you are setting the base for the big painting project.
STEP 3: DRAW YOUR DESIGN
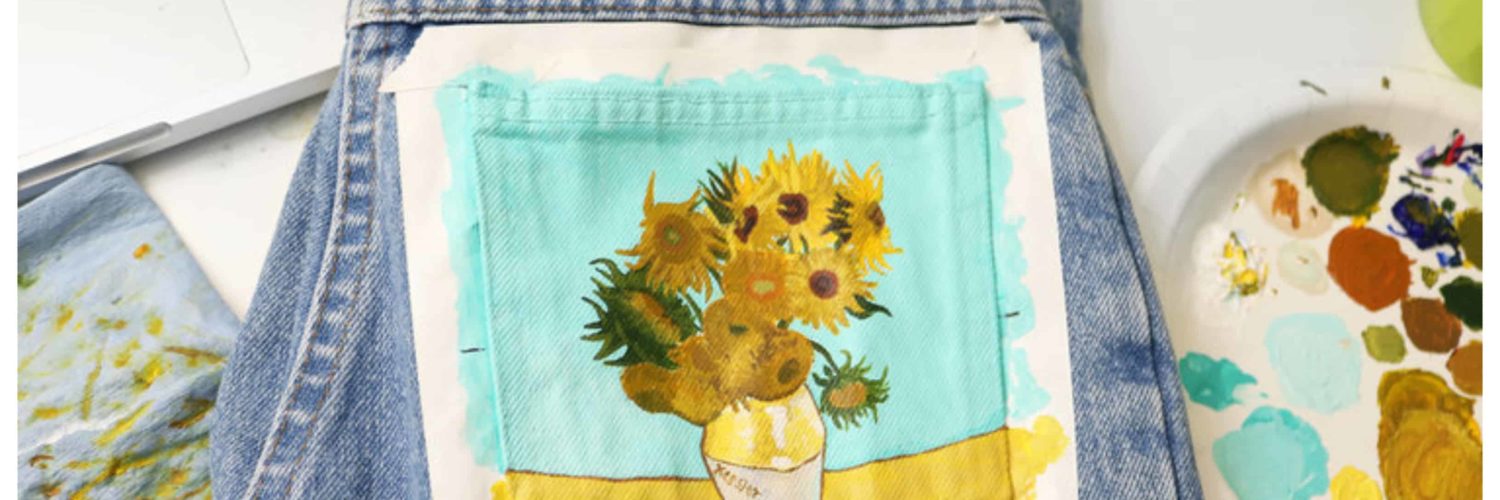
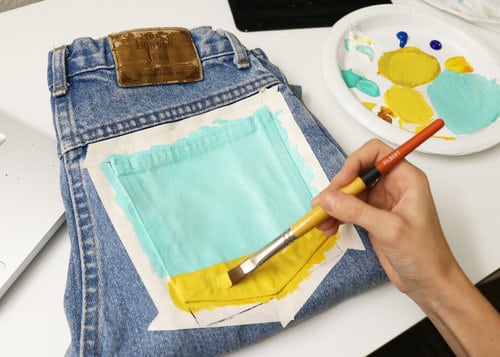
It’s time for color. Take the colors you want, choose what you are going to draw and start drawing. Use tight brush so that your drawing is better. You can also use pencil or pen to draw the your design, but take care to cover it well when painting it later.
STEP 4: BEGIN TO PAINT!
Once you have drawn your design, it’s time to paint it. Take the palette, squeeze out small amount of paint on it and take the brush. Paint your design and be very careful with the colors so that they don’t get out of the design. After you paint it all, you have your jeans upgraded and ready to wear.

