Hello DIY lovers! We invite you on a new DIY jeans adventure that you will certainly adore. These DIY jeans projects selected below will help you embellish your old and boring jeans and transform them into new and fashionable ones. Don’t miss them!
1. DIY old jeans redesign projects
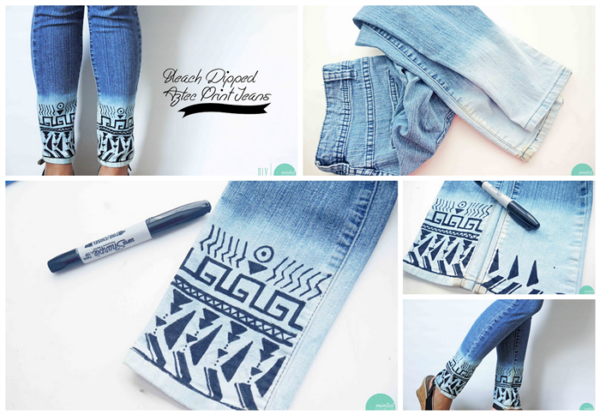
2. DIY bleach -dipped Aztec jeans
3. DIY American Flag Cuffs
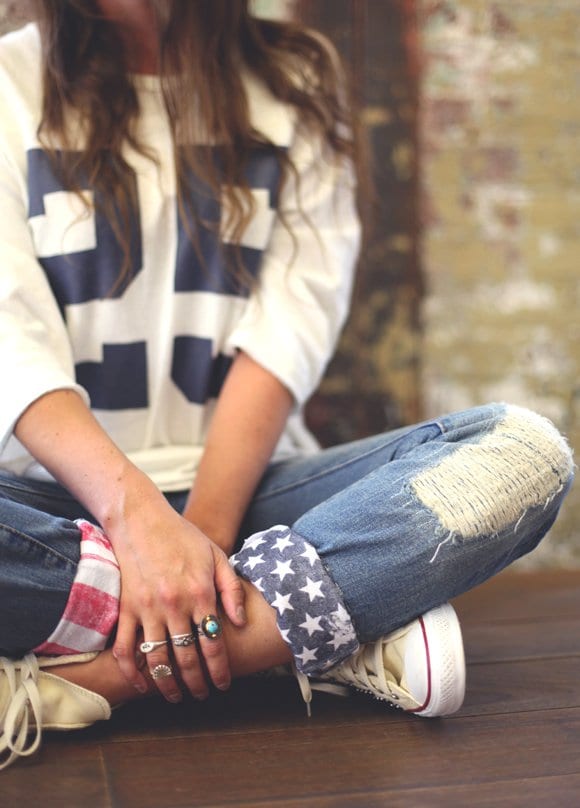
Are you ready for DIY jeans project that will help you create some fashionable and chic patriotic outfits to celebrate Independence Day in style? If yes, then you will adore the way how your old jeans can transform into adorable festive ones.
Supplies:
Here is what you will need for the project:
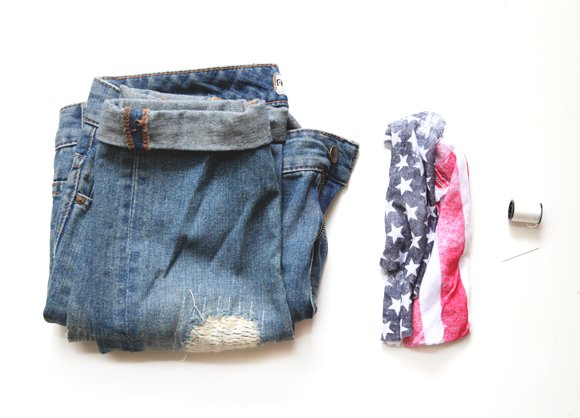
- A pair of jeans (the best is to choose some boyfriend-style jeans)
- An American flag printed item (you can use some old T-shirt with the flag printed on it)
- Safety pins
- Needle and thread
The steps:
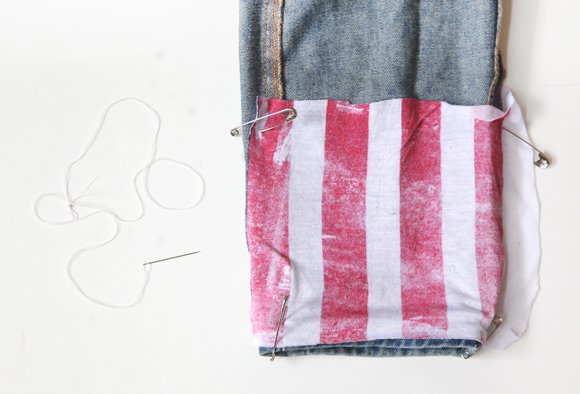
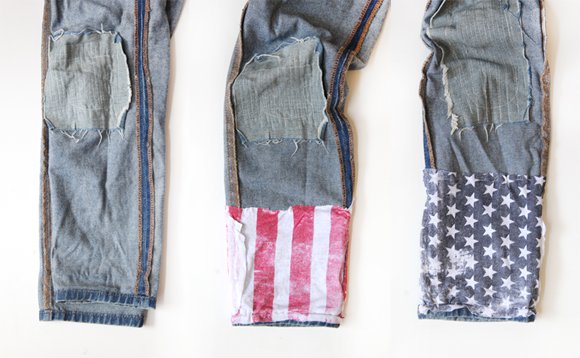
- First, turn the jeans inside out and using the safety pins attach the fabric to the bottom portion of the leg. You can use the application of the red and white stripes on one leg and the white and blue stars on the other.
- Sew the fabric up to about a mid-calf using the needle and thread and some basic sewing skills.
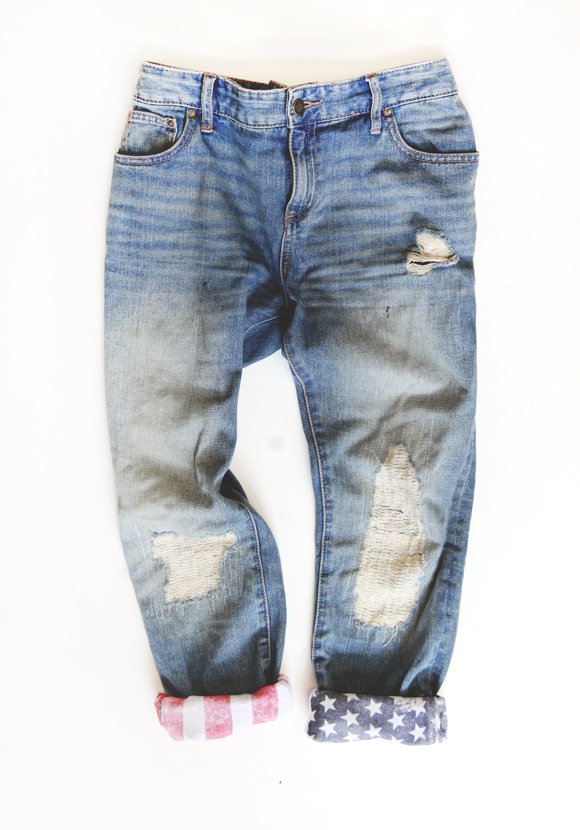
- Turn the jeans right-side-out.
- Roll up the cuffs to reveal the new patriotic design on your DIY jeans.
- Enjoy the holiday in style!
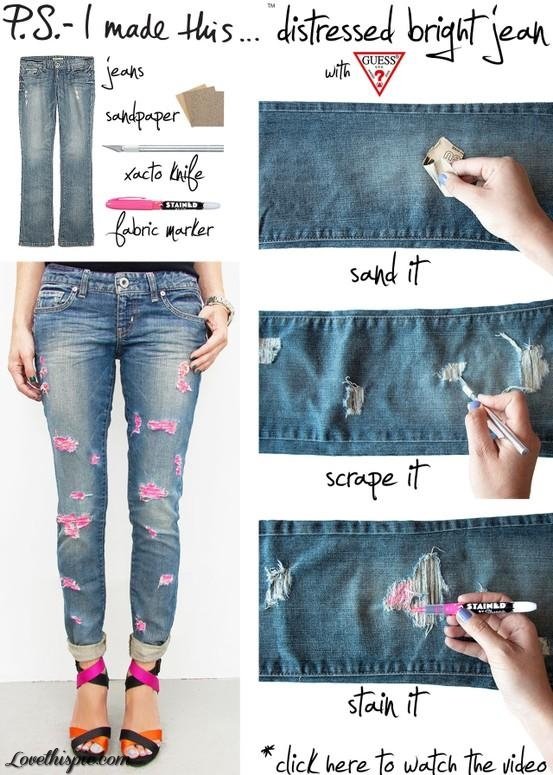
4. DIY distressed jeans
5. DIY Ripped Jeans
6. DIY Ripped Jeans
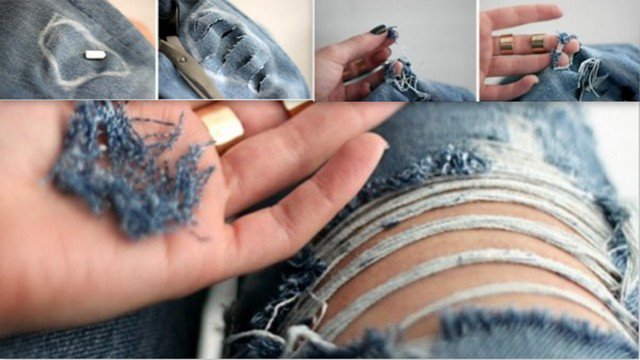
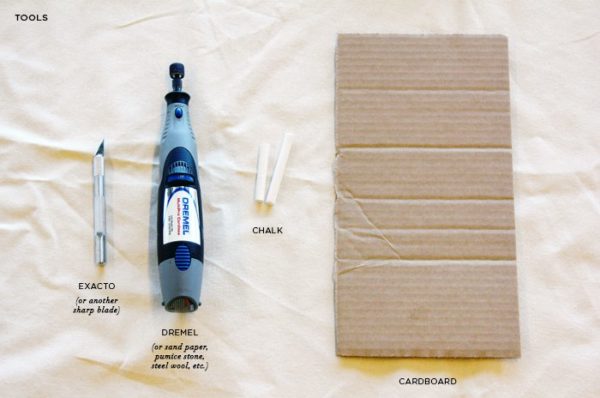
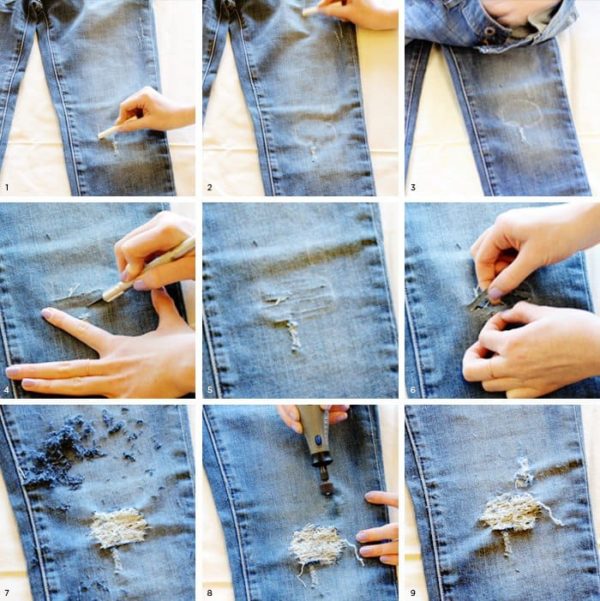
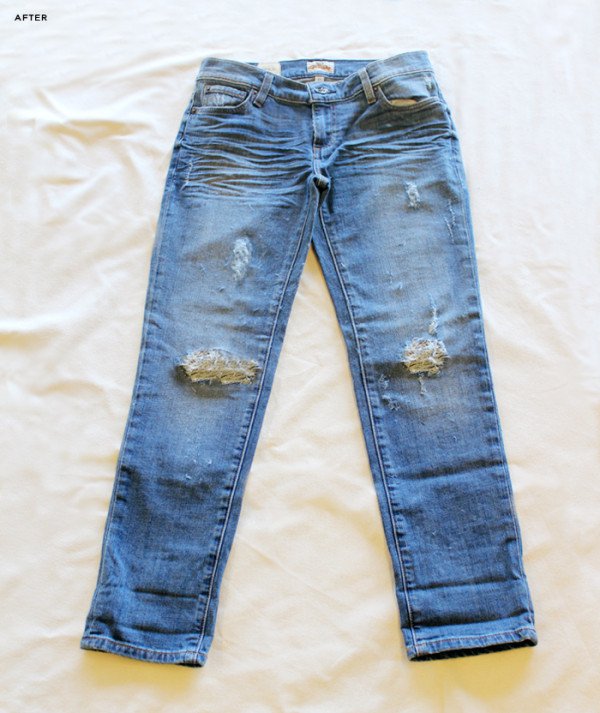
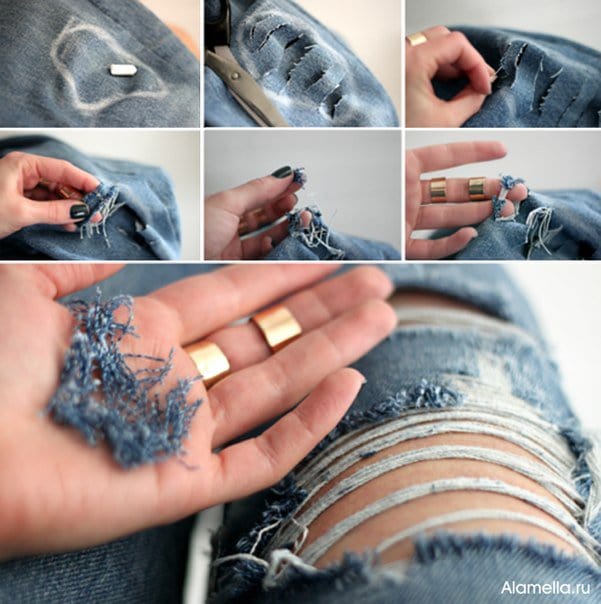
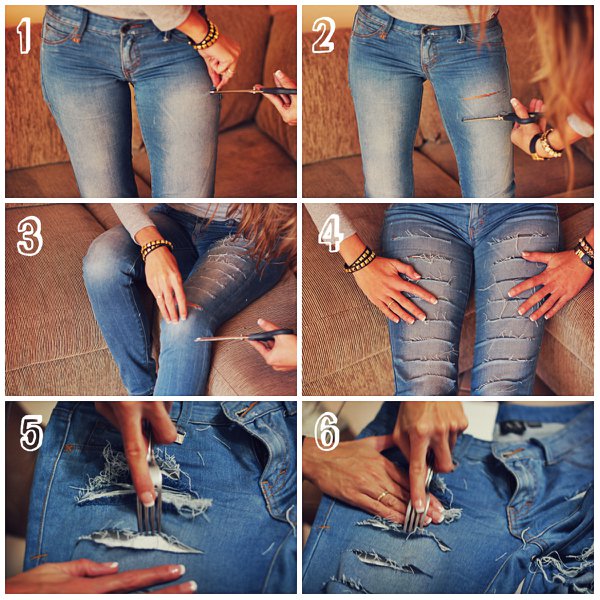
If you think that you wear the same boring jeans all the time, and it is time to finally throw them back in the closet, and never wear them again, wait a minute! Fashion is constantly innovating, and for today we have invented for you some adorable DIY jeans ideas that will turn boring jeans into some amazing ones. For a creative person, there is nothing easier than a DIY project. If you still feel like not creative enough this project is the solution for you. All you will need for it is a pair of old jeans, scissors, and a fork. Seems easy? It really is! Take the scissors and cut the jeans in a few places as done in the tutorial below. Then, using the fork, distress the jeans at the cut places a little. Voila, your new jeans are done. And, they are nothing boring!
7. DIY tie-dye denim
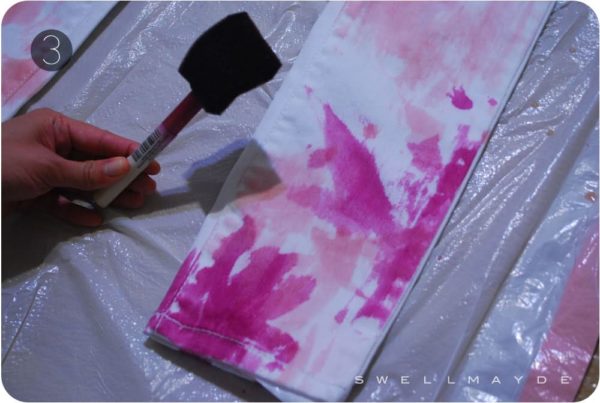
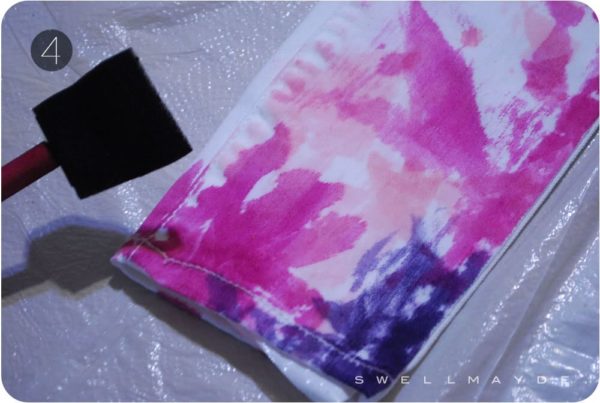
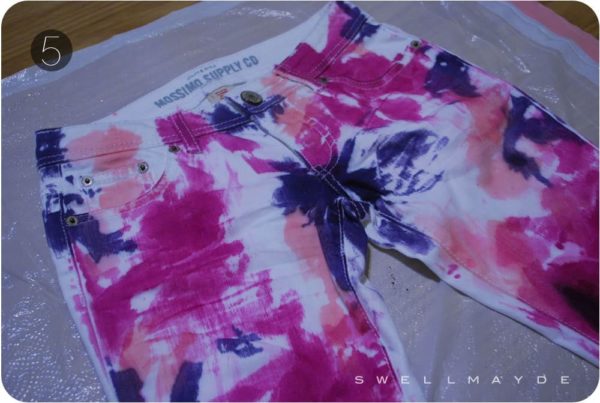
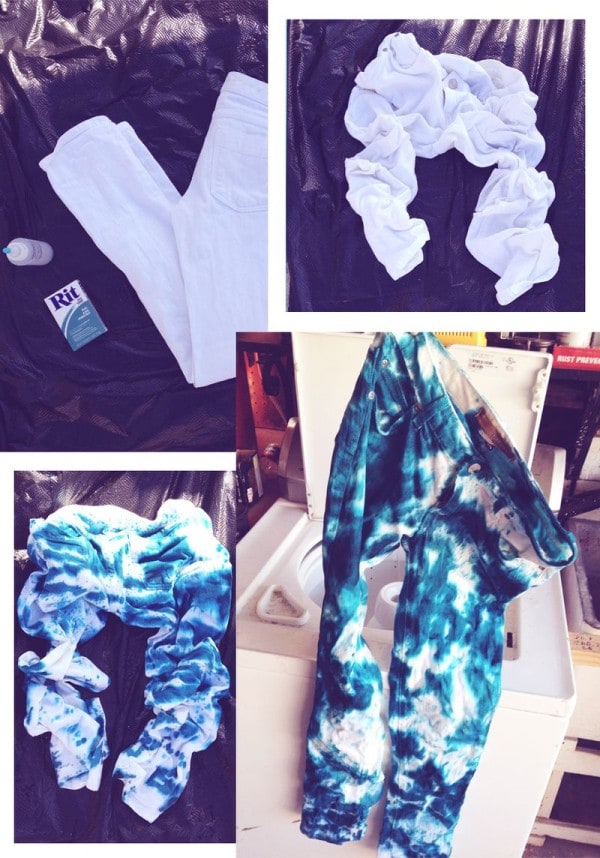
If you are bored of the traditional denim look of your jeans, why don’t you try to embellish them by adding a little pop of color? Tie-dye DIY jeans are a very popular method to make your jeans look more colorful.
Supplies:
All you will need for this project is the following:
- A pair of jeans to dye
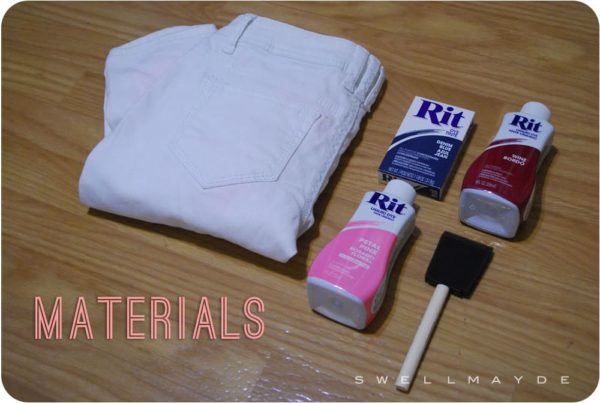
- Your preferred dye (you can use two or three different colors)
- Washing machine
- Plastic sealable bag
Extra tip: Dyes contain chemicals, so treat them carefully!
Instructions:
- Choose a pair of jeans that is 100% cotton. Make sure they are white or light-colored ones.
- Wash them to make sure that they are completely clean.
- Wring them out to remove any excess water, but don’t allow them to dry.
- While the jeans are still wet, scrunch them, twist them and then fold them in the desired shape.
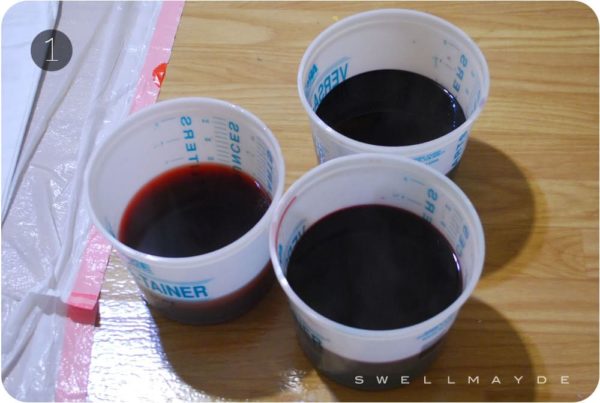
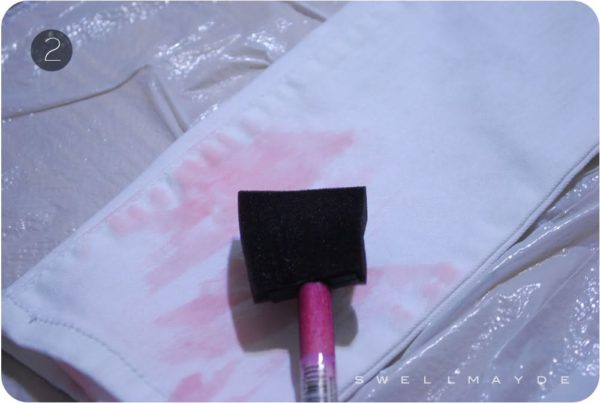
- Apply the dye to the sections that you want to paint. You can use several colors to create more colorful jeans.
- When done the dyeing, carefully place the jeans into a sealed plastic bag and leave them a seat for a while.
- Finally, remove the jeans from the bag and rinse them out. Wash them and dry the jeans as you regularly do. Done!
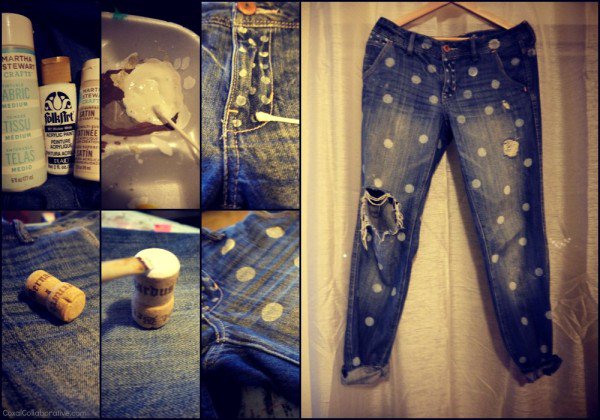
8. DIY Polka Dot Distressed Boyfriend Jeans
9. DIY Pollock Inspired Drip Painted Jeans
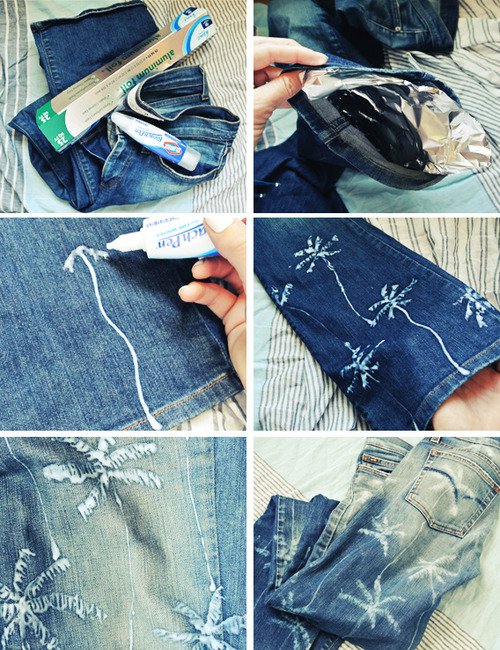
10. DIY palm tree print jeans
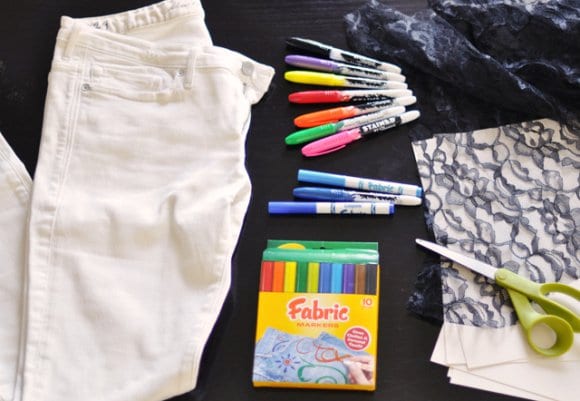
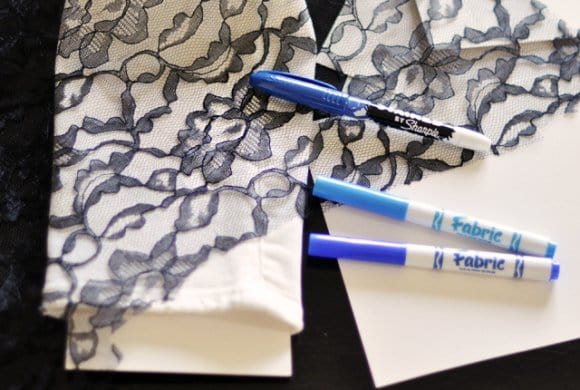
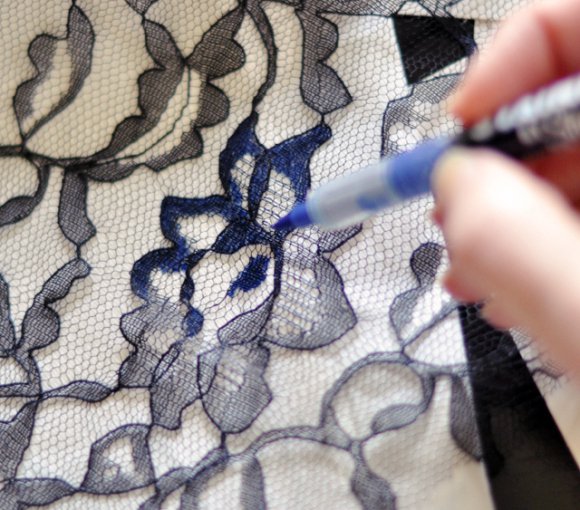
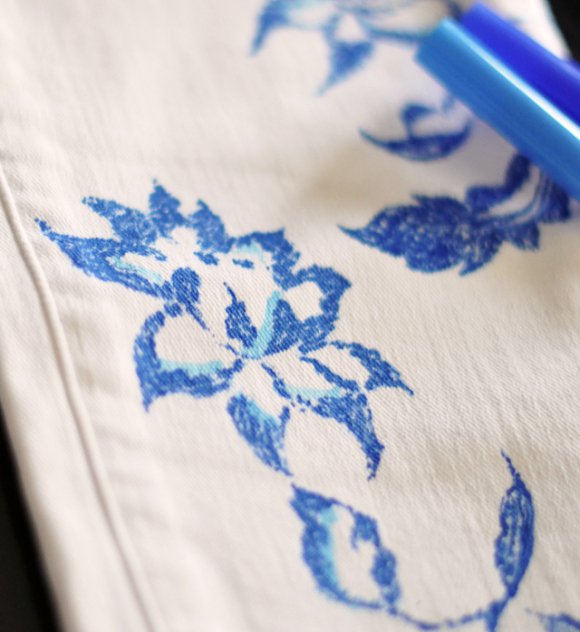
11. DIY Lace Printed Jeans
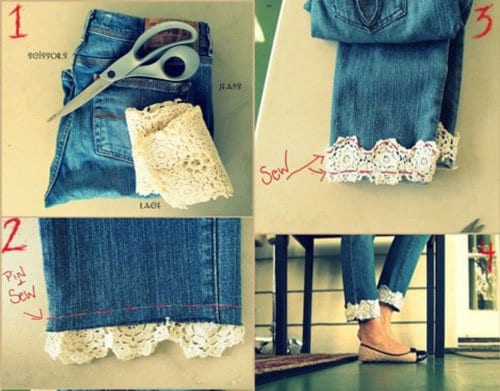
12. DIY Jeans
13. DIY tie-dye denim
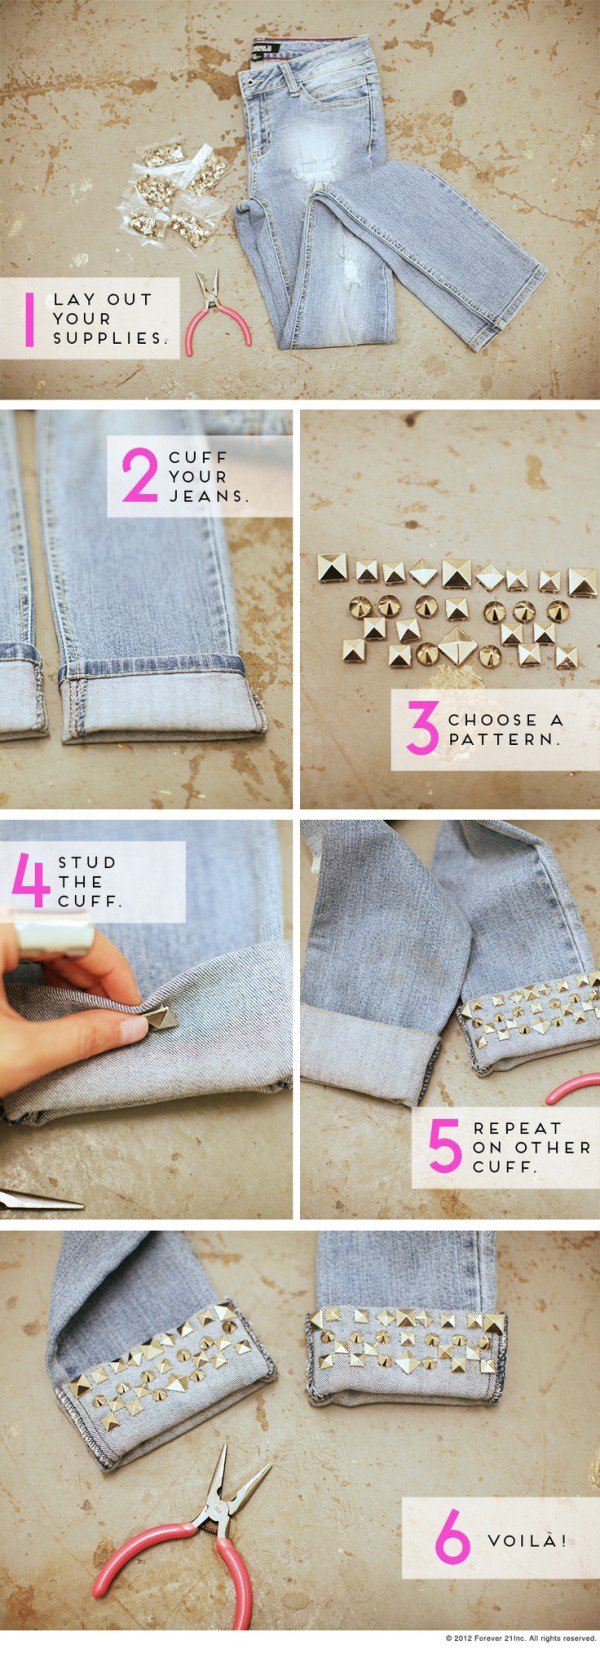
14. DIY fest: studded cuffs
15. DIY Patchwork Jeans
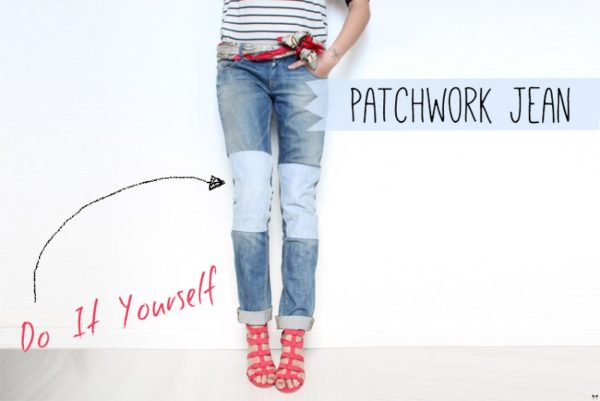
Have you noticed that Patchwork jeans are everywhere around you this season? If you don’t have a pair of them in your wardrobe, don’t worry at all. This DIY jeans project below will help you make them on your own. Yes, it is possible to get the most eye-catching pair of Patchwork jeans in only a few steps with the use of a few supplies. Here we go with the supplies first and then the DIY steps:
Supplies:
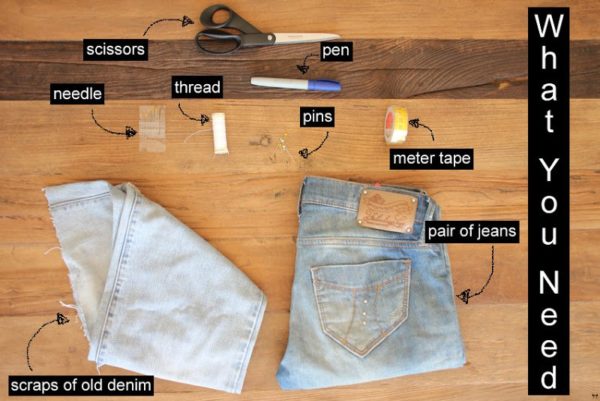
- A pair of jeans
- Scraps of old denim (choose ones in contrasting color with your jeans)
- Thread (use a white one for clear denim and a black one for the dark denim)
- Needle and pins
- Scissors
- Meter tape or ruler
Instructions:
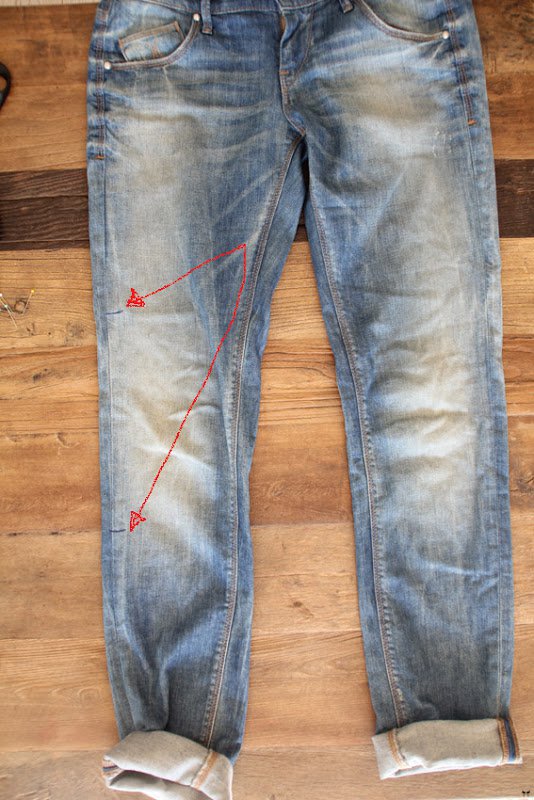
- First, put the jeans on you and mark the lines above and below the knee where a scrap of jeans will end on one leg.
- Then, lay the jeans down and fold them to their length. Tip: make sure the legs are well aligned and mark the lines on the opposite leg using the model you previously created by marking on one leg.
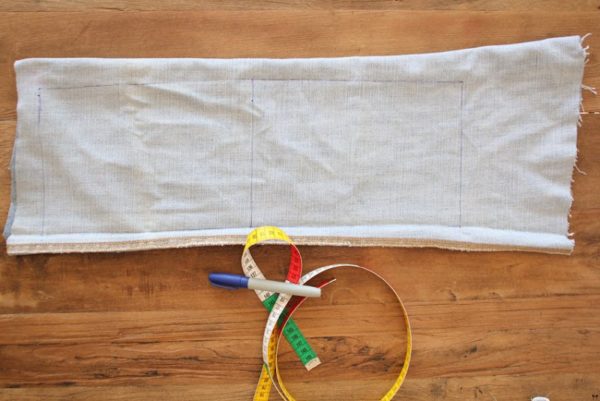
- Draw 2 rectangles on your scrap of denim. Tip: add 1 cm both on the length and with the side so you can use this space later to sew each piece of different denim together.
- Cut the two rectangles.
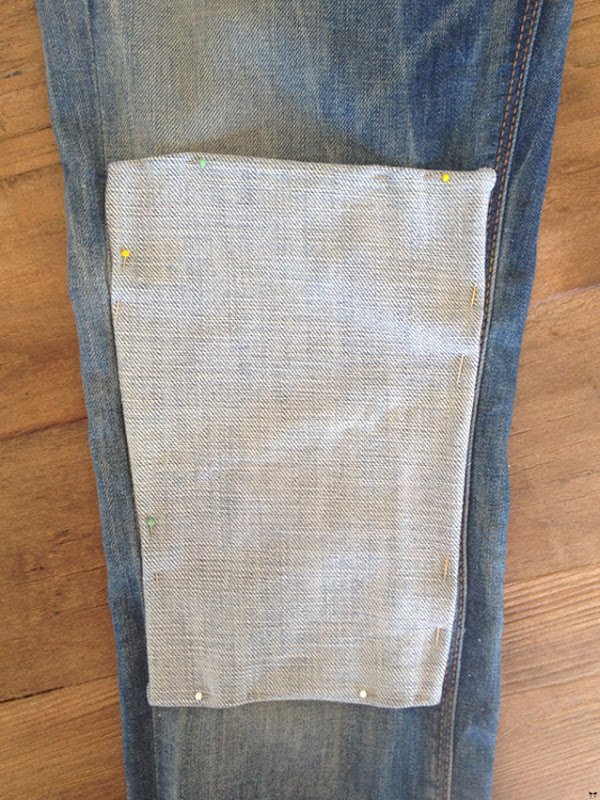
- Place one of them between the marks on one leg of the jeans.
- Fold the sides of the scrap over 5 mm ad pin it onto the jeans.
- Sew the scraps to the jeans. Make sure not to catch the back of the leg.
- Repeat the same procedure with the other leg.
- Voila, your Patchwork jeans are finished.

