Hello DIY lovers! Are you ready for some inspiring and so-creative DIY bracelet projects? In the article below we are teaching you how to DIY jewelry and accessories on your own. We have collected some easy-to-do DIY bracelet ideas with step-by-step tutorials, especially for you. Don’t miss copying any of them.
1. DIY Hardware Store Bracelets
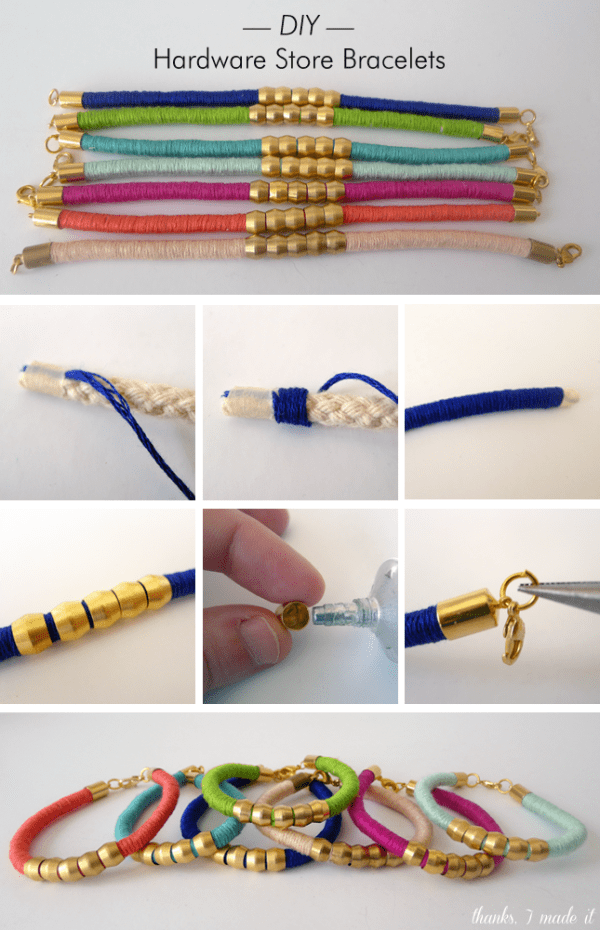
Are you ready for the easiest DIY bracelet project ever? Stay with us to list the needed materials that you will need for the project. Then follow the easiest tutorial ever and get your colorful hardware bracelet in a few steps. Here we go:
Tool and materials for the bracelet:
- 6 inches of 1/4 inch rope
- 1/4 inch brass compression sleeves
- Embroidery thread
- 6 mm end caps
- 7 mm jump rings and lobster clasp
- jewelry pliers
- glue
Once you have prepared the needed materials here we go with the production steps:
First, tape the ends of the embroidery thread to one of the ends of your piece of rope. Then begin wrapping the thread around the rope until you wrap the entire length of the rope. Once you are done and you reach the rope end, tape down and trim the thread. Slide on the compression sleeves. If you want, you can secure them with glue. Finally, put a drop of glue in the end caps and secure them on each of the ends of the rope. Cover the tape. When the glue is completely dry, you can use the pliers to attach the jump rings. Voila, your bracelet is done. You can try to make multiple bracelets using different colored threads to create a more colorful effect on your hands.
2. DIY rope style link bracelet
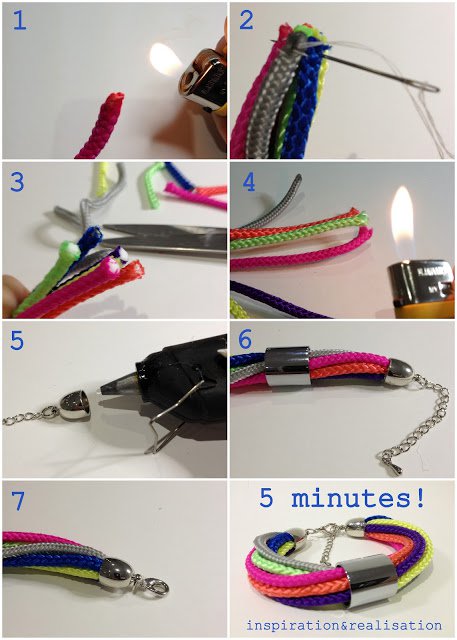
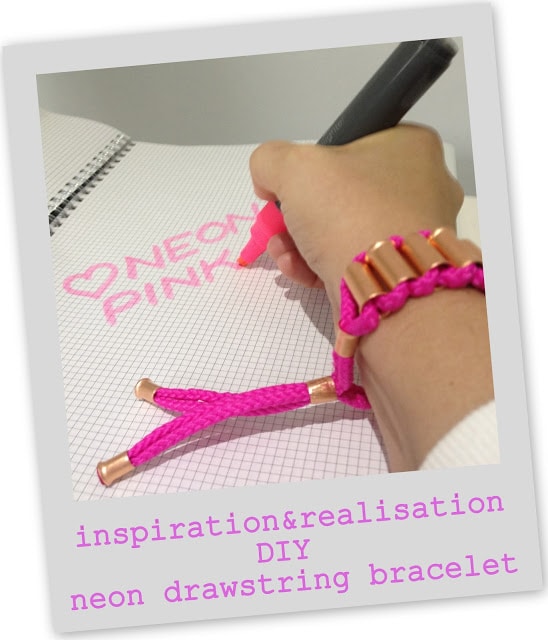
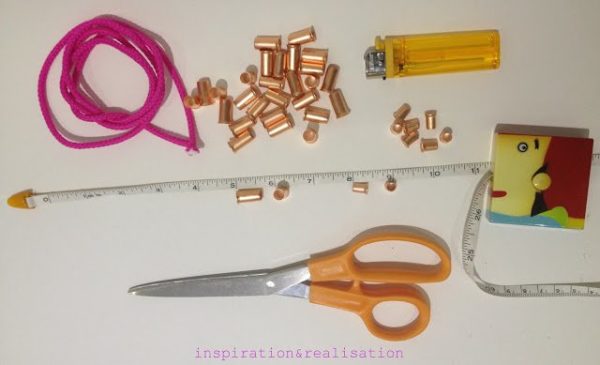
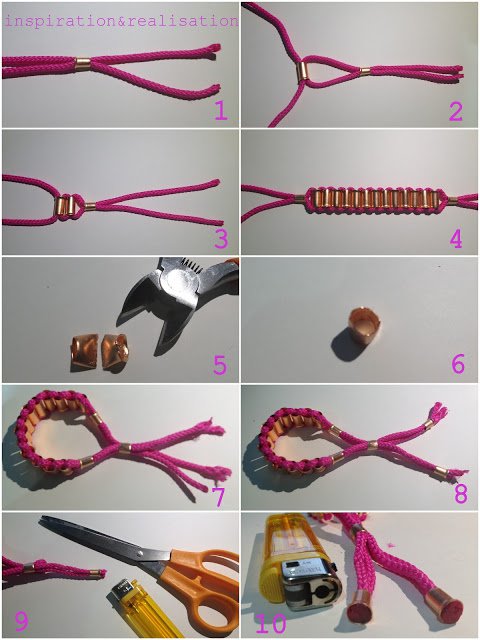
3. DIY Matthew Williamson neon drawstring bracelet
4.DIY CROCHET BRACELET
This is definitely one of the DIY projects you will enjoy the most. The reason is that this white and gold bracelet is a timeless and perfect complement to any outfit you will style in the future. Also, it can be a perfect DIY bracelet gift for your best friend, sister, mother, or whoever you want to give it to. Here we go with the making process.
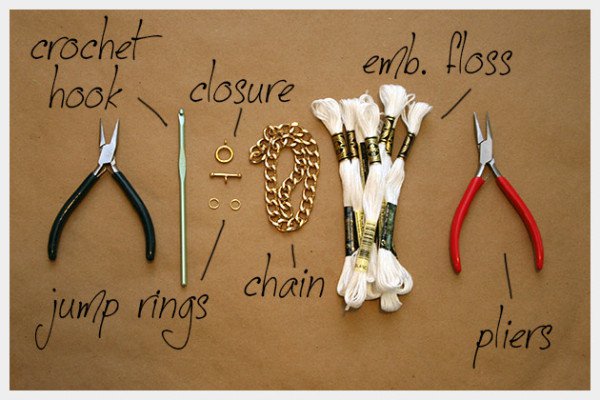
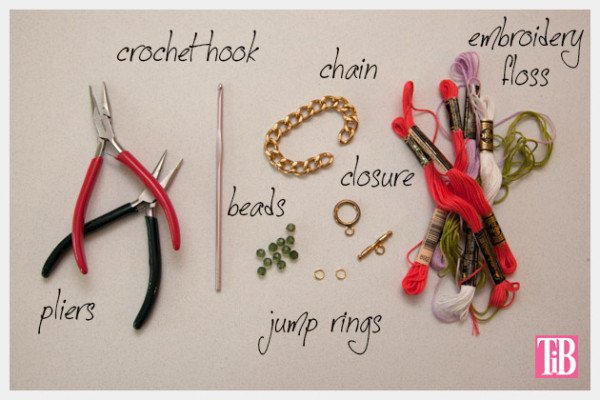
Supplies to make your DIY crochet bracelet
- Large chain
- 1 toggle closure
- 3 jump rings
- Embroidery floss
- Liquid fabric glue
The process:
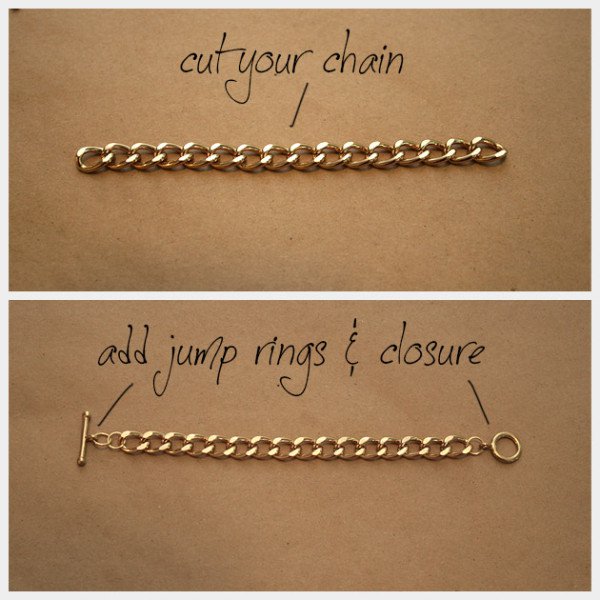
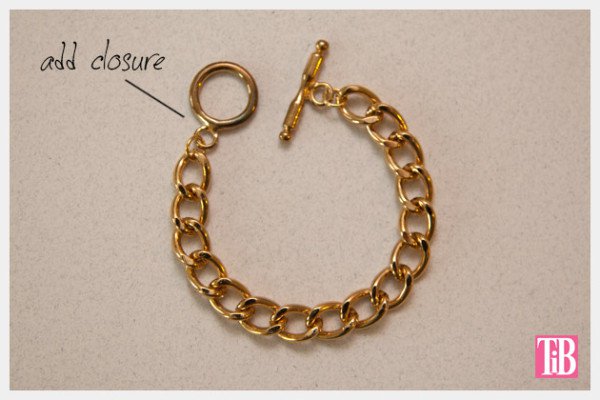
First, measure your wrist. Then cut the chain by opening one of the links in it according to your wrist length. The best will be to make a chain that is shorter than you normally wear because a bracelet that dangles too much is not looking really good. Then, add your jump rings and your closure. You can put one jump ring on the side with the circle closure and two jump rings on the side with the bar.
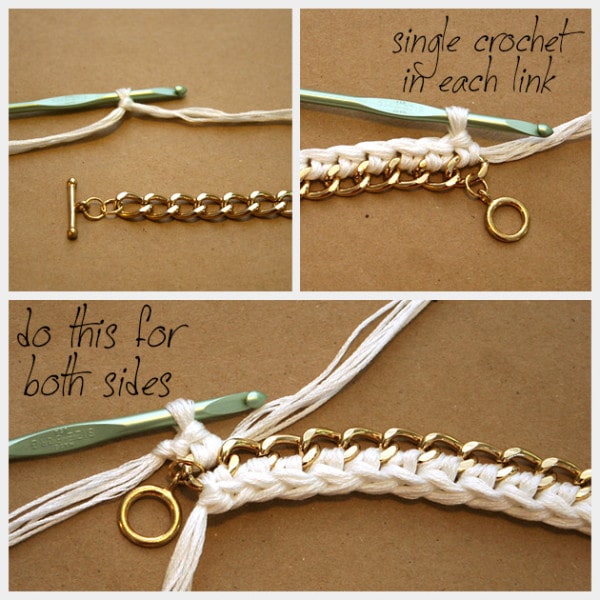
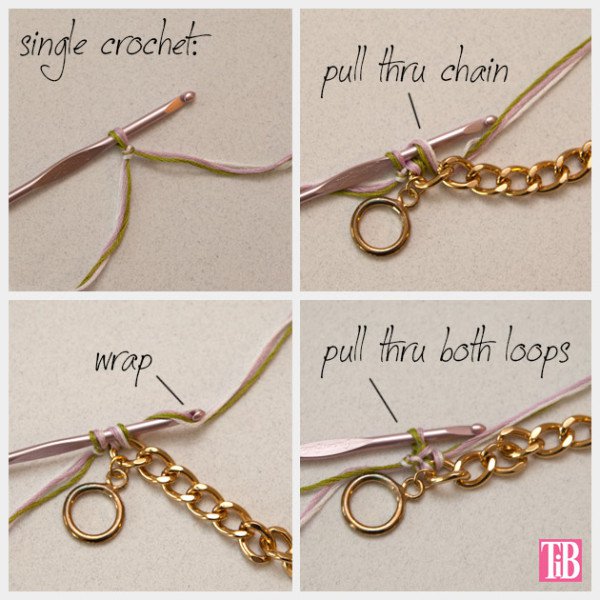
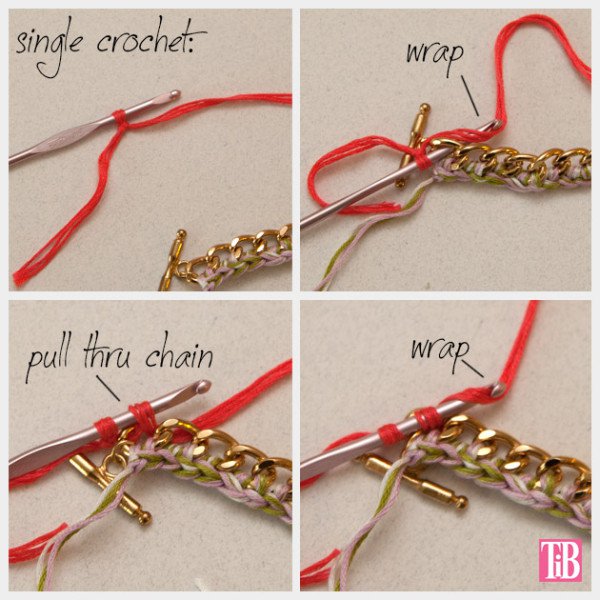
Once you are done, you can start to crochet. Use 6 strands of embroidery floss together to get a more refined look for the DIY bracelet. First, make your loop to start the crochet as in the photo below. Then continue crocheting in each link down the bracelet. When you finish, pull the yarn through and knot it, leaving a tail. Repeat the same with the other side of the chain. Finally, add a drop of glue to each knot to ensure they don’t come loose. Cut the loose thread in order to make them look like tassels. Done!
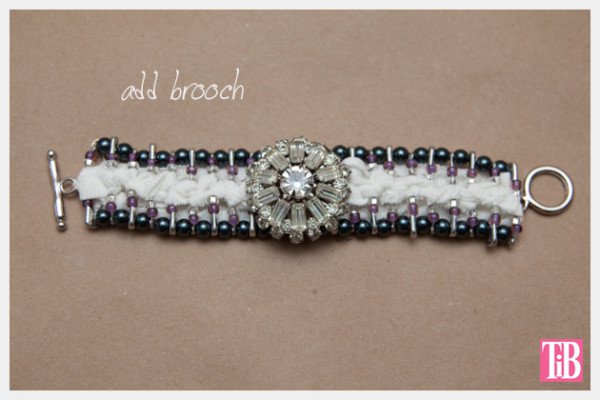
5.DIY SAFETY PIN BRACELET WITH BROOCH
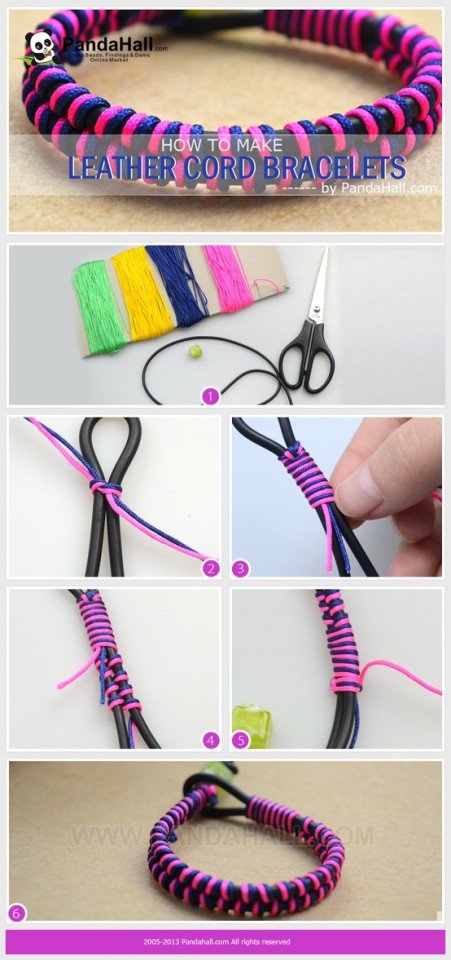
6. Leather Cord Bracelets
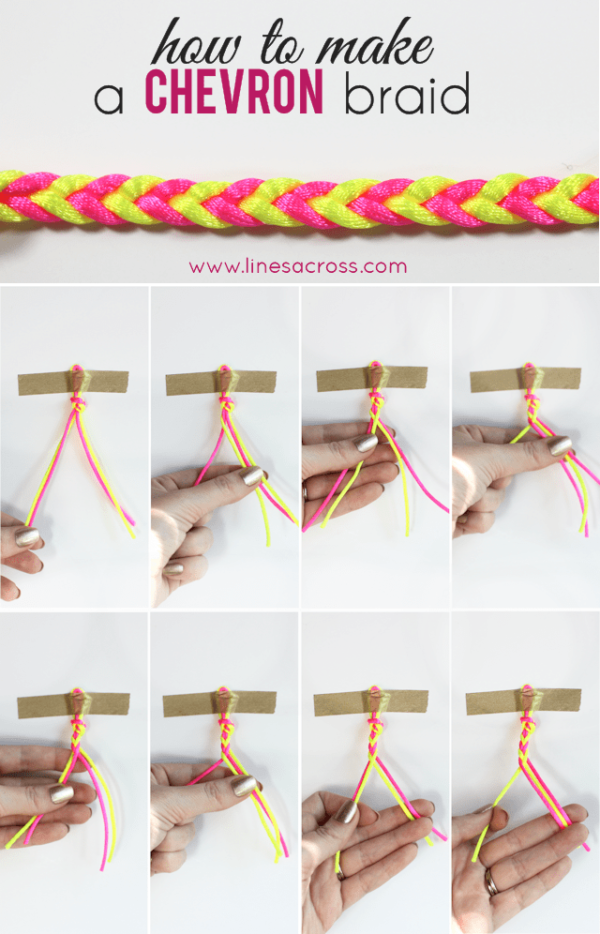
7. How to Make a Chevron Braided Bracelet
8. DIY CROCHET BEADED BRACELET
9. Leather Bracelet DIY
10. DIY Bracelet Ribbon Wrap
11. DIY: Lanyard Bracelet
12. Wonderful DIY colorful braided bracelet
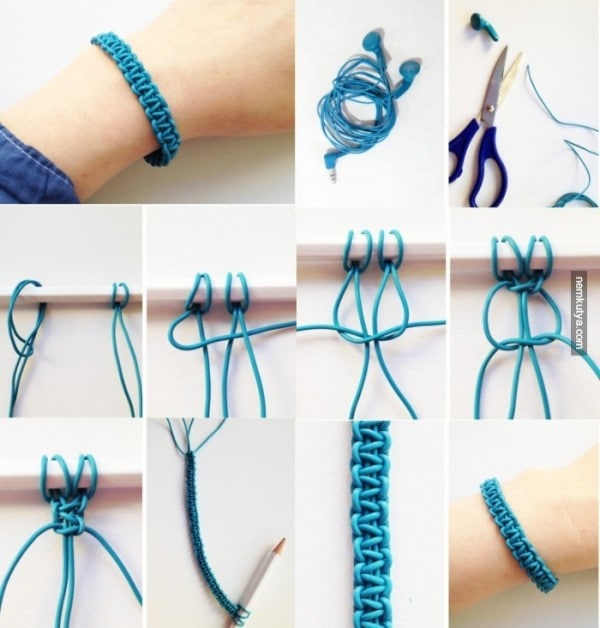
13.DIY Recycled Earphones Bracelet
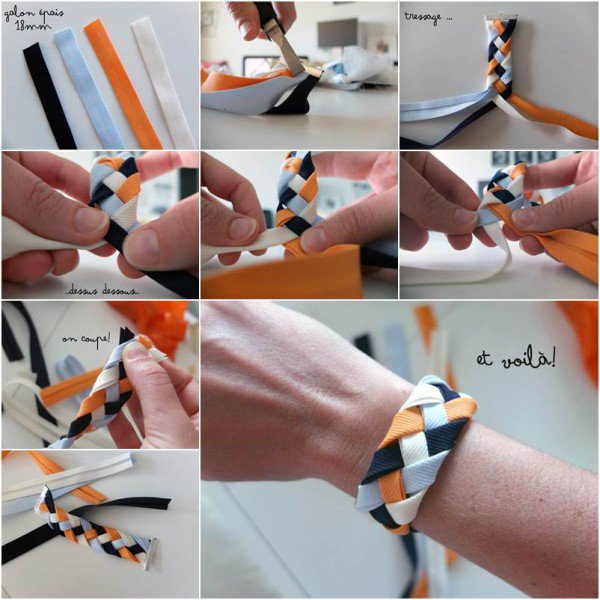
14. How to DIY 4 Strand Braided Ribbon Bracelet
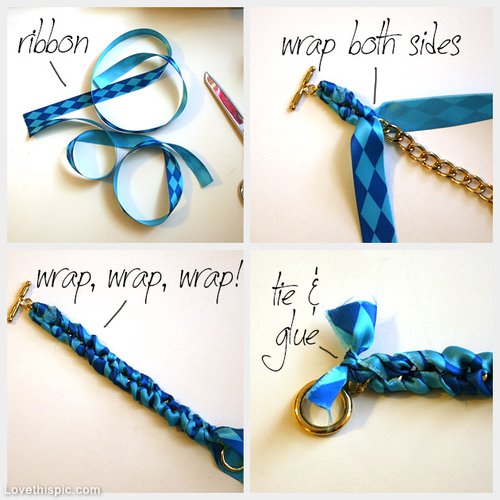
Here is some adorable DIY bracelet idea for this summer. This colorful and stylish braided bracelet is simply amazing. And the process of making it so easy. First, let’s introduce you to the needed materials:
- Ribbon ( for the DIY bracelet in the tutorial it is used ribbon in white, light blue orange, and black, but you can use any colors of your taste)
- Pliers
- Bracelet clasps
- Ribbon clamps
- Metal rings
- Glue
Here are the instructions:
First, take 4 strands of the ribbon and fold them in half of them. Then fix one end of the strands using a ribbon clamp. Secure with glue and pliers. Start braiding. Overlap the light blue strand on the white one and the black over the orange strand. This is the first round of braiding. Start the second one by overlapping the white strand on the black. Then turn the light blue strand and the orange one inside, overlapping them as presented in the tutorial below. Continue with the process until you get the desired length. When you are done, trimming the extra ribbon, and using a ribbon clamp, fix the end of the strands. At the end install the metal ring and clasps and enjoy your new bracelet.

