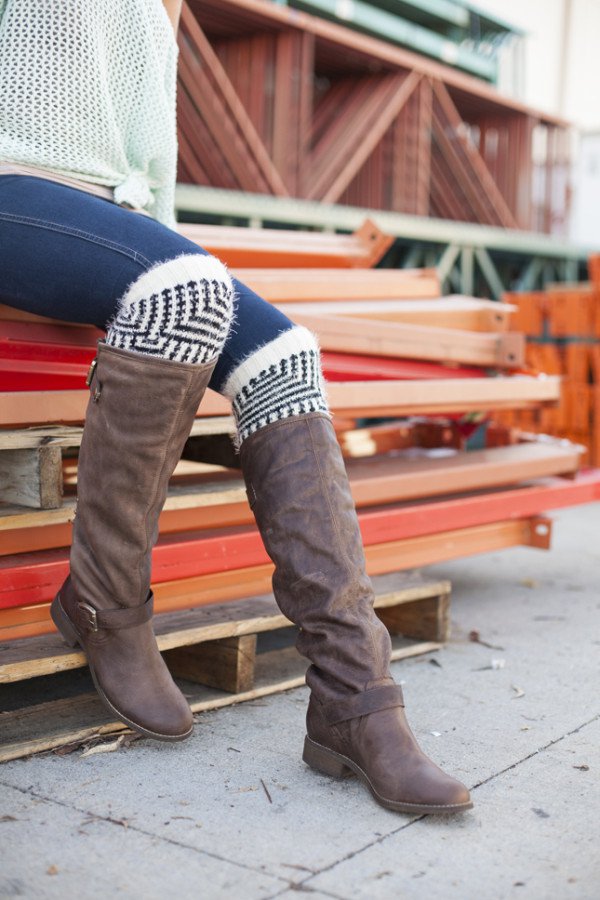
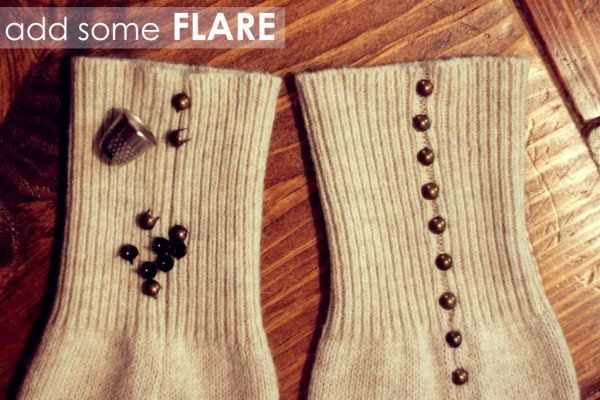
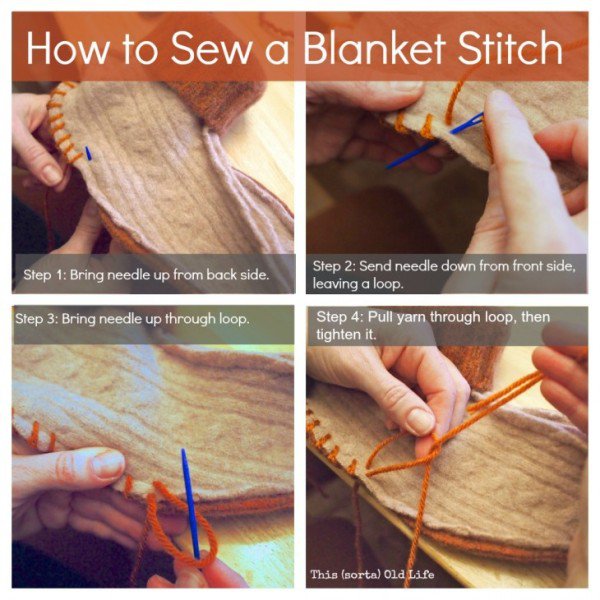
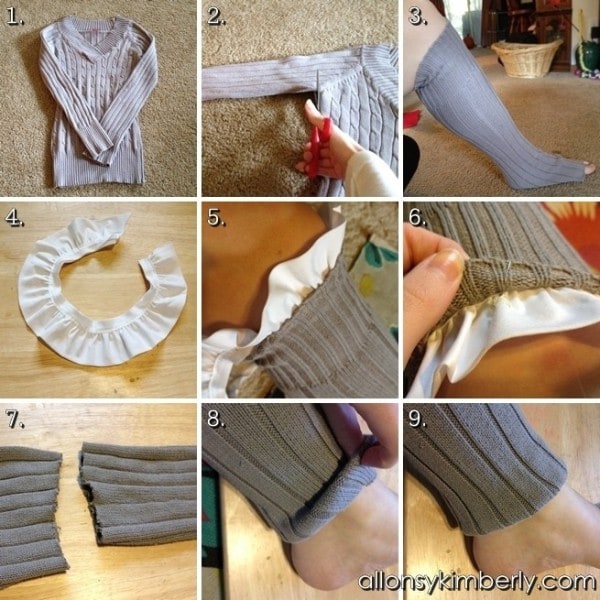
Many of us feel freezing when the temperatures start to drop down during winter. Having your warmest socks and boots on doesn’t help sometimes. In order to keep your legs warm when the weather gets freezing cold, you can DIY leg warmers. In this article, we are going to share with you some inspiring DIY leg warmers ideas to try. We are sure that you will enjoy transforming some old sweaters and socks that you don’t wear anymore into some useful DIY leg warmers. Follow the step-by-step instructions from the gallery below to get your new leg warmers. Your legs will be so thankful to you. And your closet too! You will finally find a new use for many pieces in it that you didn’t wear for years. Such a wonderful win-win situation, right?
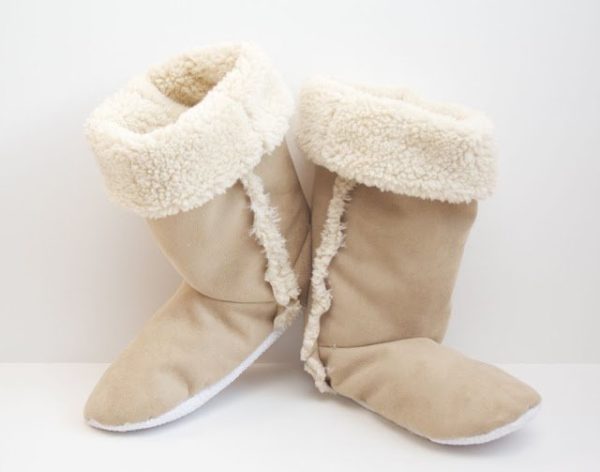
1. DIY Sherpa Boots
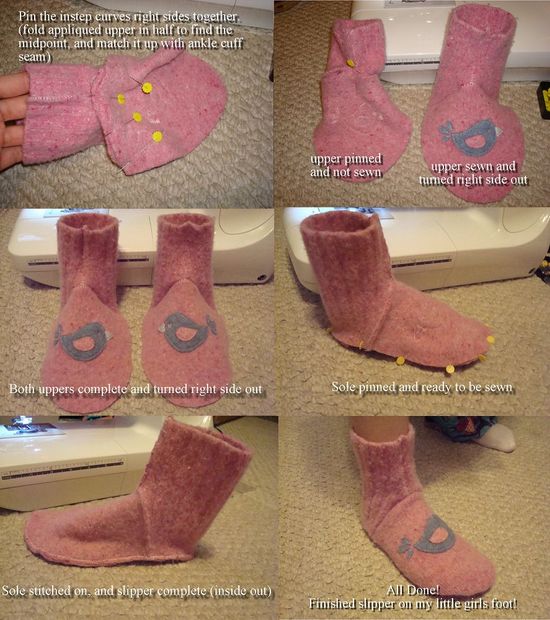
Are you ready for the easiest DIY legs warmers project ever? These ultimate slippers are something you must try this winter. All you will need for the project are some two-sided fabric (microsuede on one side and fluffy Sherpa on the other). And, some basic sewing skills to transform the pieces of fabric into slippers!
The steps:
- First, take a pair of winter boots to measure the height, width, and angles. Using the measures make the patterns pieces for the front and the back leg, the heel, the top, and the sole.
- Use the pattern to cut out the fabric. Consider cutting some extra sole pieces out of some non-skid fabric.
- Start sewing! First, sew the heel to the back leg piece. Then sew the top to the front leg and finally sew these sides together with the seams facing out so the sherpa aside of the fabric would show out the sides.
- Once done, sew the upper boot and sole pieces together with the right sides. Fold-down the boot.
- Voila, your DIY slippers are done! Enjoy the winter!
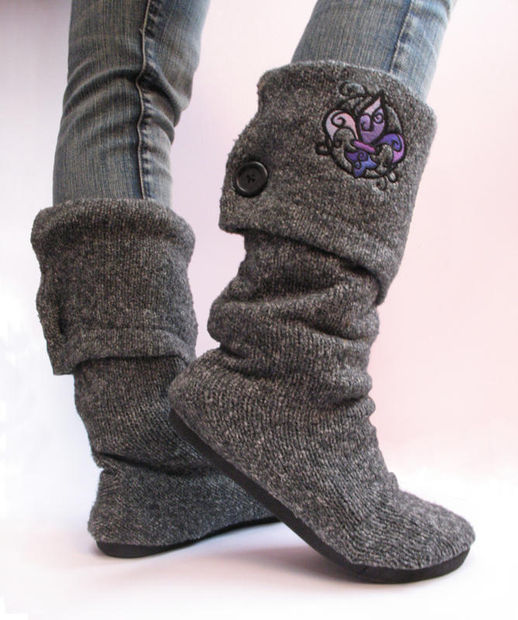
2. Upcycled Sweater Boots
These upcycled sweater boots are a perfect way to transform an old sweater that you don’t wear anymore into some wearable items. DIY leg warmers like these socks are a perfect way to repurpose an old sweater.
Here are the supplies for the project:
- A big bulky sweater
- Some cheap flat shoes
- Hot glue gun
- Button
- Sewing machine
- Needle and thread
The steps:
- Snip off the sleeves where they meet the sweater. Flip them inside out and slide them up to your leg (sweater cuff first). Then, slip on one of the flats and then stretch the sleeve so that you form the boot shape.
- Once you have the desired shape, carefully slide the sweater off the leg. Sew a seam down the side to secure the boot’s shape you created.
- Take the flat shoe and slip the inside of the sole into the bottom of the sweater. Line the back seam up with the heel area.
- Use the hot glue gun to run a line of glue and catch together the sole and the edges of the sweater.
- Once you have glued both parts together, turn your boots right side out. Be careful because this step can be a real challenge. Try your boots to test if they are fitting you perfectly.
- Once your DIY leg warmers are done, you can finally decorate them. Start with making the cuff and then optionally add some decorations you can for example add some embroidery designs on both pieces of the cuffs.
- Voila, your boots are finished! You can enjoy them together with a cup of hot chocolate. Your legs will be thankful to you for the extra warmth.
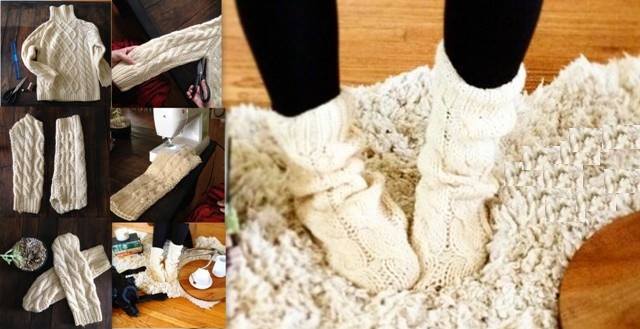
3. DIY Sweater Socks
4. DIY: Boot Socks
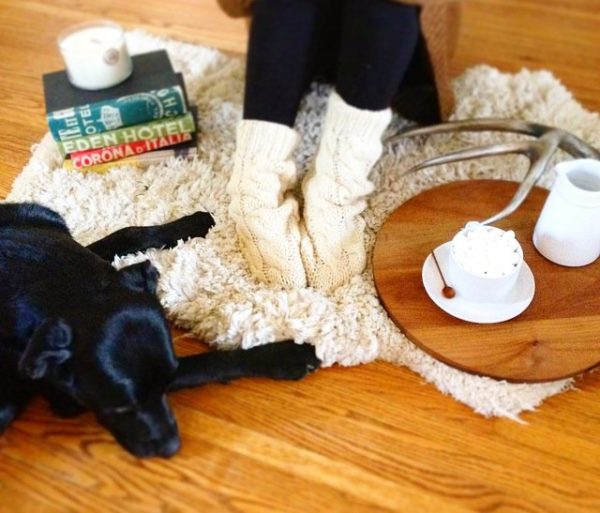
5. DIY sweater boot socks
If you are searching for the easiest way to DIY leg warmers out of old socks, then let us tell you that there are two different methods. Here is each of them:
Method 1: Cut and done
For these DIY leg warmers, you will need some old socks and scissors.
All you need to do is to cut the heel and the toe piece off a pair of old socks that you don’t wear anymore. Then adjust them as needed on your legs. That is all. Your legs will stay warm and comfortable when the temperatures start to drop down.
Method 2: Cut and sew
If you have some basic skills in sewing, then you can definitely try this method. For these DIY legs warmers you will need the following supplies:
- Scissors
- Pins
- Sewing machine or needle
- Thread
The steps:
- First, cut a section of each of the two socks. Consider keeping the elastic at the top of the socks intact.
- Then, flip the section inside out and arrange it in order (stripes section, solid section, striped section…). Then place the portions with the elastic at the top and bottom of the DIY leg warmers.
- Fold back a small lip around each rim. Pin the pieces together.
- Finally, sew each section together. Flip the warmers back to the outside. Voila, you already have a new pair of DIY leg warmers to keep you warm during freezing winter.

