When it comes to DIY accessories projects we know that women are absolutely interested. That is why we have already shared with you some inspiring DIY bracelet ideas. Well, in this article, we are sharing with you some adorable DIY earrings ideas to enrich your jewelry box collection. The following tutorials are a selection of the easiest DIY earrings projects ever. All you need to do is to turn your creativity on MAX and follow the step-by-step tutorials. Your new earrings are waiting to be done!
1. DIY Christmas Earrings
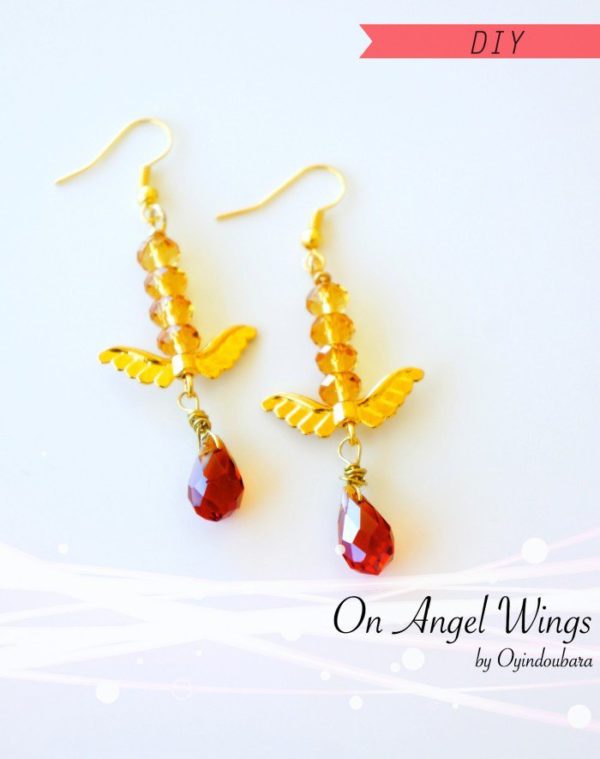
2. JEWELRY DIY – ON ANGEL WINGS
Are you ready for the most divine and thrilling DIY earrings project ever? These cute and beautiful drop wings earrings are going to make you fall with them at first sight.
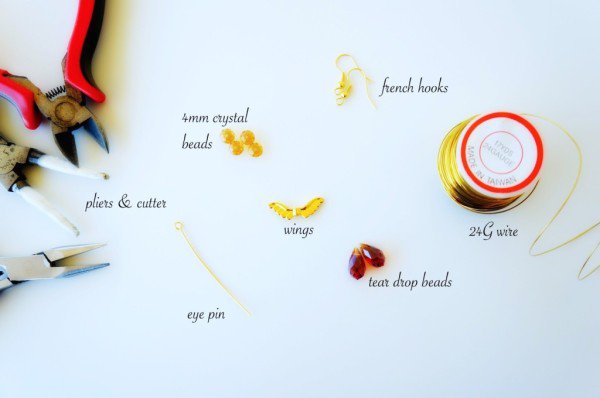
Here are the tools you will need for the project:
- Eight 4 mm crystal beads
- Two teardrop beads
- Two eye pins
- 24 G wire
- Pliers and wire cutter
- Two wings
- Two ear hooks
There is nothing easier than this DIY earrings project ever. Here are the steps:
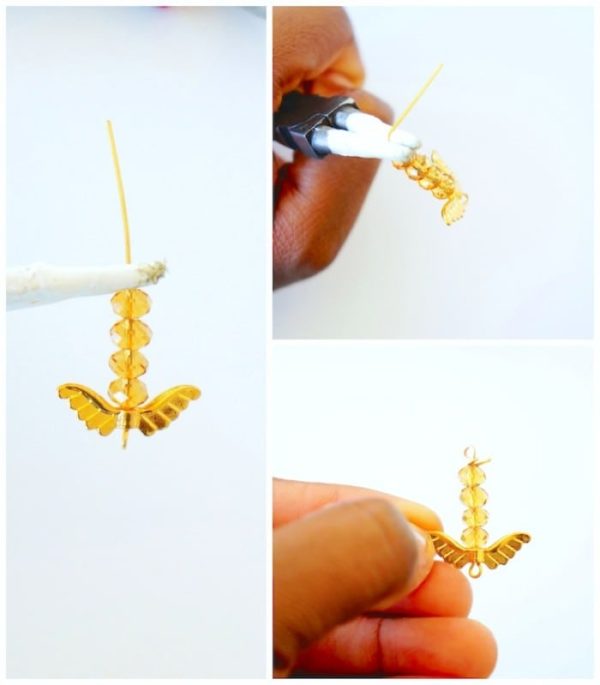
First, pass one angel wing and 4 crystal beads through the eye pin. Then, using the rest of the pin make a loop. It will later hold the ear hooks. Here is how to make the loop:
First, place the round nose pliers right next to the top bead. Make the right angle. Using your fingers begin to slowly bend the wire around one jaw of the pliers. This will help you give a nice round loop. When you are done, wrap the wire around itself and cut the excess. Fold the strap tip of the wire all the way down to prevent injuries.
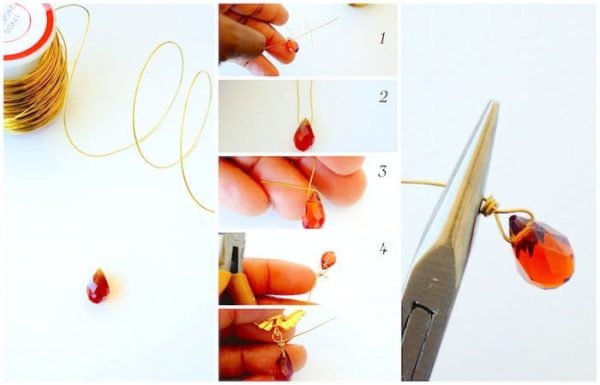
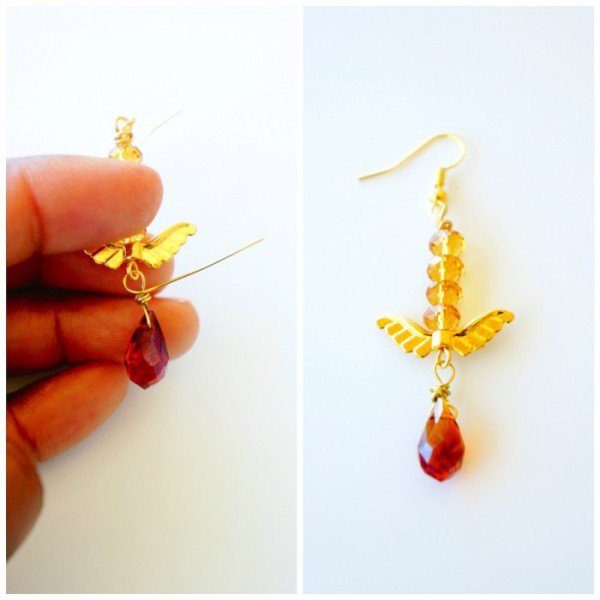
Now when you have done the loop, open it at the base of the ear hook and pass it through the loop. The top half of the piece is done! Finish your earrings by passing a teardrop bead through the wire. Make a loop through it. Finally, measure about one inch of wire and cut it off. Pass the top half of the earrings through the wire. Make another loop. Wrap over the first wrap the best you can. Voila, you are done!
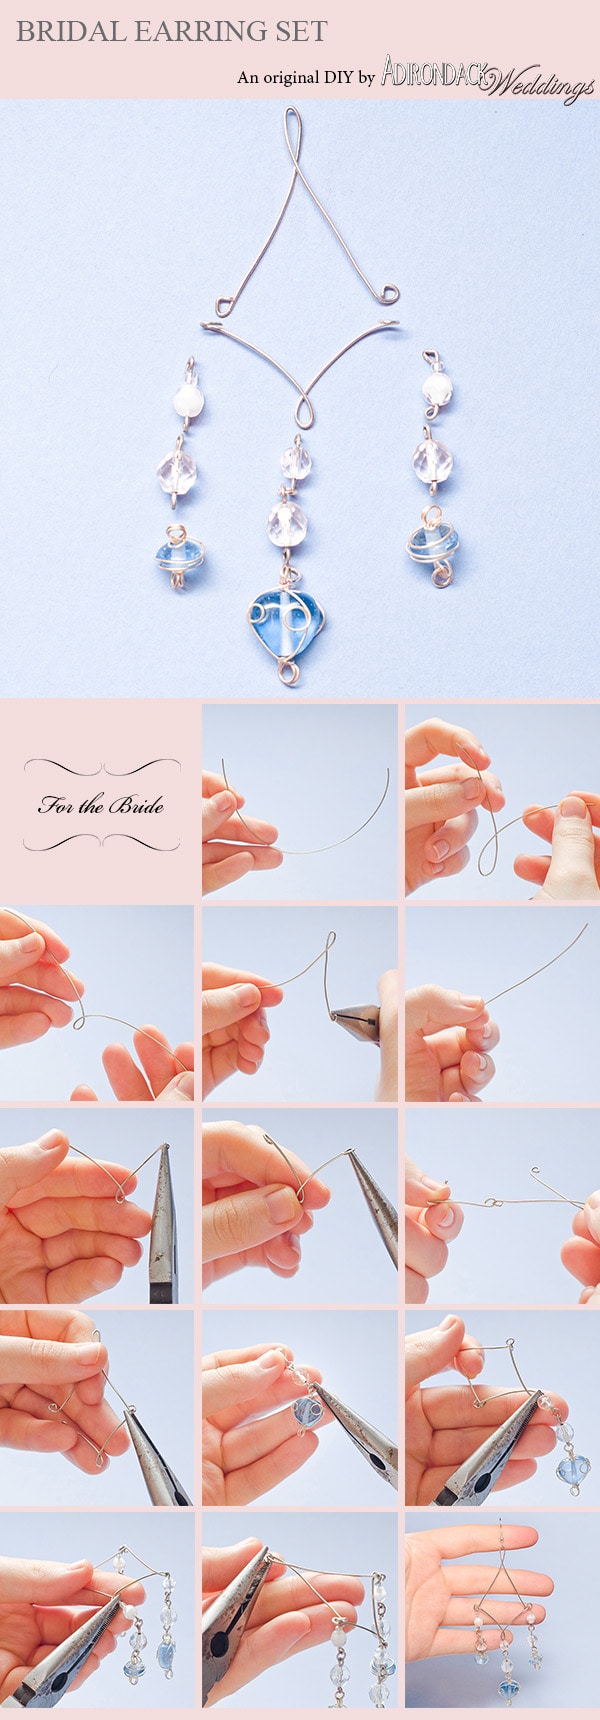
3. DIY Project: Bridal Earring Set
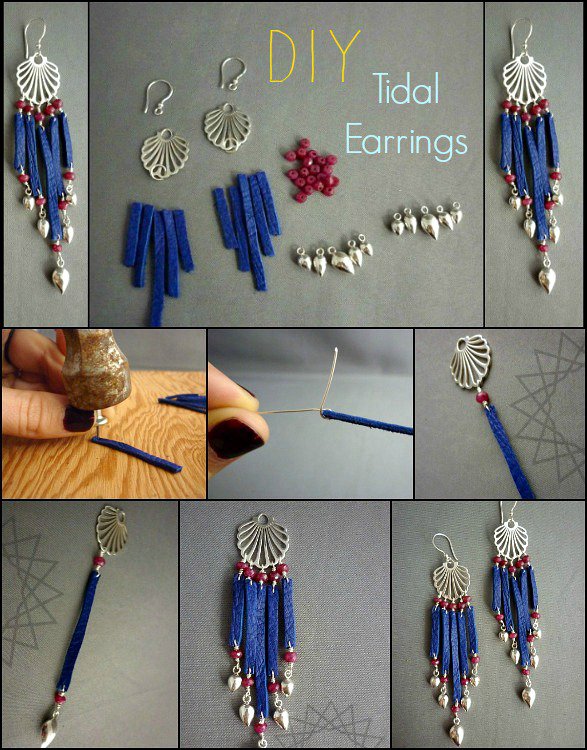
4. DIY Tidal Earrings – Designs to Inspire
5. CHIC AND SIMPLE EARRINGS
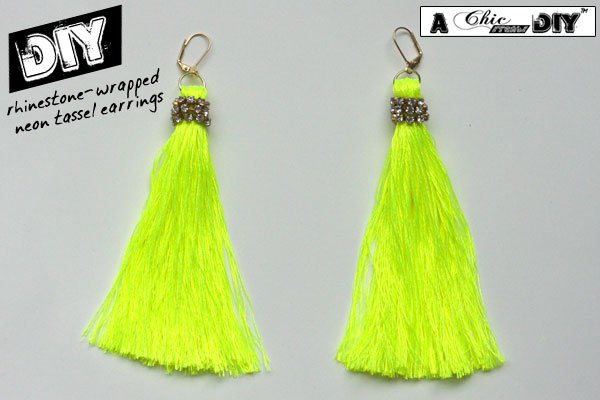
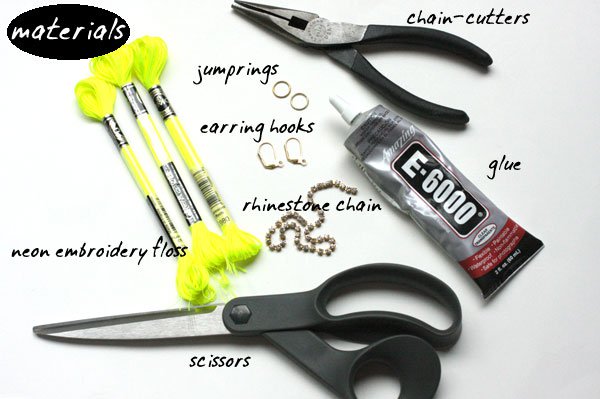
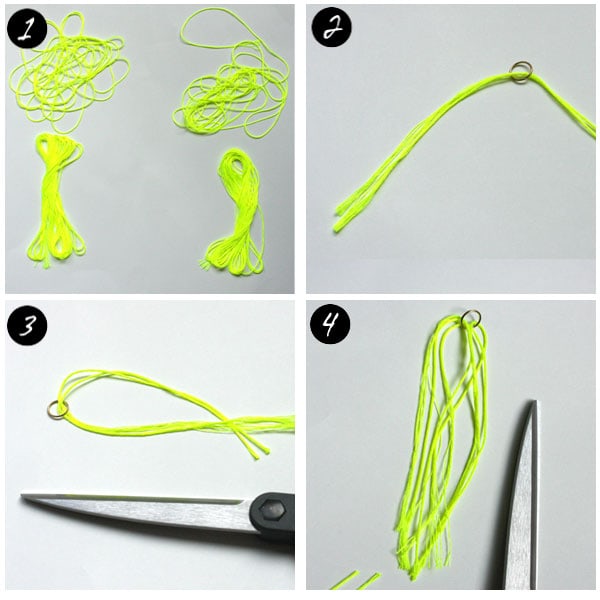
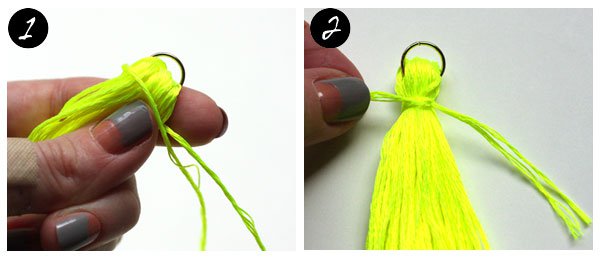
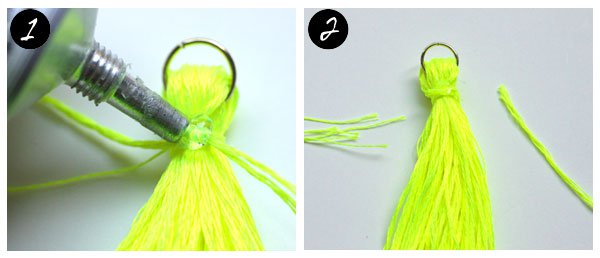
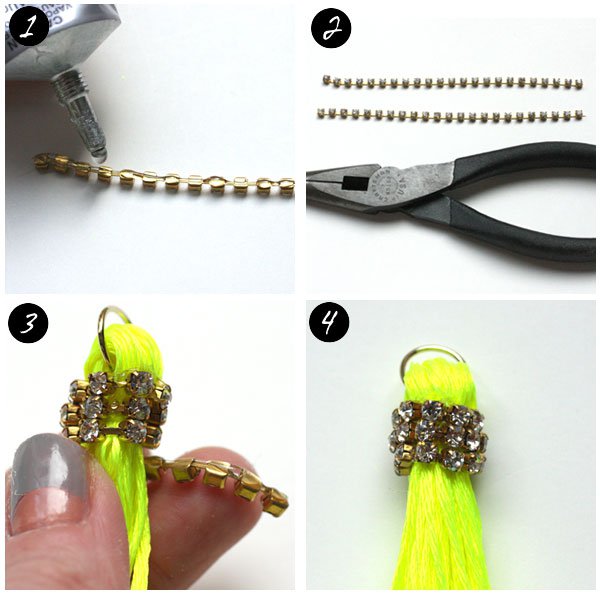
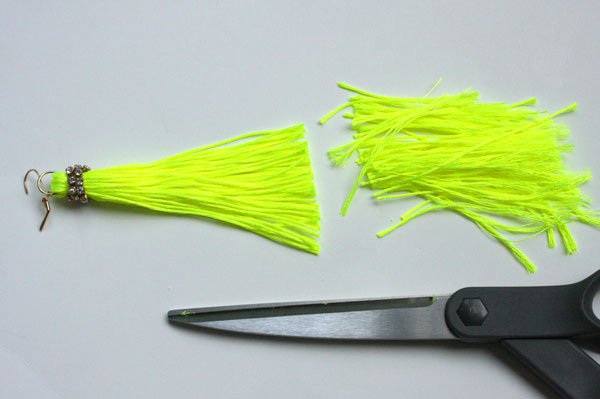
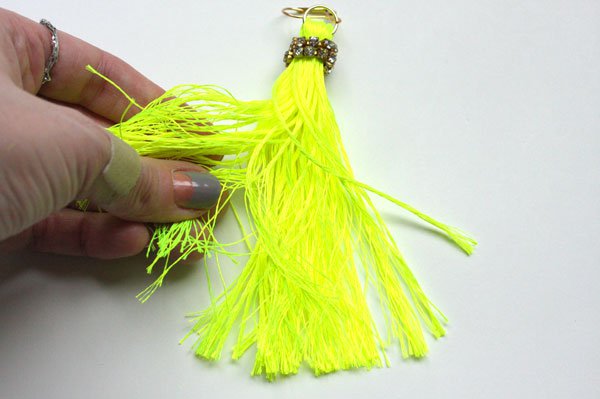
6. DIY RHINESTONE WRAPPED NEON TASSEL EARRINGS
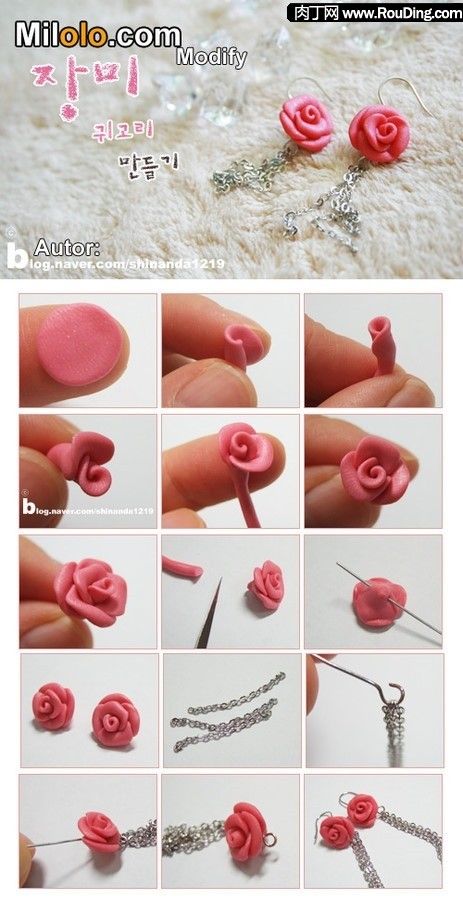
7. DIY Clay Beautiful Rose
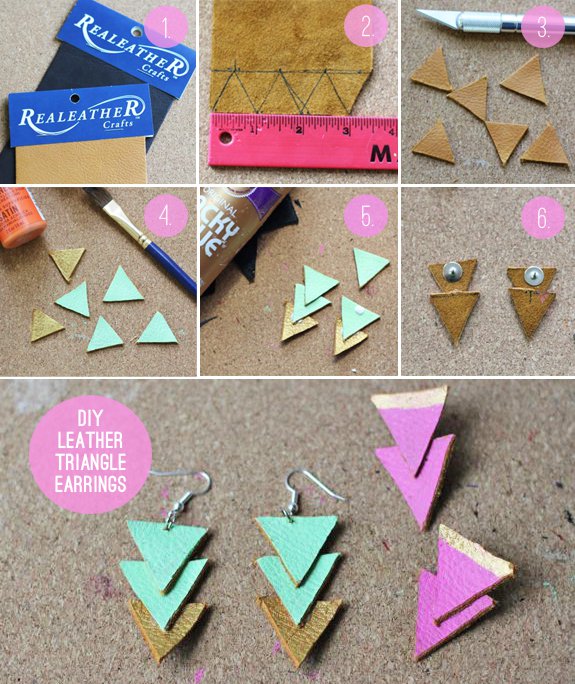
8. DIY LEATHER TRIANGLE EARRINGS
Are you ready to discover the easiest DIY earrings projects ever? For this project, you will need only a few pieces of leather. Here are the steps:
First, get a piece of scrap leather or a piece like the one presented in the tutorial below. Then measure 1-inch triangles on the backside of the leather piece. Using a leather cutting knife cut out the triangles. Paint the triangles in different colors using a painting brush and coats of paint. Glue the triangles together. Attach them to an earring post with glue. Or, attach an earring wire with a jump ring and the triangles. Your new earrings are done!
9. DIY -EARRINGS
10. Earrings step by step
11. DIY Dolce & Gabbana Pasta Earrings
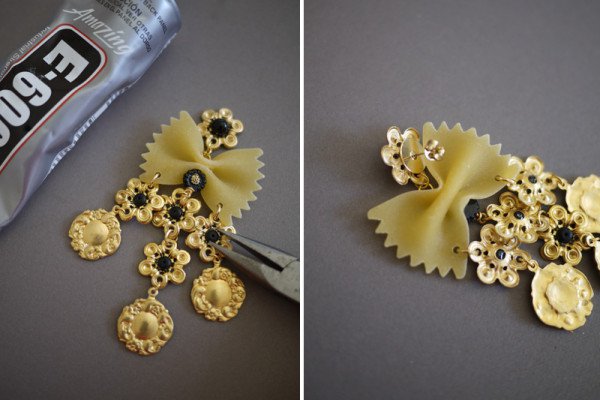
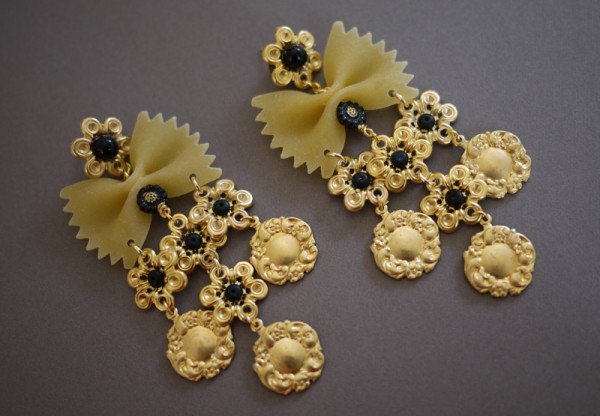
These DIY Dolce & Gabbana earrings are an absolute hit! Did you think that pasta is only for eating? You were wrong! You can use it to make the best DIY earring ever too. Food-inspired accessories have always been so popular, but these earrings are definitely our favorite ones.
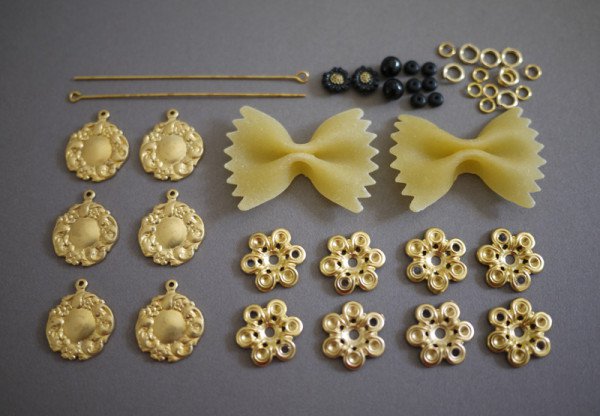
Here is what you will need to make them:
- Several pieces of bow-tie pasta
- A pair of flat earring posts or ear wires
- 2 1.5 inch eye pins
- 14 to 16 brass charms
- A few black beads
- 10 jump rings
- 2 pliers
- A drill
- A 5/64 inch drill bit
- Glue
Here are the making process steps to follow:
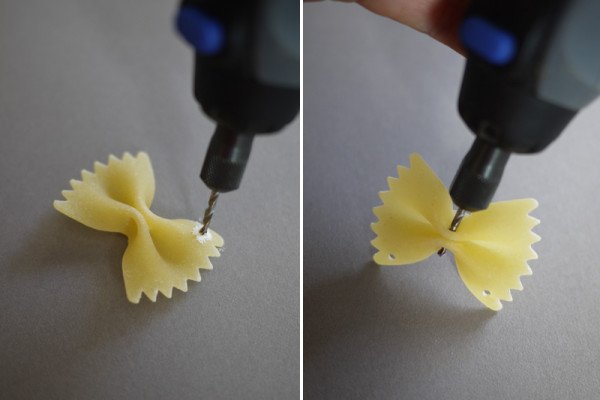
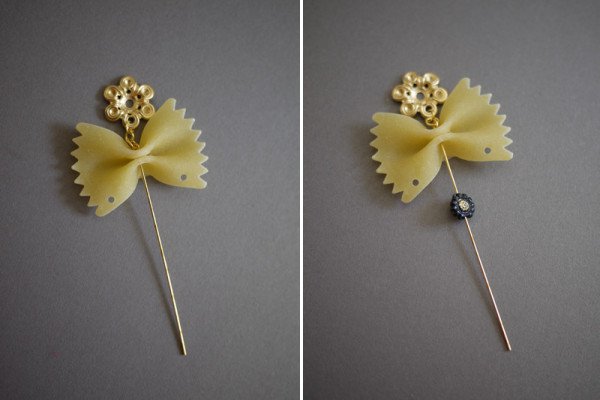
First, drill holes into the pasta. Once you drill the edges of the bow-tie-shaped pasta, drill a hole through the center of the bow-tie. Don’t worry if any of the bow-ties pasta chips. You have a whole box to work with! Also, we recommend you make a few extra pieces of pasta in case any of them break during the assembly. Then start assembling. Begin from the top by adding 3 jump rings to the bottom of the first charm. Attach an eye pin to them. Thread the pin through the top of the pasta and slide a bean onto the pin.
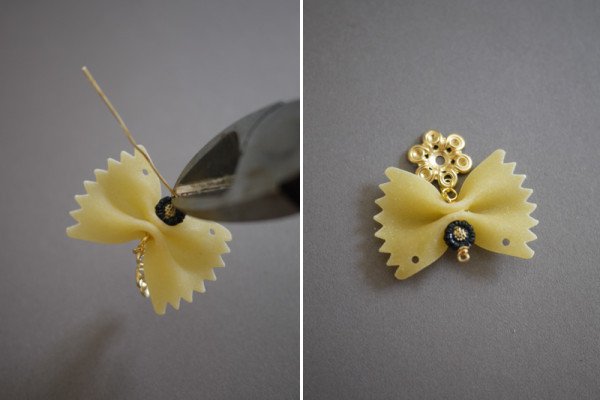
Cinch the pliers at the base of the bead. This way you will create a wrapped loop. Wrap the wire around the right side of the pliers and create a loop that you will pinch after you pull the pliers out. Wrap the wire clockwise around the base of the loop. Trim the extra wire. Attach charms to the three places created. Connect them in any pattern you want using the jump rings. Repeat the same with the other earring. Your Dolce & Gabbana earrings are done!

