Hello to all creative mums! Are you ready for some new and creative DIY kids’ clothing ideas adventure? Stay with us, because in the following gallery we are going to present you with some inspiring ways to make clothes on your own for your little ones. We are sure you will enjoy these DIY kids’ clothing ideas and the tutorials on how to do the projects. Most of these DIY kids’ clothing ideas include recycling old clothes. They are all so easy to be done, and most don’t even require some specific sewing abilities.
You and your kids can make any of these projects presented below, together. That will bring a lot of fun to your home. And the final result will be any of these adorable kids’ accessories or clothes. Your kids will be proud to present these masterpieces you create together. We leave you to enjoy the DIY kids’ clothing ideas below. Hoping that you will try most of them.
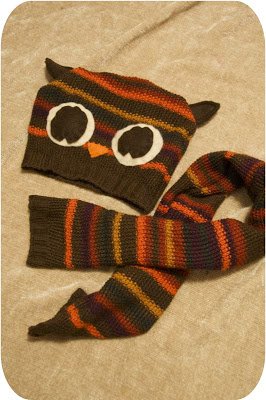
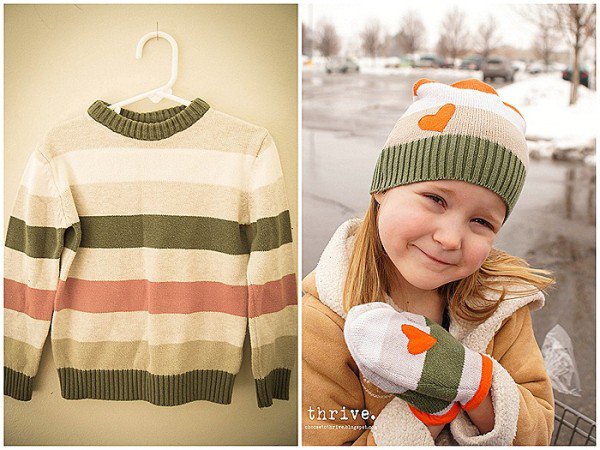
1. Tutorial: Hat and Scarf From Sweater
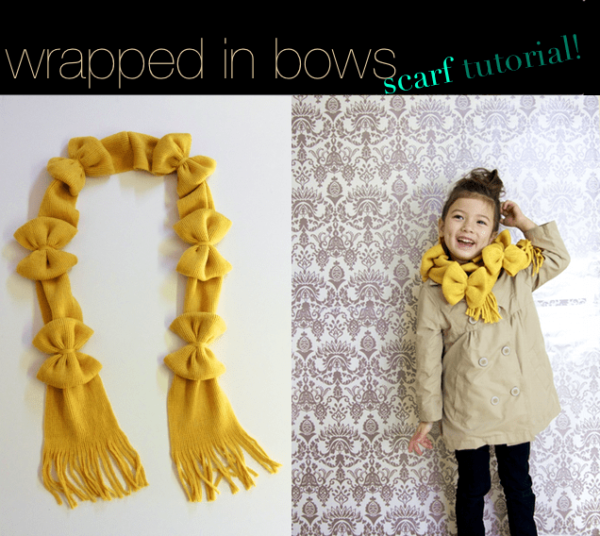
2.” Wrapped in Bows” Scarf Tutorial!
This is probably one of the most adorable DIY kids’ clothing ideas ever. This wrapped-in bows scarf will look amazing as a part of your kid’s winter outfit. All you will need for this project are two simple mustard (or a color of your choice) scarves and a lot of creativity. The steps are so simple to follow. Here they are:
- First, sew the two scarves together. This way you will get one long scarf. Then trim the tassels from both ends of the scarf.
- Make approximately six even pleats by sewing the scarf to itself. This way you will create a loop as seen in the picture below.
- Finally, flatten the loops and tie a ribbon or string around the middle. You will this way get the bows effect on the scarf.
Voila, you are done. More straightforward than you thought?
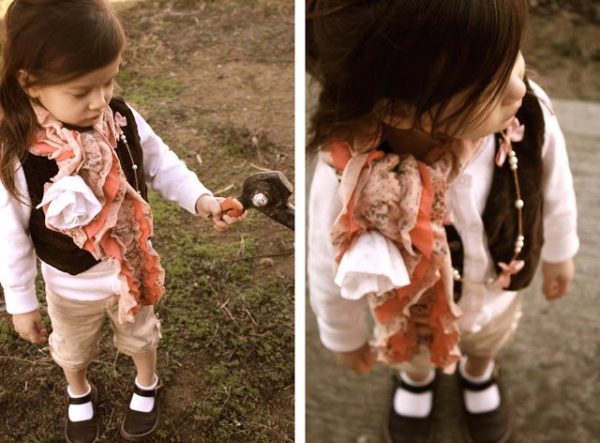
3. Easy Ruffled T-shirt Scarf
4. Sweater Leggings Tutorial!
You have never thought that it is possible to get leggings out of an old sweater? We are sharing with you one of our DIY kids’ clothing ideas that will convince you of the contrary. Here is how to get a new pair of kid’s leggings out of an old sweater.
- Fold your leggings in half and then lay them down on the sweater sleeve. Cut out around the leggings. Add 2 to 3 inches extra on the top for the elastic casing.
- Sew the two legs that you get out of the sweater together at the inseams with the right sides facing.
- Fold the top over once and baste. Then, fold over again so that the elastic can fit through. Start sewing. Leave a 1-inch opening and thread elastic through.
- When the elastic is all the way through, you can sew the two ends of it together. Finally, sew the 1-inch opening in the casing closed.
Voila, your sweater leggings are done!
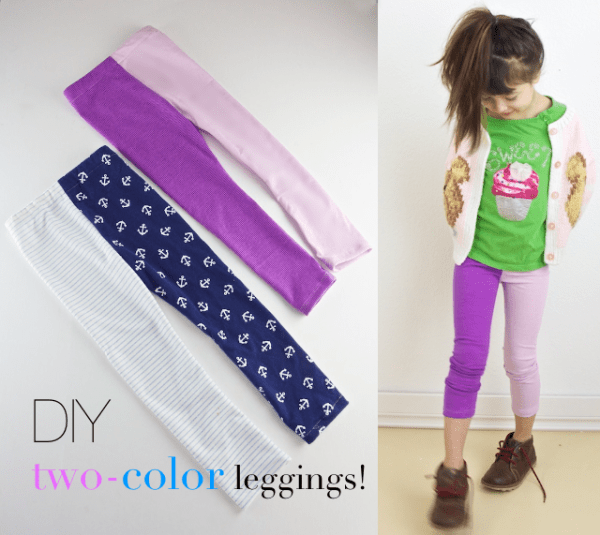
5. Two-Color Leggings Tutorial!
6. Make mittens & hats from old sweaters!
Winter is one of the favorite seasons for kids. They adore playing in the snow. That is why every mom will adore these DIY winter kids’ accessories. As a part of our DIY kids’ clothing ideas adventure, we are sharing with you these adorable and warm kid’s hats and mittens.
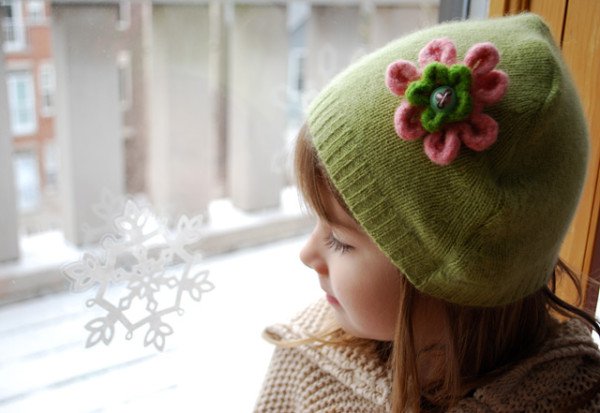
- First, chop off the sleeves and nix any trim or zippers. Open the sweater up alongside steam.
- You can use some old hat as a guide. Place it over the sweater and then cut along its sides. Cut the extra fabric away. Take care to leave room for a seam allowance.
- Stitch around the top. Serge or zip zag the raw edges.
Your DIY kid’s hat is done. Your kid will enjoy wearing it.
7. Make Your Own Girls Tights!
Another one of our DIY kids’ clothing ideas is the following one: DIY your own girl’s tights. For this project, you will need some old, ripped tights and cheap ladies’ socks.
- First, have the child that is going to wear the tights put on the pair of ripped tights.
- Pull on a pair of ladies’ knee highs over top. Make sure that the heel of the sock lines up with the kid’s heels.
- Mark where the toes are so that you later know where to trim on.
- Use safety pins to pin the socks in place. To attach slide the tights onto your sewing machine and carefully stitch along the top of the finished sock hem using a zig-zag stitch.
- Turn the tights inside out and carefully trim away threads and the legs of the tights. Make sure not to cut the socks underneath.
- Finally, trim away the extra sock above the pin mark. Whipstitch the foot closed from the inside and voila, you are finally done!

