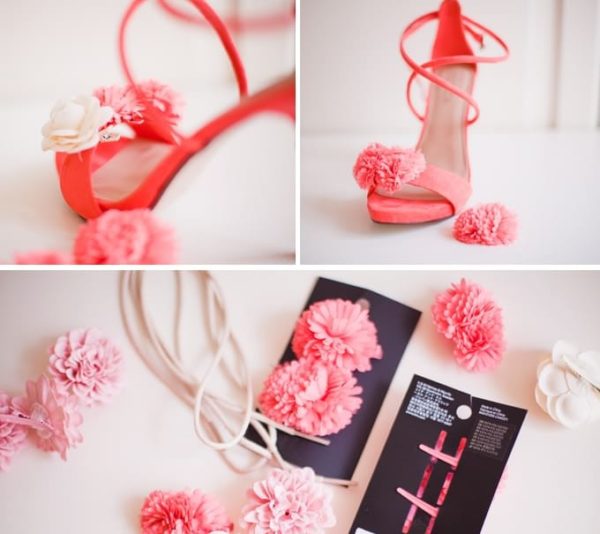
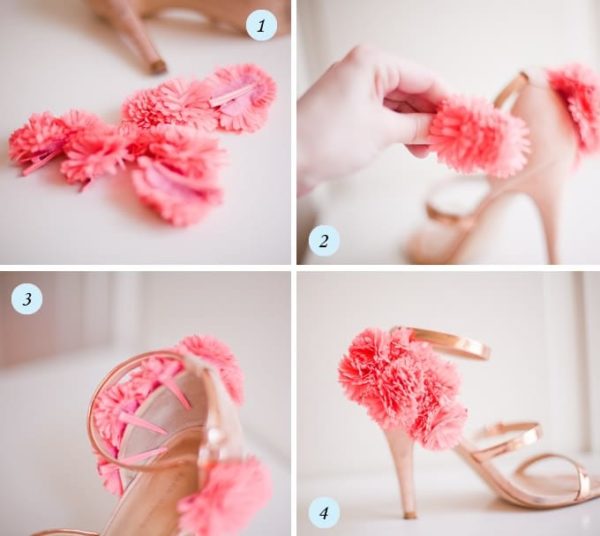
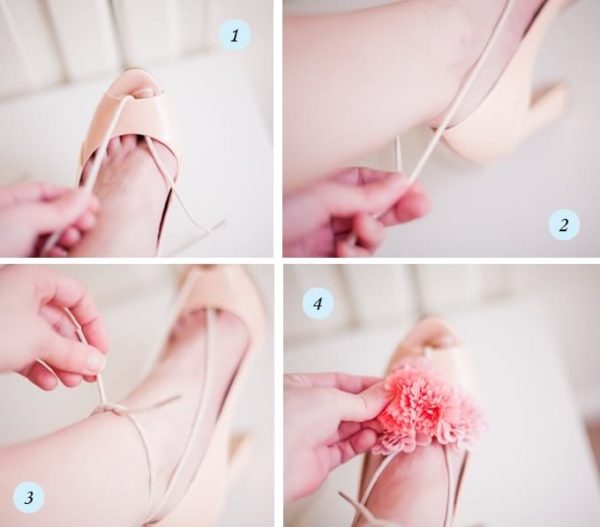
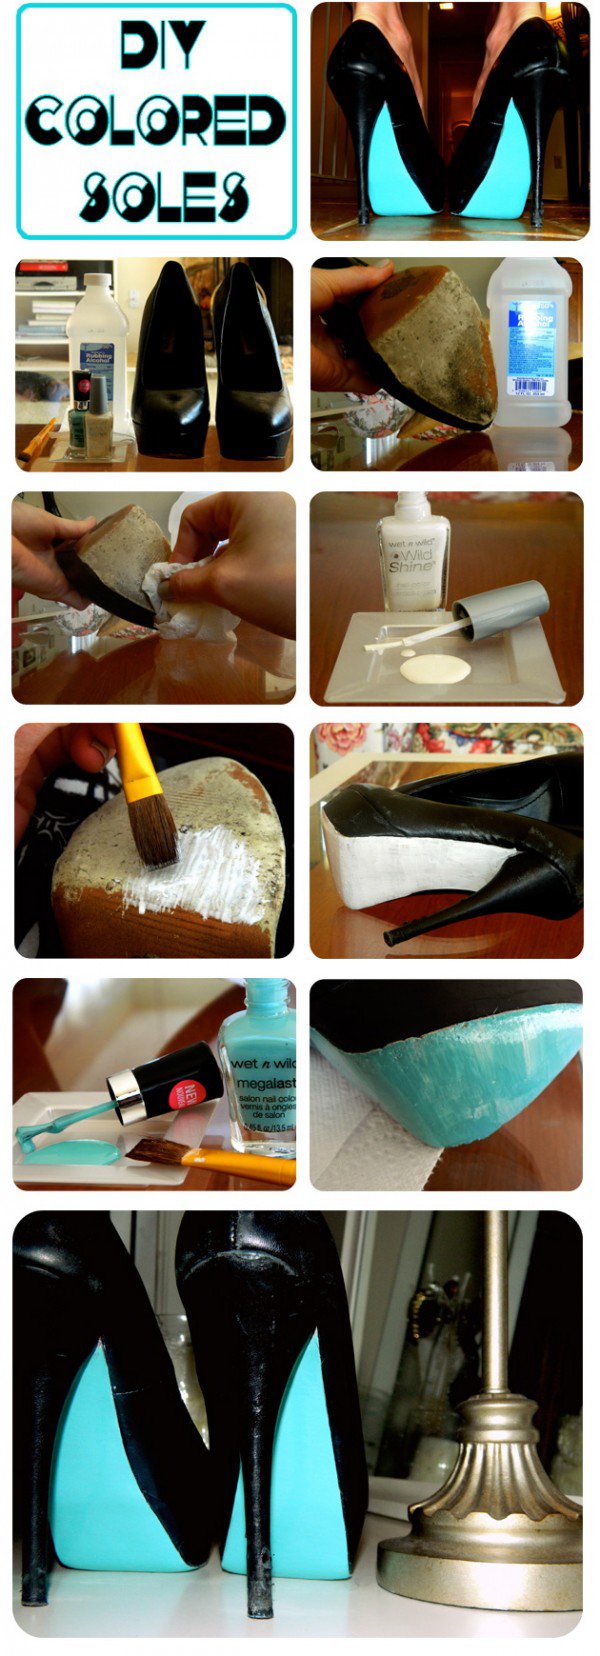
If you don’t like the simple aspect of your old heels anymore, then it is time to give them a new look. In this article, we are sharing with you some inspiring DIY heels projects that you need to try. They are all so easy to do, so you will enjoy them. Scroll down the page to explore some creative ways to DIY heels that you can wear so many more times. These step-by-step tutorials below are a true enjoyment for all the DIY project lovers. Don’t miss them.
1. DIY FLOWER HEELS
2. DIY Knotted Rope Heels
Are you ready for the easiest way to transform your heels into some adorable rope sandals? All you will need for this DIY heels project is a rope. Here we go with the steps of the making process:
First, cut two pieces of rope to 30 inches. In order to stop it from fraying out, put some tape on the ends of the rope. Then put glue on the ends of the rope and press the endings together. Cover the join by wrapping the string and then glue it down again. You will this way create a circle of rope. Once you have done it, tie it into a knot in the middle of the circle. Add jump rings to each end and add a lobster clasp to one end. Repeat the same with the other piece of rope. This way you will have two anklets that are a perfect way to layer over the heels. You are done! Easy, right?

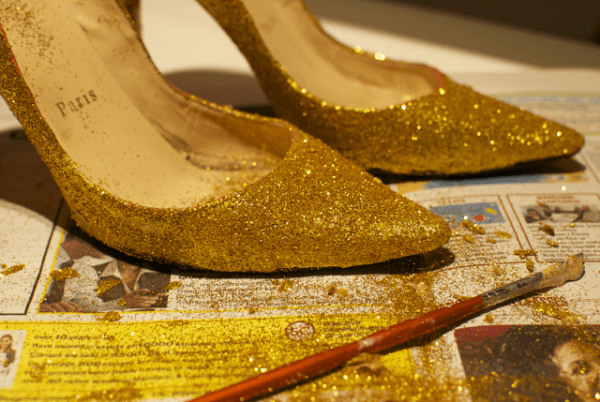
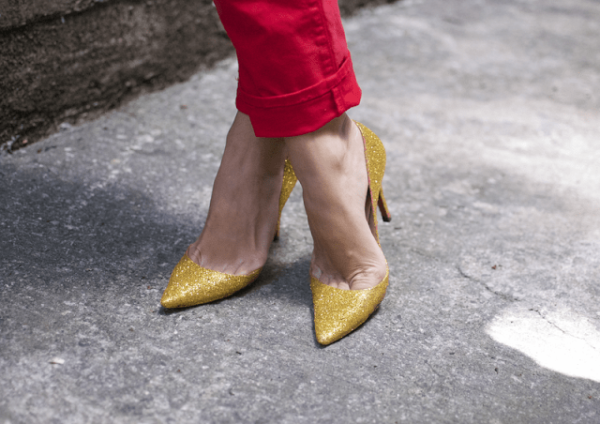
3. DIY [MIU MIU INSPIRED] LOUBOUTIN GLITTER PUMPS
If you want to transform your old and boring black heels, we are going to present you with the easiest DIY heels project ever. Below we have listed the needed supplies:
- A pair of heels
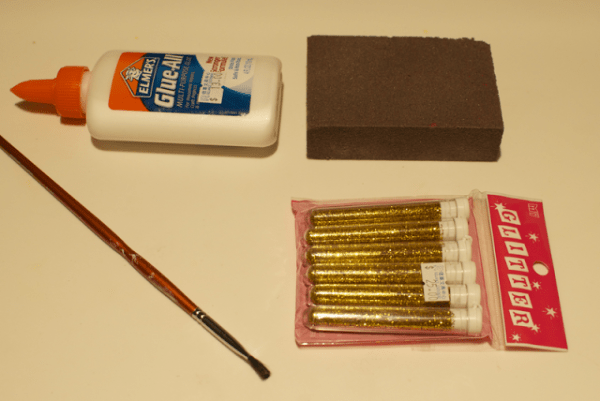
- Mod podge
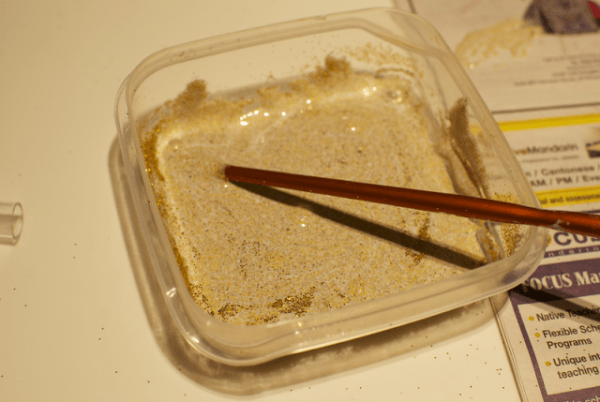
- Glitter
- Paintbrush
- Kryon triple-thick crystal clear glaze
Here are the steps you need to go through in order to get your DIY heels done:
An extra tip before starting the process: place a newspaper, foil, or tap anywhere that you like on the shoes to block any drips or spills.
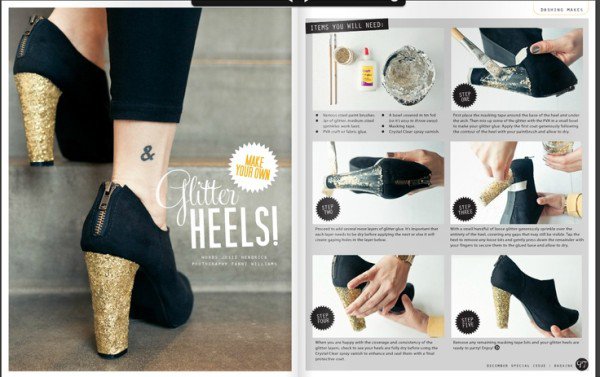
First, paint a thin layer of Mod Podge onto the shoes. Start with one section at a time. Once you paint the shoe with glitter, liberally sparkle fine glitter onto the glitter layer. Gently tap or shake the shoe to remove the excess glitter. Continue with the rest of the shoe. Repeat the same procedure until the entire shoe is covered. Once you are done, spray the sparkly heels with Krylon triple-thick clear glaze. Your sparkling heels are already done.
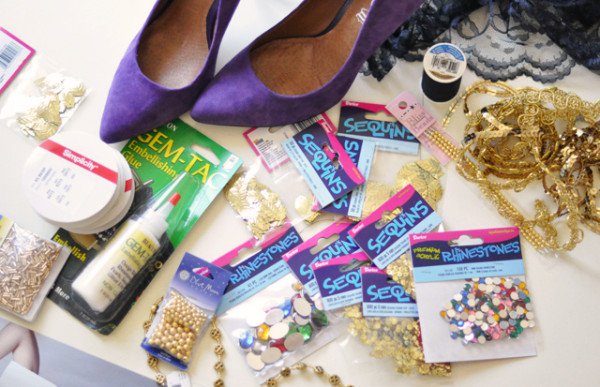
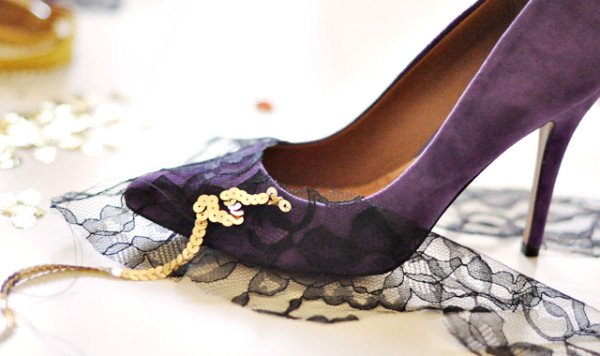
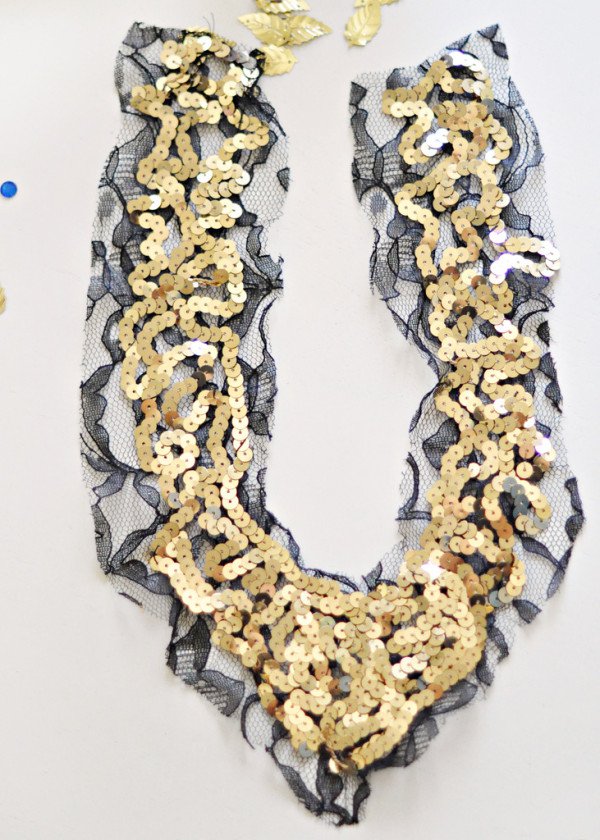
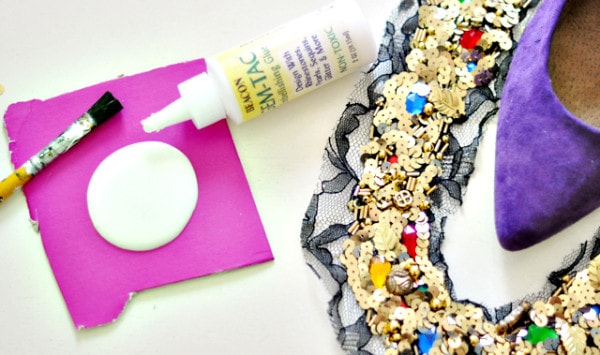
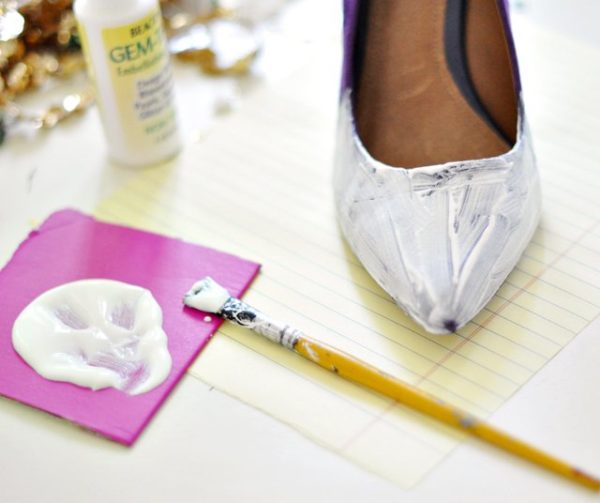
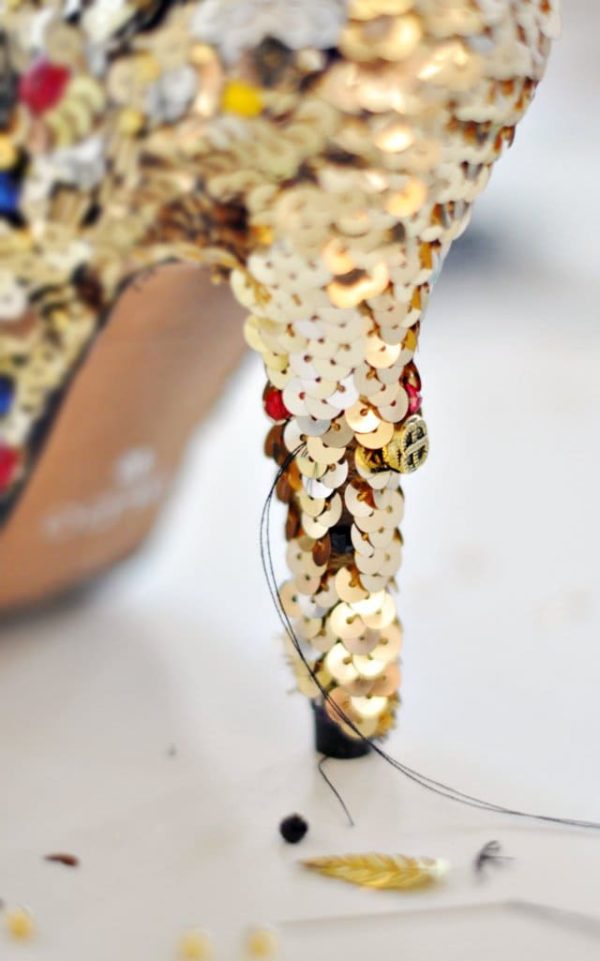
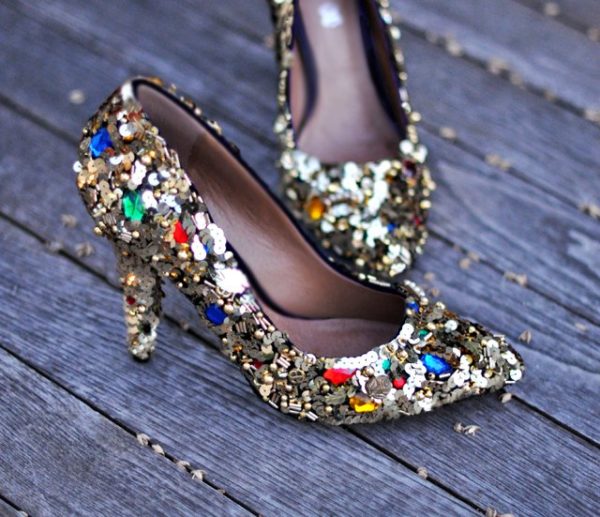
4. DIY GOLD SEQUIN SHOES
5. DIY SPIKY HIGH HEELS
If you want to embellish your heels, here is an interesting DIY heels project for you. For it, you will need the following tools and equipment:
- Power drill
- Drill bit- the size depends on the screw you use (2 bags of 1” thin tree spike, 2 bags of 1” cone spike, and 100 pk of3/8 back metal punk spikes)
- Screwdriver
- Pair of heels
Using a small power drill, drill a small hole into the back of the heel where you will want to place the spikes. Once you have done it, take the head of the screw and punch it through the inside of the heel. Take the desired spike and screw it on until it is tight enough. Repeat the same with all the spikes. Your embellished heels are done.
6. DIY- Pumped Up Kicks
7. Houndstooth Shoes DIY
8. DIY PRINTED PUMPS…
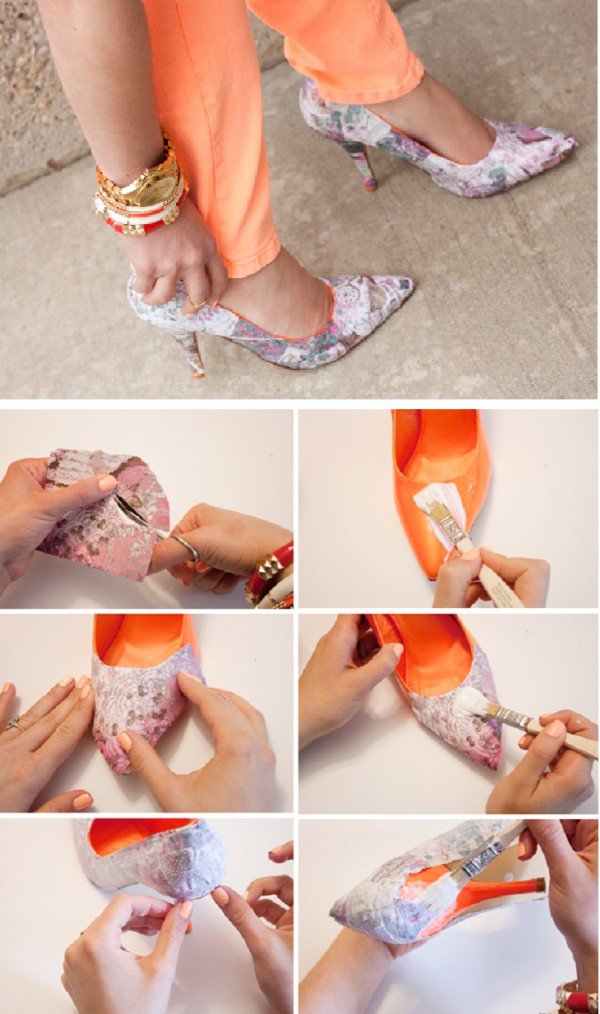
Here is the easiest DIY heels project ever. All you will need for it is a pair of heels and some creative fabric or newspaper.
First, choose the right pair of shoes. The best will be to choose a pair of plain pumps that you know that you won’t be wearing anymore. Also, make sure that they fit you perfectly. You can also opt for flats, but the best is to avoid athletic shoes, anything leather, or shoes with laces or bows. Then find the right comic material. Choose wisely! You can use a comic fabric that will make your shoes a little more durable (this project will demand you some extra steps). Or, you can use some comic section of the local bookstore too. Try to find one with more color in order to create a more colorful effect.
Here are the materials that you will need for each project:
Comic paper print materials:
- Modge Podge or Scrapbook glue
- Foam pasting brush
- Crafting scissors
- Finish spray
Comic fabric print materials:
- Modge Podge
- Foam pasting brush
- Sharp sewing scissors
- Finish spray
First, shred the materials. Do not use too small pieces. However, do not use ones that are too big either. The best is to measure the length of the shoe and then cut pieces of the fabric that will perfectly fit your shoe length. Once you have cut the pieces, it is time to start gluing. The glue will weaken the paper’s appearance, so you might need to double layer. In the end, when you are done with the entire shoe, spray a finishing spray over it.

