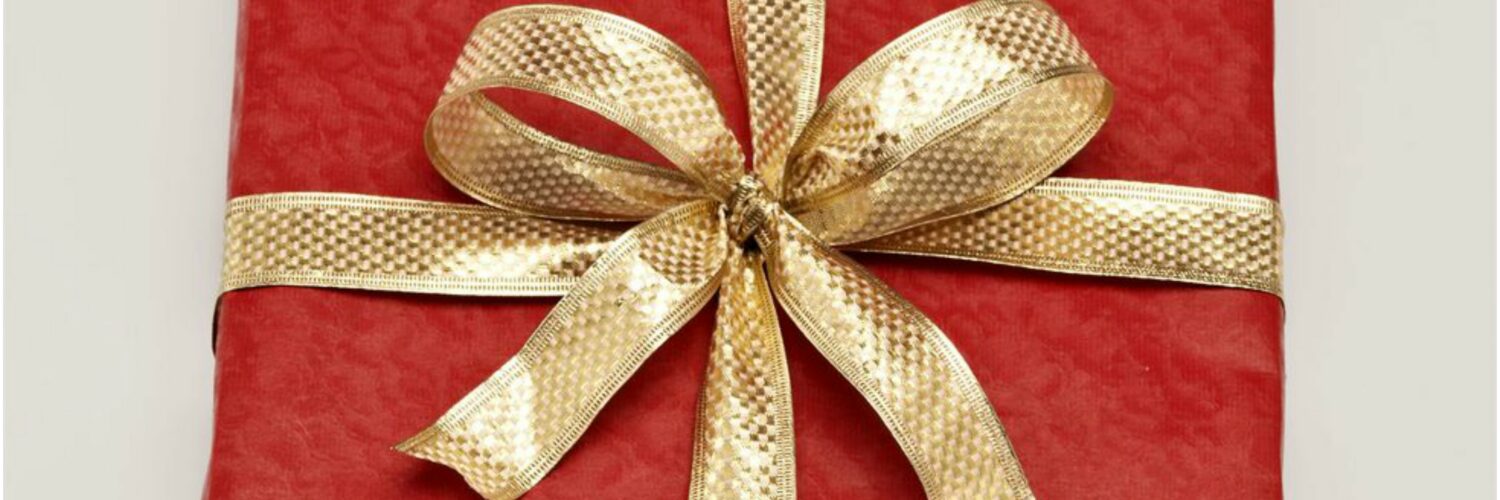
Christmas is the season of sharing love and so much presents. And when it comes to presents, it is much more important what is inside the gift box rather than the way it is wrapped. But, in this new era of Instagram and Pinterest, more and more people start to pay a lot of attention to gift wrapping. And if you thought that picking out the perfect Christmas present is the hardest part of the holiday season, you are wrong. Wrapping the Christmas gift to perfection can be as hard too. Many people choose gift baskets or gift bags, but what makes the gift magical, especially the Christmas one is the wrapping paper and ribbon. If you want to wrap a Christmas gift like a pro stay with us because in this post we are sharing with you a step-by-step tutorial to help you.

This step-by-step tutorial to wrap a Christmas gift will teach you to wrap like a professional. The recipient will simply adore your present and the effort you put in making it look so magical. It is super easy and you will adore the process. Show the recipient how much you care about him or her. In order to get better results practice several times using false gift boxes. Once you try various different wrapping ideas you will easily wrap a Christmas gift when the holiday season officially starts. In this step-by-step tutorial below you can find all the tricks and secrets you need to know to wrap a Christmas gift like a pro. Follow them and make the season of gifting magical.
What will you need?
As we said above, what makes a gift look amazing is the ribbon itself. So if you want to add some personality to your Christmas gift then add some creative ribbon to it. For even more fun results you can try the curl traditional ribbon. It will look amazing on your present.

Helping tip number 1: It is always easier to wrap something square and rectangular. So, do yourself a favor and pack your gift into a box.
Choose thicker wrapping paper! If you want to facilitate the trimming process, you better choose a roll wrapping paper with a grid pattern on the back.
Do you want easy cuts? Choose a sharp pair of scissors with a comfortable handle. You don’t want to get nervous before the Christmas holidays when cutting the wrapping paper with some blunt scissors, right?
Helping tip number 2: Choose double-sided tape for a neat seam. The hidden tape will make your gift look amazing.
Step 1: Gather the supplies
Once you get all the needed supplies, start measuring the amount of wrapping paper you will need to wrap a Christmas gift. Roll the box or the item over the wrapping paper so that you know that you have each side covered by it. Always cut a bit more paper than needed.
Helping tip number 3: Are you wondering how to wrap a Christmas gift perfectly? Try some different ways of placing the box over the paper, so that you need less amount of wrapping paper to get the same result.
Step 2: Cut the wrapping paper
First, place the box face down on the top of the wrapping paper. Leave the paper attached to the roll. Then, using scissors cut the wrapping paper so that it completely covers all the sides of the gift box.

Step 3: Fold over wrapping paper
Once you are sure that the box is centered over the wrapping paper, pull the paper tautly up so that it reaches the center of the box. Fold the paper and crease along the fold. Using double-sided tape secure the paper ends.

Step 4: Join the ends of the wrapping paper
Once you have secured the first ends of the wrapping paper, bring the other ends of the paper up and above so that they meet the taped side. If you want a better look, fold at least a half-inch of the wrapping paper under and then secure the paper with the double-sided tape.

Step 5: Close the open ends on both sides
It is now time to tackle the open ends of the box. If the ends of the wrapping paper are too long, then trim them down. Create 45-degree-angle flaps with a “push-in, crease, push in, crease” method. Try to pull the paper before fastening with the tape, so that you get a smoother result. Repeat the same with the other side of the Christmas box.
Step 6: Add finishing touches
Finish the wrapping process by adding bows and ribbons. If you want to make a better-looking ribbon, then lay the wrapped box facedown over a length of ribbon.

Helping tip number 4: Use a ribbon about five times as long as the box if you want to get a better-looking ribbon.
Pull the ends of the ribbon up and bring the right end over the left one. Then turn the box over. Take the two ends of the ribbon with the same length and thread each end under the ribbon. Double-knot the ribbon and then tie it into a simple bow. Shape the loops using your fingers. Using scissors cut the ribbon ends at a 45-degree angle to create forked ends. Voila! Your gift is already done Easy, right?